Hovership MHQ2 3D Printed FPV Quadcopter Build
My latest quadcopter build is the Hovership MHQ2 which is a 3D printable mini quadcopter. I don't want to ruin the surprise, but this thing is well designed and flies even better. I am very pleased after draining the battery with this thing a dozen times.
I printed everything on a Prusa i3 3D printer. This included some of the biggest parts I've printed and required me to re-calibrate the printer to take advantage of parts right up to the 200 millimeter squared limit. The bigger parts had to be printed at 45 degrees, but overall the parts are very simple to print - just time consuming.
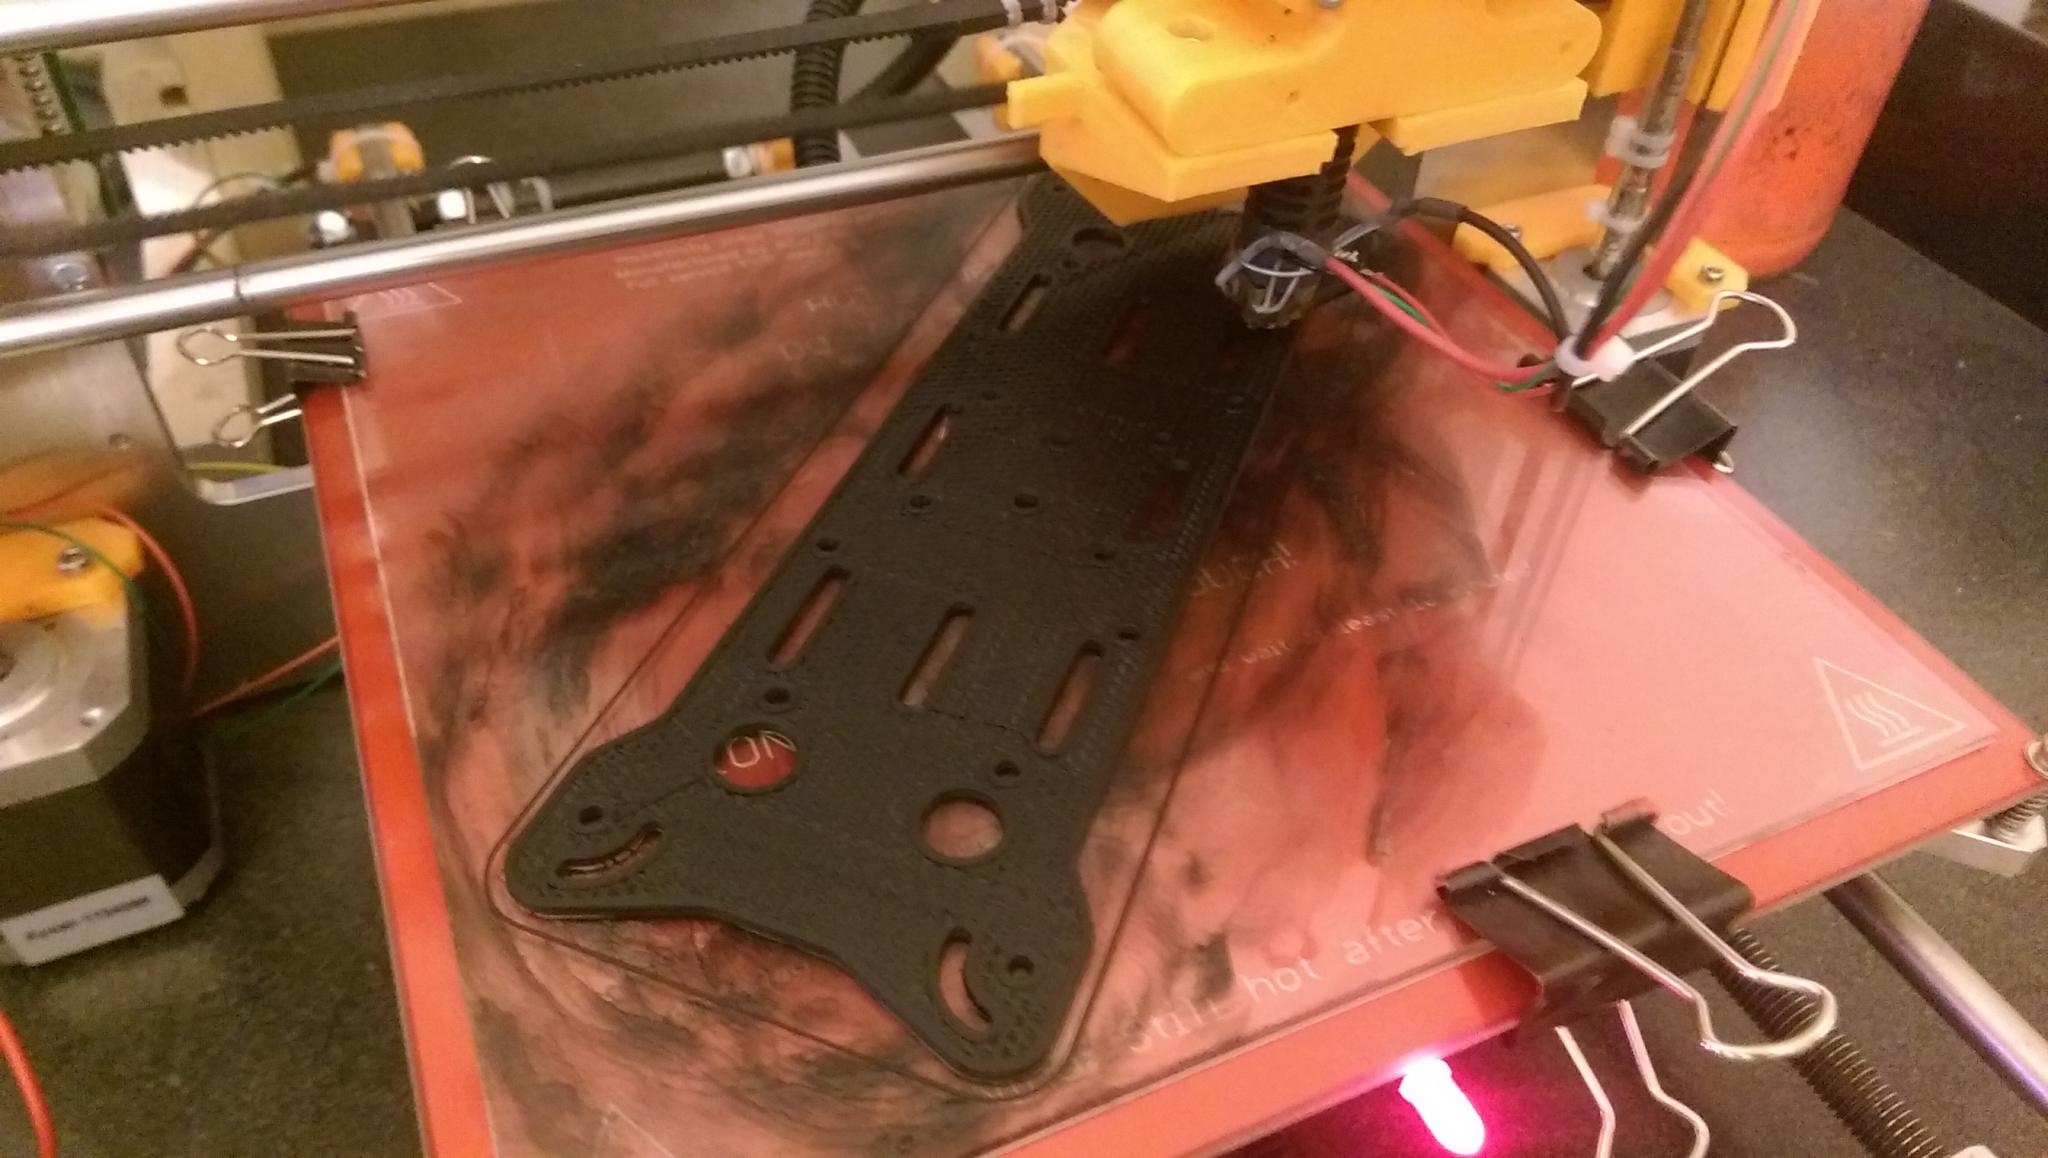
Of course I used ABS for this print. Arms and landing gear were printed with 70% infill. Everything else was in the 40% range. I gave several parts an acetone vapor bath, specifically the arms, to help with strength.
Parts
- VELCRO Brand - ONE-WRAP Thin Self-Gripping Cable Ties: Reusable, Light Duty - 8" x 1/2" Ties, 100 Pack - Black (paid link)
- Hobbypower Cc3d Openpilot Flight Controller 32bit for Qav250 X-copter Multirotor Fixed Wing (paid link)
- Mobius Action Camera 1080P HD Mini Sports Cam - Wide Angle Edition (paid link)
- AUTO-VOX Boscam 32Ch 5.8G 600mw 5km Wireless AV Transmitter TS832 Receiver RC832 for FPV First Person View (paid link)
- HQ Prop 5X4R Black - 5" x 4" Propellers - 2x Clockwise (Reverse) (paid link)
- HQ Prop 5X4 Black - 5" x 4" Propellers - 2x Counter-Clockwise (paid link)
- HobbyKing 12A BlueSeries Brushless Speed Controller
- Multistar Elite 2204-2300KV Set Of 4 CW/CCW (2/CCW 2/CW)
- Turnigy 1800mAh 3S 20C Lipo Pack
- JW Winco 351-8-8-M3-SS-55 Series GN 351 Rubber Type SS Cylindrical Vibration Isolation Mount with 2 Threaded Studs, Metric Size, 8mm Diameter, 8mm Height (Pack of 5) (paid link)
- Zipties, nylon standoffs, screws, a radio and receiver, a mini USB cable, wiring, and battery connectors.
The Build
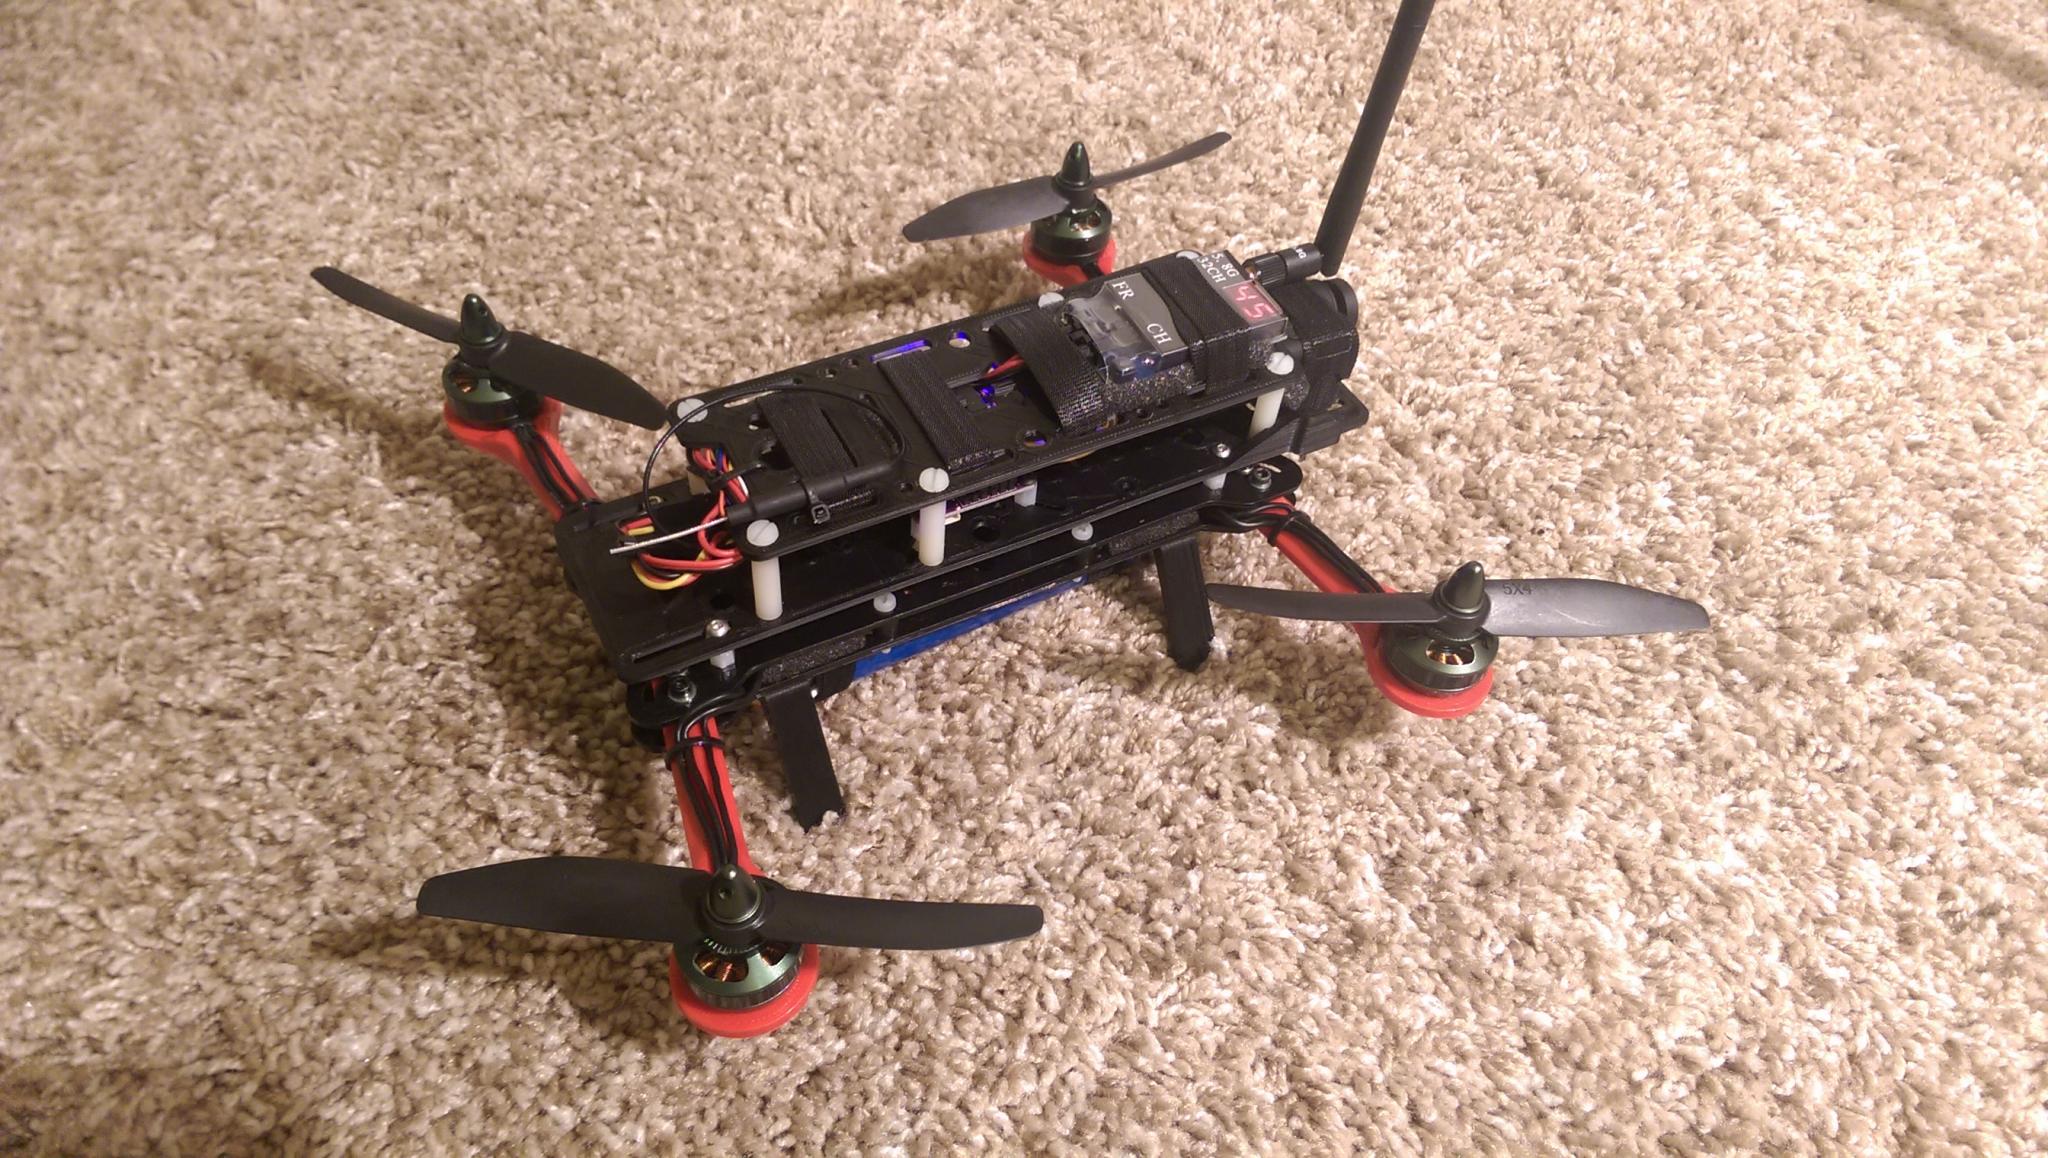
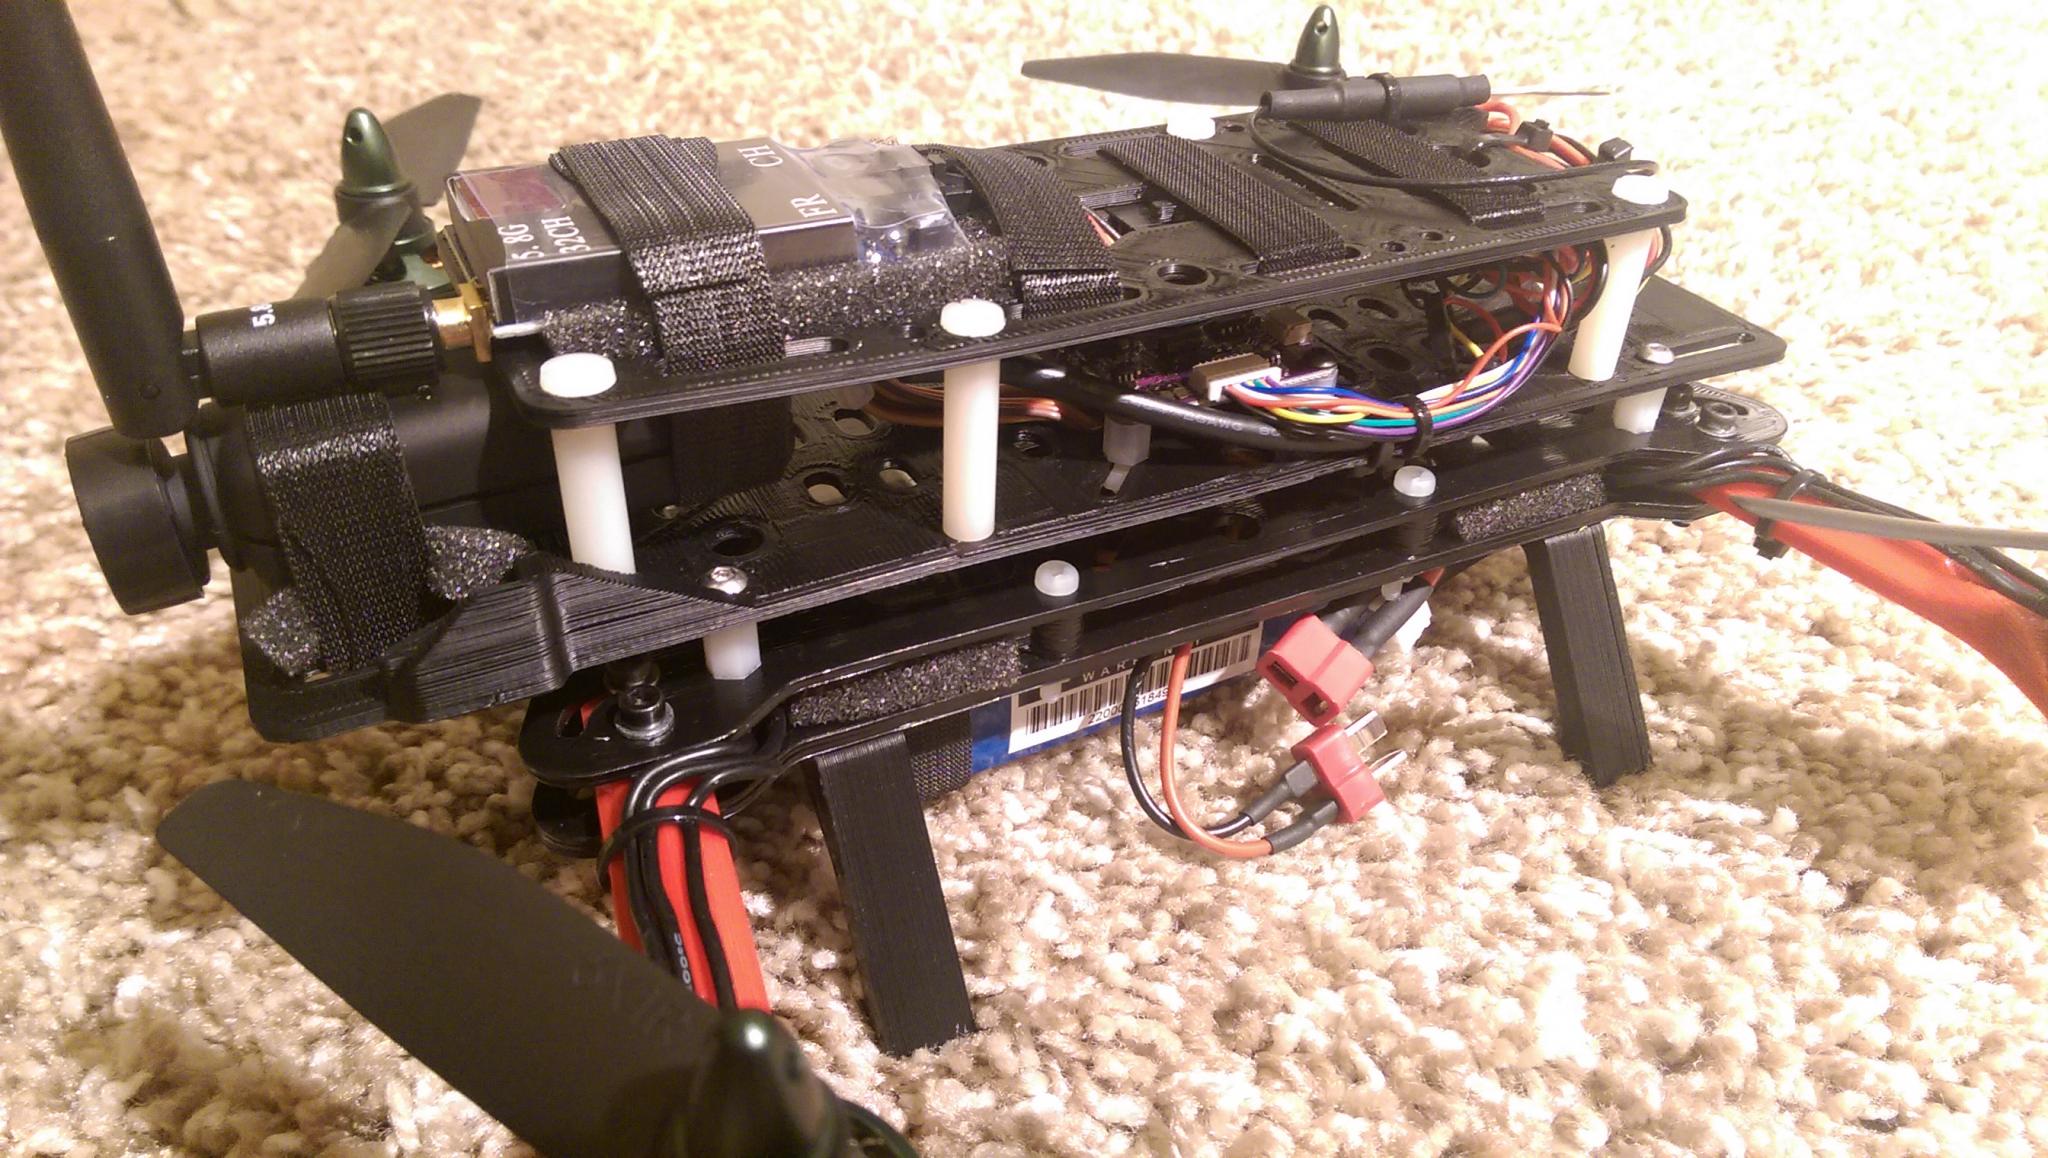
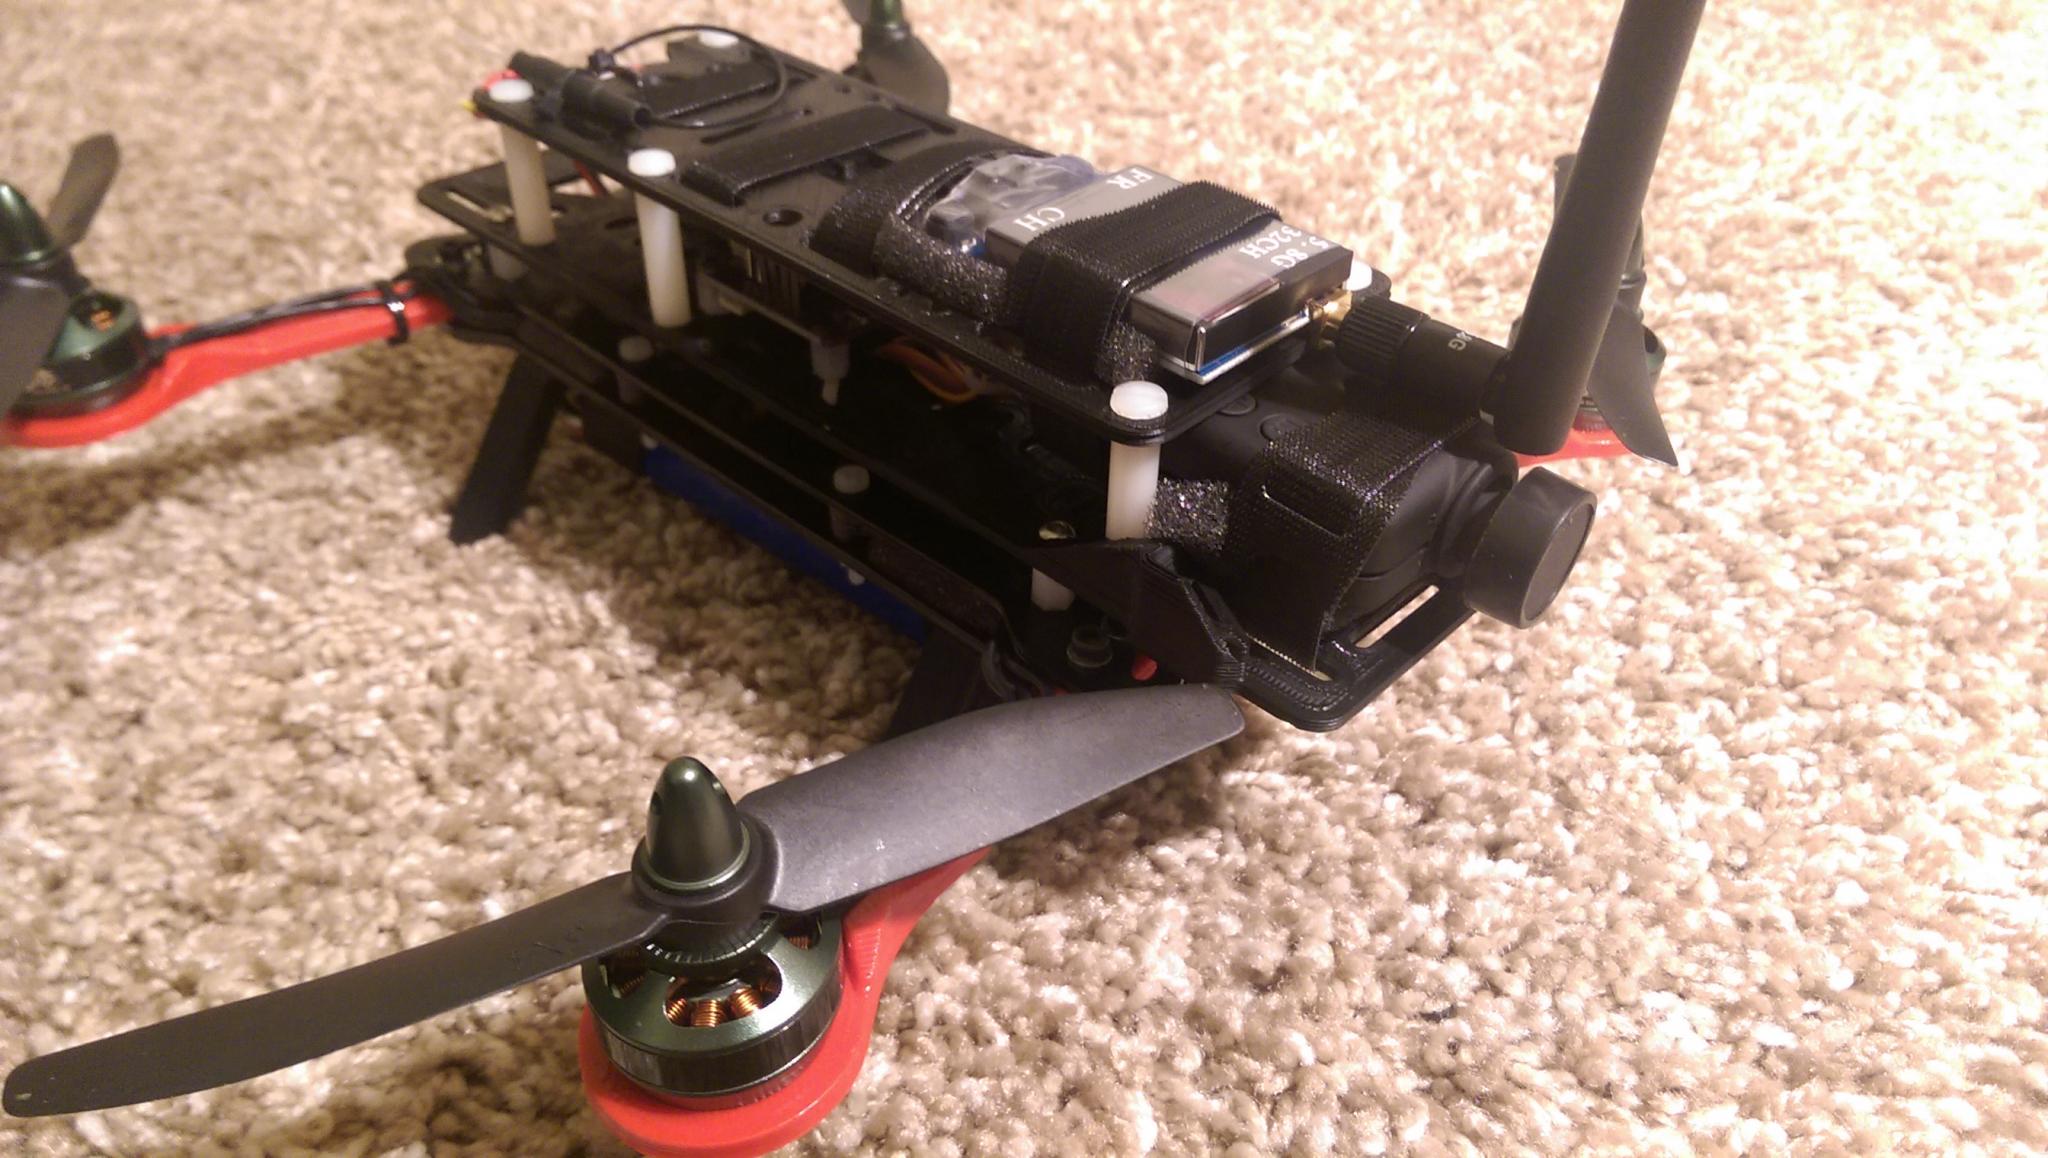
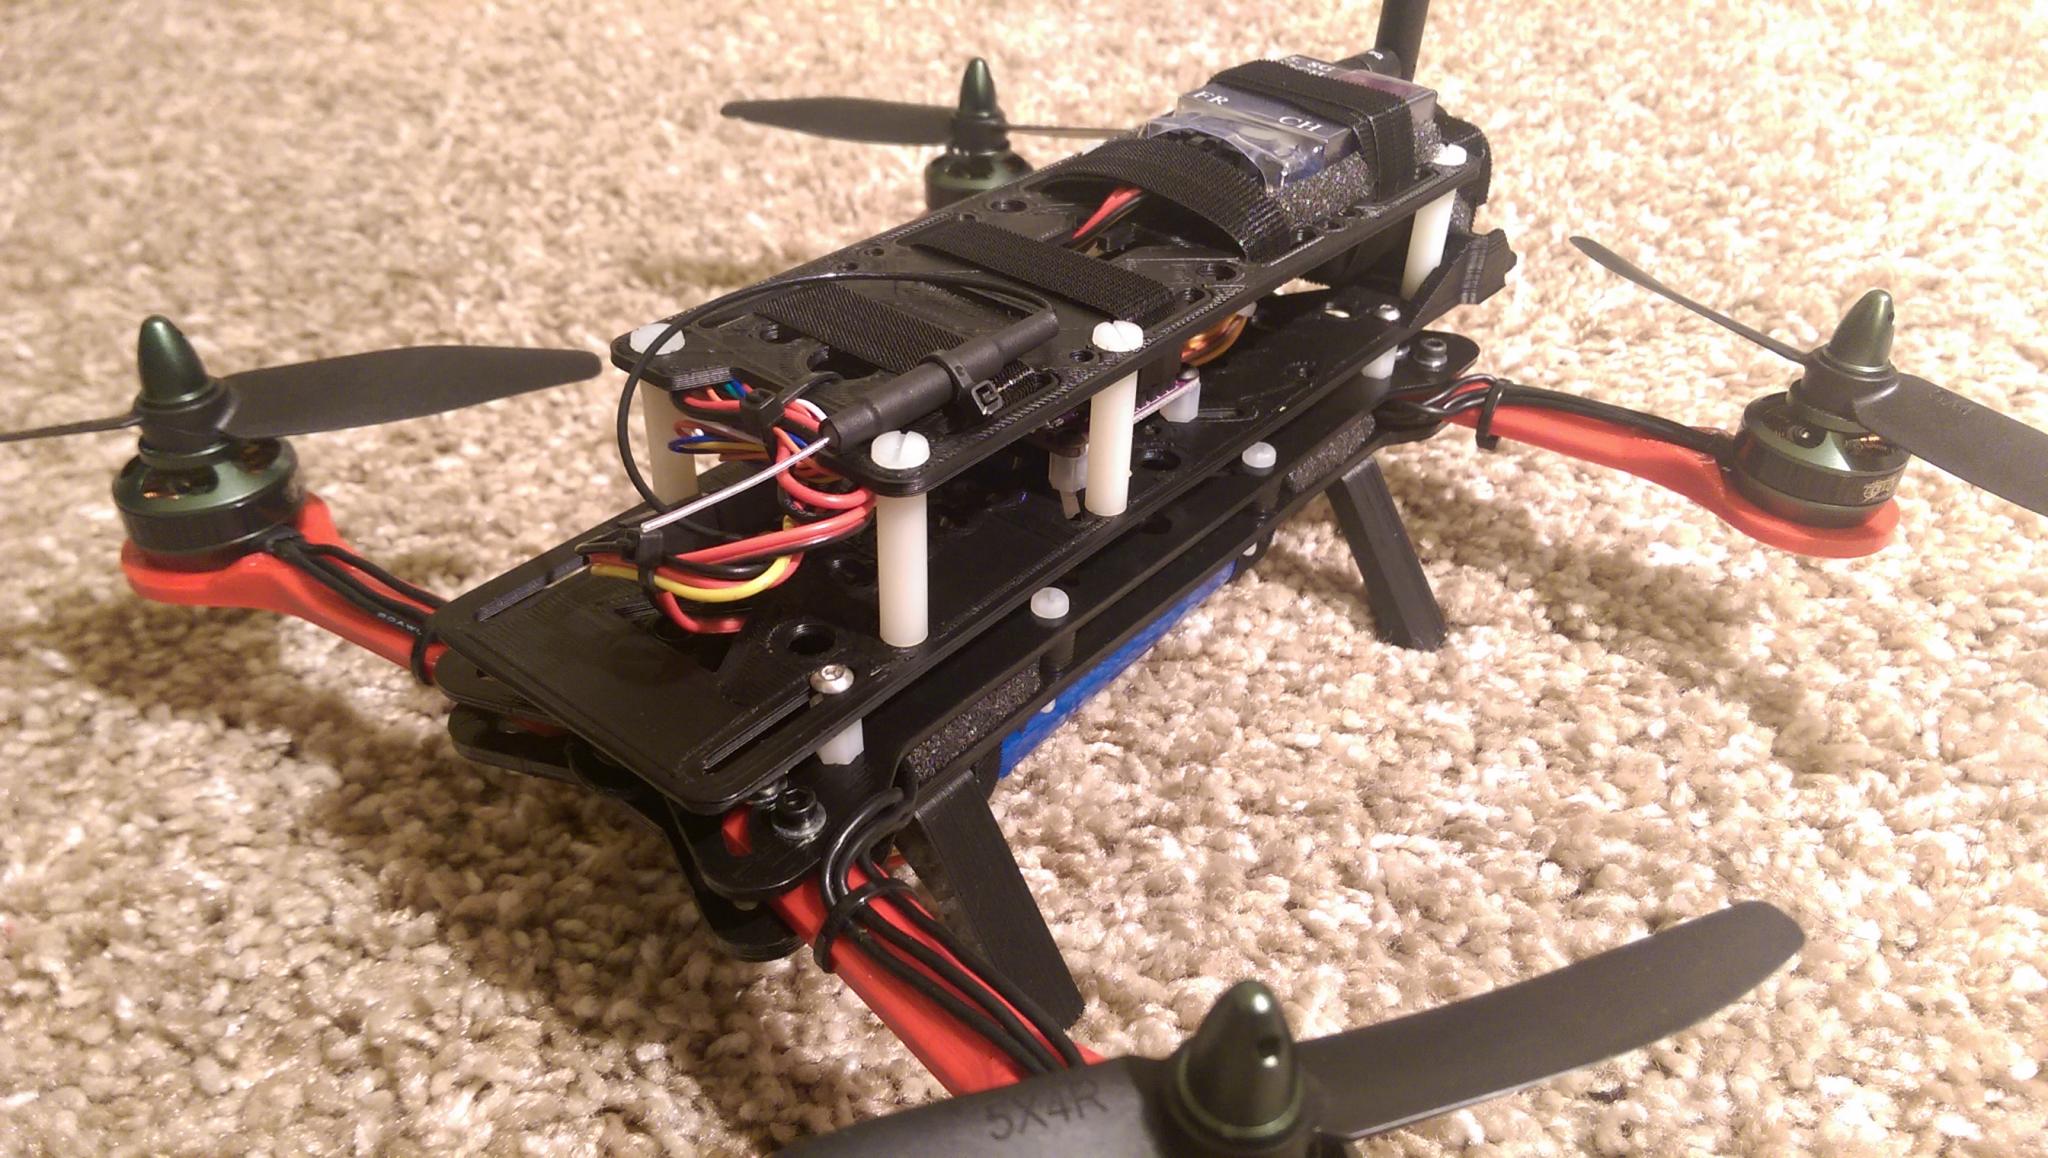
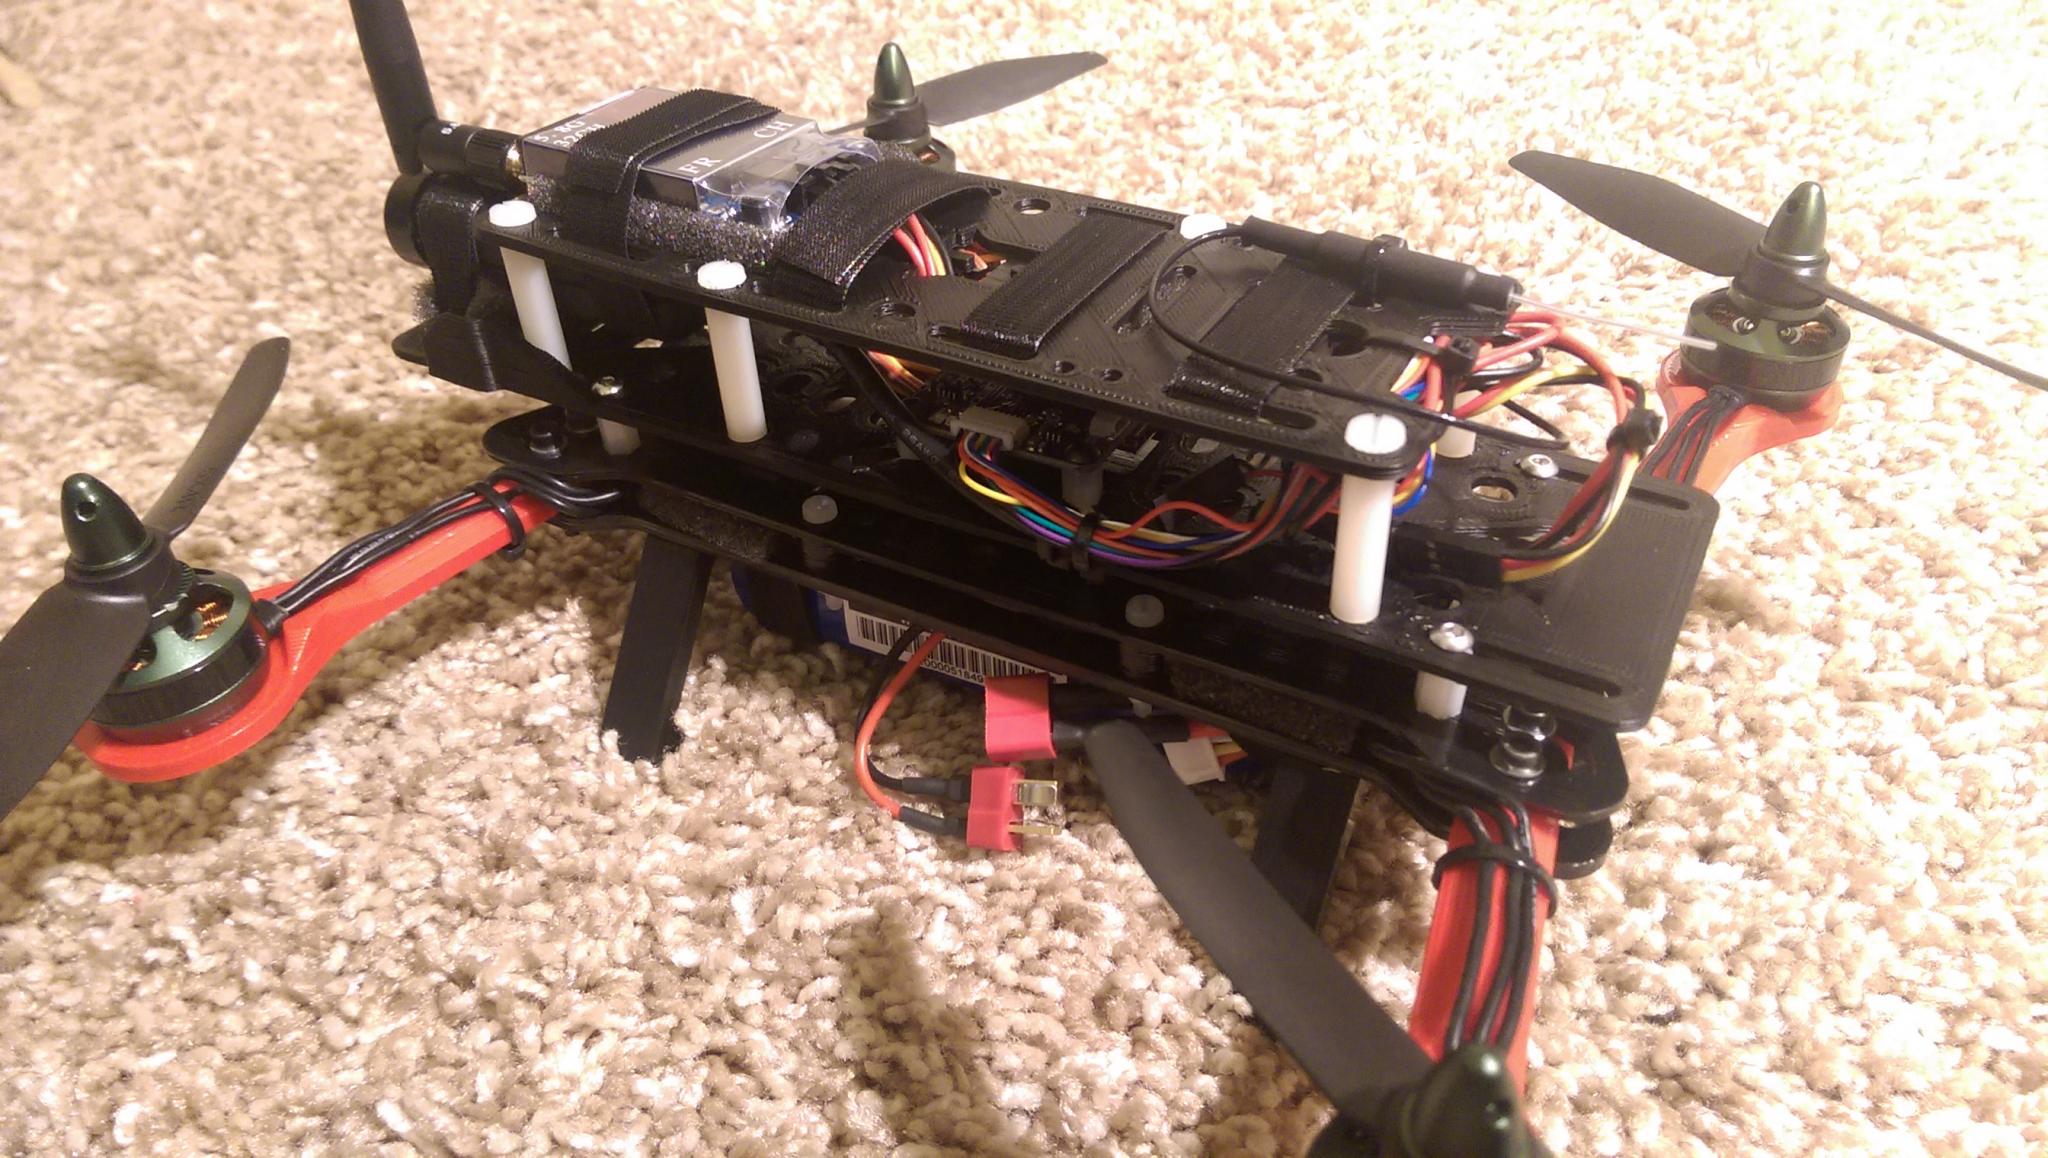
To reduce weight I did not use an off the shelf distribution board or banana connectors between the motors and ESCs. Instead, I did the washer power distribution method and soldered and heatshrinked everything directly. This saved about 40 grams on weight. As it turns out, final full weight with everything - battery, FPV gear, motors, is 538 grams. It's heavy, but easily hovers at around 50% throttle.
Live Video + Record with Mobius Camera
So, I wanted to be able to record video and have a live video signal at the same time with the Mobius. Maybe I'll eventually add a CMOS camera to reduce live video delay. The Mobius does have a small amount of video delay for the live feed, but it's not prohibitive. To do this, you need a special mini USB cable that shorts pins 4 and 5 which turns the USB data pins into composite video and mono audio.
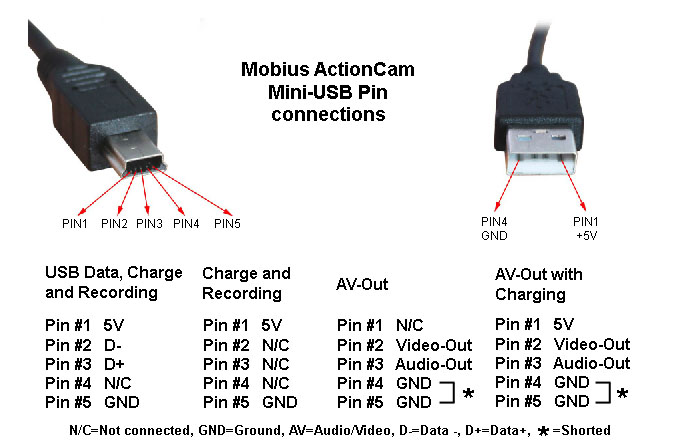
Image from http://www.rcgroups.com/forums/showthread.php?t=1904559
Essentially, it re-purposes the USB cable into something that's not USB at all. I was able to take a USB cable, cut it open with a razor knife along the seam, and put a bit of solder between the pins out of the way of the connection points. This tutorial shows the basic idea. Even though you can see 5 pins on the connector, there are only 4 wires in a standard cable and the connector itself only brings out 4 of the pins. Of the 2 cables I attempted this on, it was only possible on one of them so be warned this won't work on all cables. With that said, you could buy an off the shelf cable for this or even a mini USB OTG cable to make it easier.
Next Steps
I'm still fooling around with the CC3D settings as usual, but default settings out the box are decent on this quadcopter. I've done a couple initial FPV flights and I'm loving this thing. A couple soft crashes have resulted in a couple broken props and folding in the arms, but I have yet to break anything on the quadcopter itself.
