How To Etch Hobby Circuit Boards
Here's my process for etching prototype PCB's for hobby projects quickly. It works out fairly well and it's a pretty simple process with household materials. It sure beats 100% jumper boards I used to make and there's no need to go all out with a commercial solution. The results out of this are really good, assuming you don't have a need for really small pitch traces.
What You Need
- Laser Printer
- Standard Copier Paper
- Glossy Magazine Pages
- Hydrogen Peroxide
- Hydrochloric Acid (Muriatic Acid)
- Plastic Tupperware Container and Plastic Spoon/Fork
- Gloves
- Goggles
- Scotch Tape
- Iron
- Copper Clad Board (single or double sided depending on your design)
- Drill Press and Tiny Bits
- Acetone or Lacquer Thinner
I currently like Fritzing for quickly prototyping boards. It's come a long way and is starting to mature and get pretty stable. I find it very easy to use and I love that I can just copy in a working circuit on a breadboard and use that to start laying out a PCB. It has a nifty workflow that allows you to go from prototyping board to circuit to PCB.
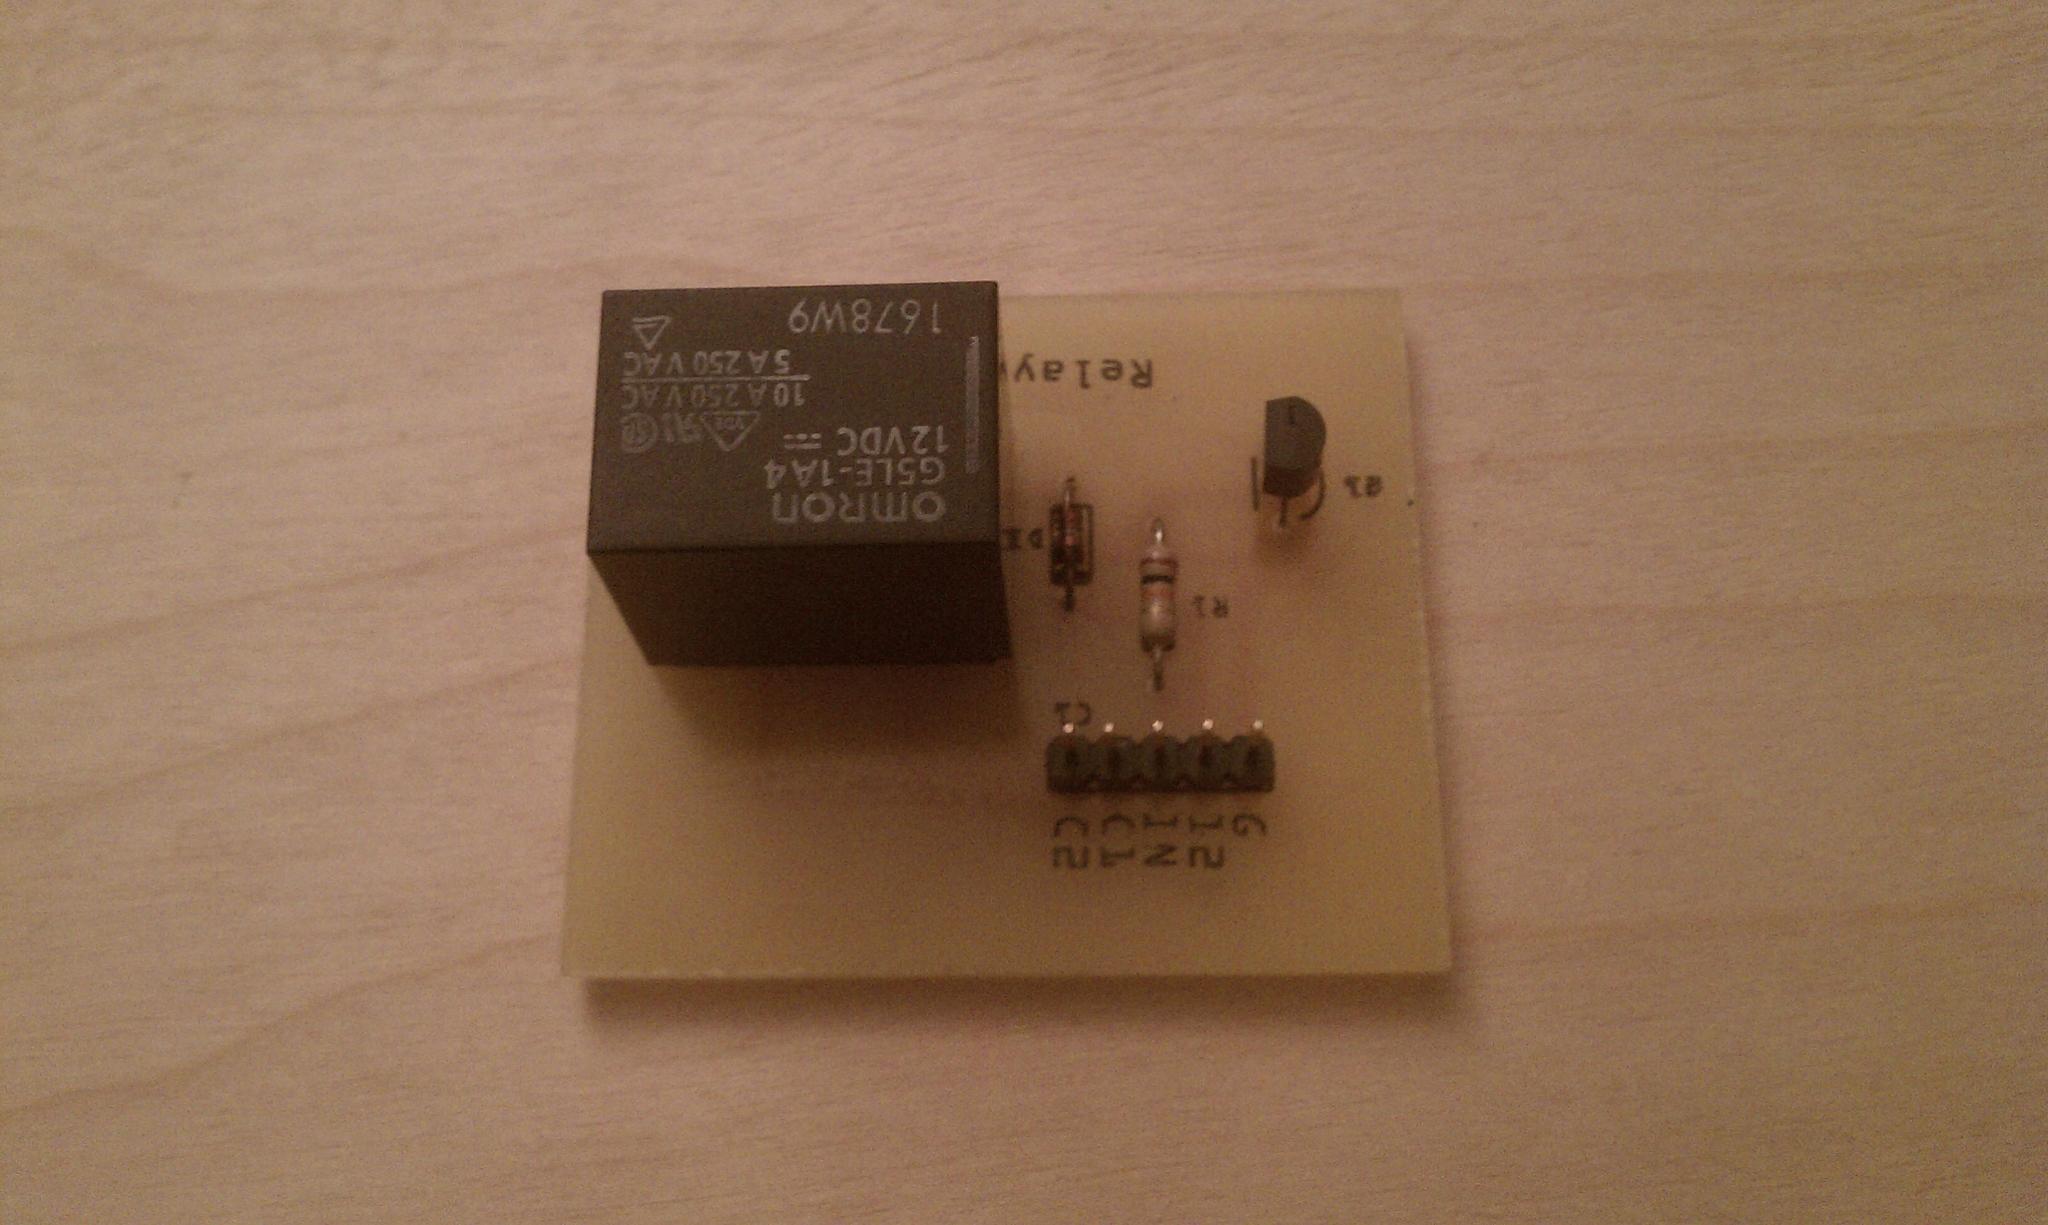
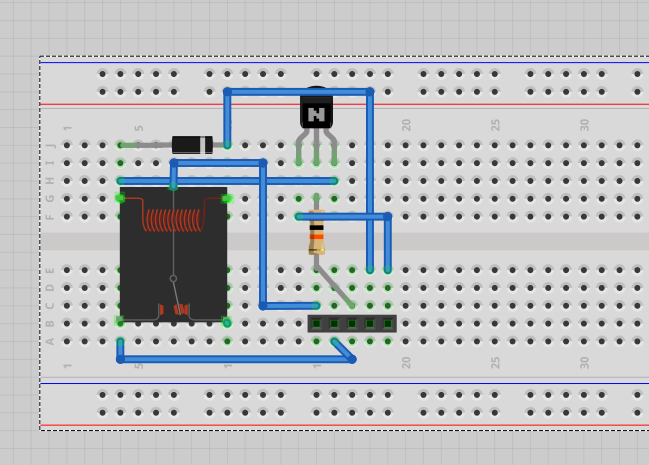
After I prototype the board and make sure it works, I put it in Fritzing just like it is on the board. The example is a simple relay board with the relay driven by an NPN transistor. This is a good general purpose board I use for many different things.
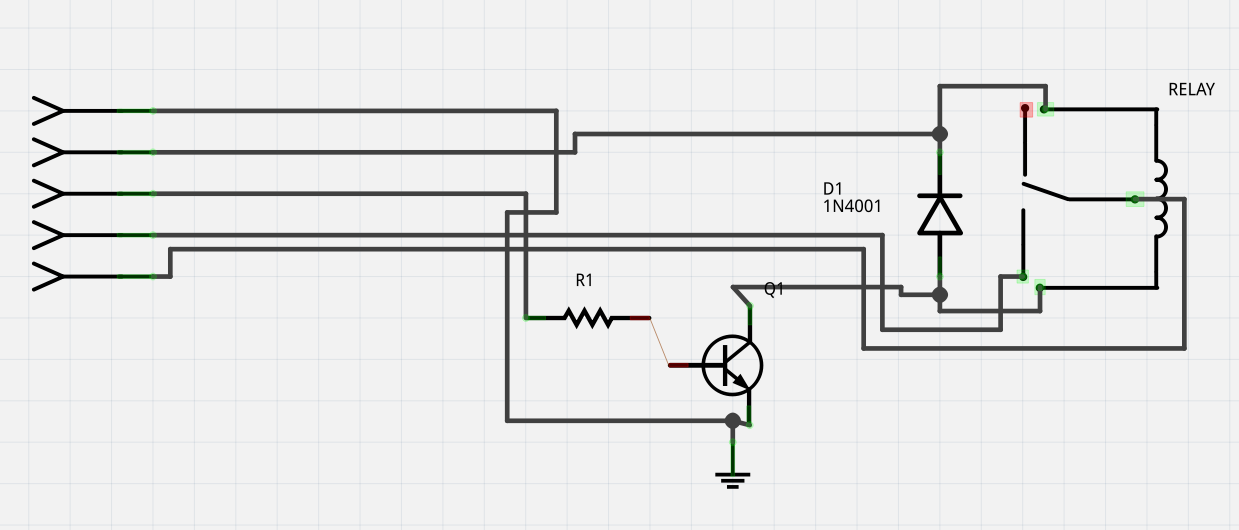
Fritzing then generates a circuit for me, which usually takes a good amount of rearranging to make some sense of it.
Then, it comes time to layout the PCB. The autorouter is decent for simple boards like this, but at best it just gives me a start. For complicated boards in a small space I almost always have to route most of it myself.
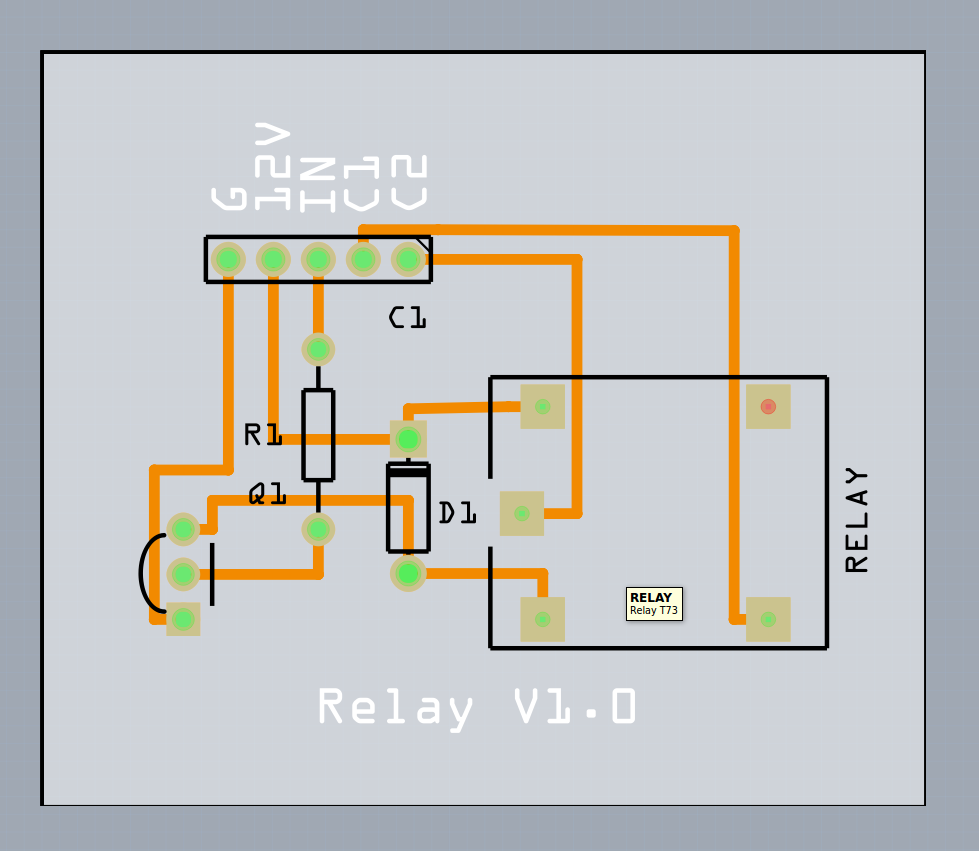
When that's all done it's time to etch. Export to PDF for production and you get something like this.
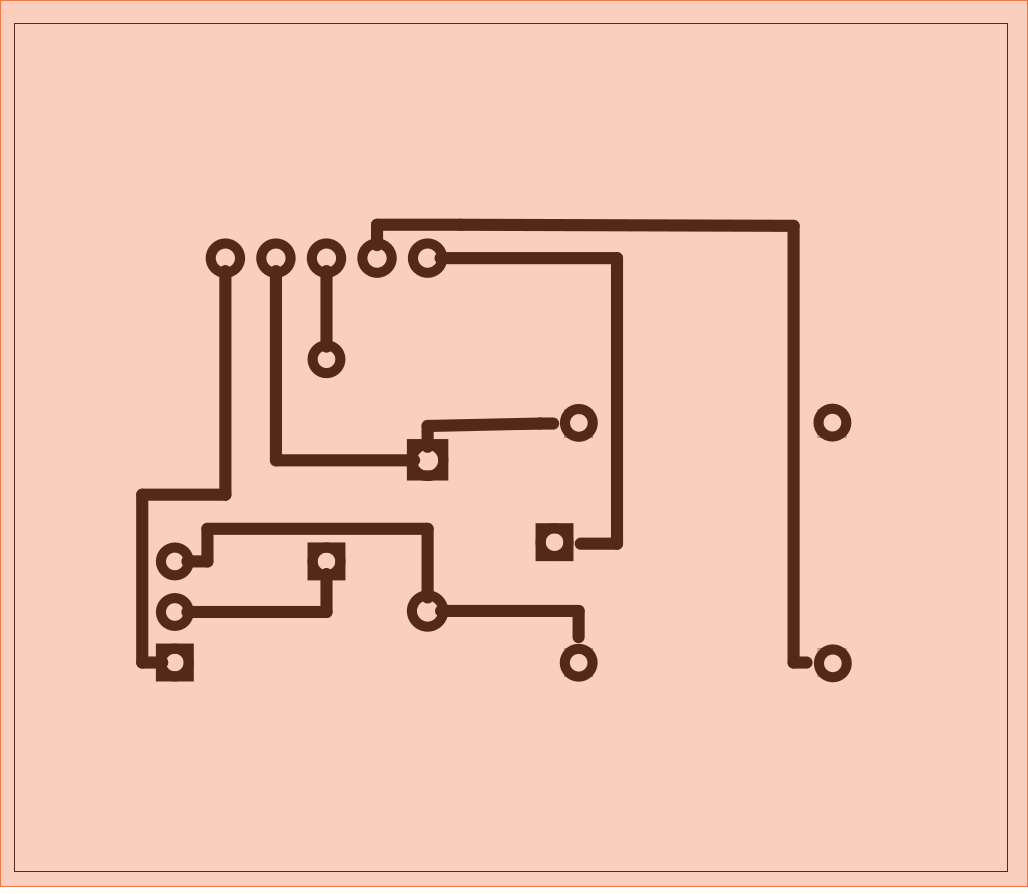
I've found that regular magazine pages make the best transfer medium. I'll rip out a magazine page, cut it so there are no rough edges, and tape it to a normal sheet of paper. Then, I'll run it through the laser printer using a setting (something like transparency) that gives the thickest toner transfer. It took a bit of playing around to figure out the best setting. You really want a setting that loads the toner on there.
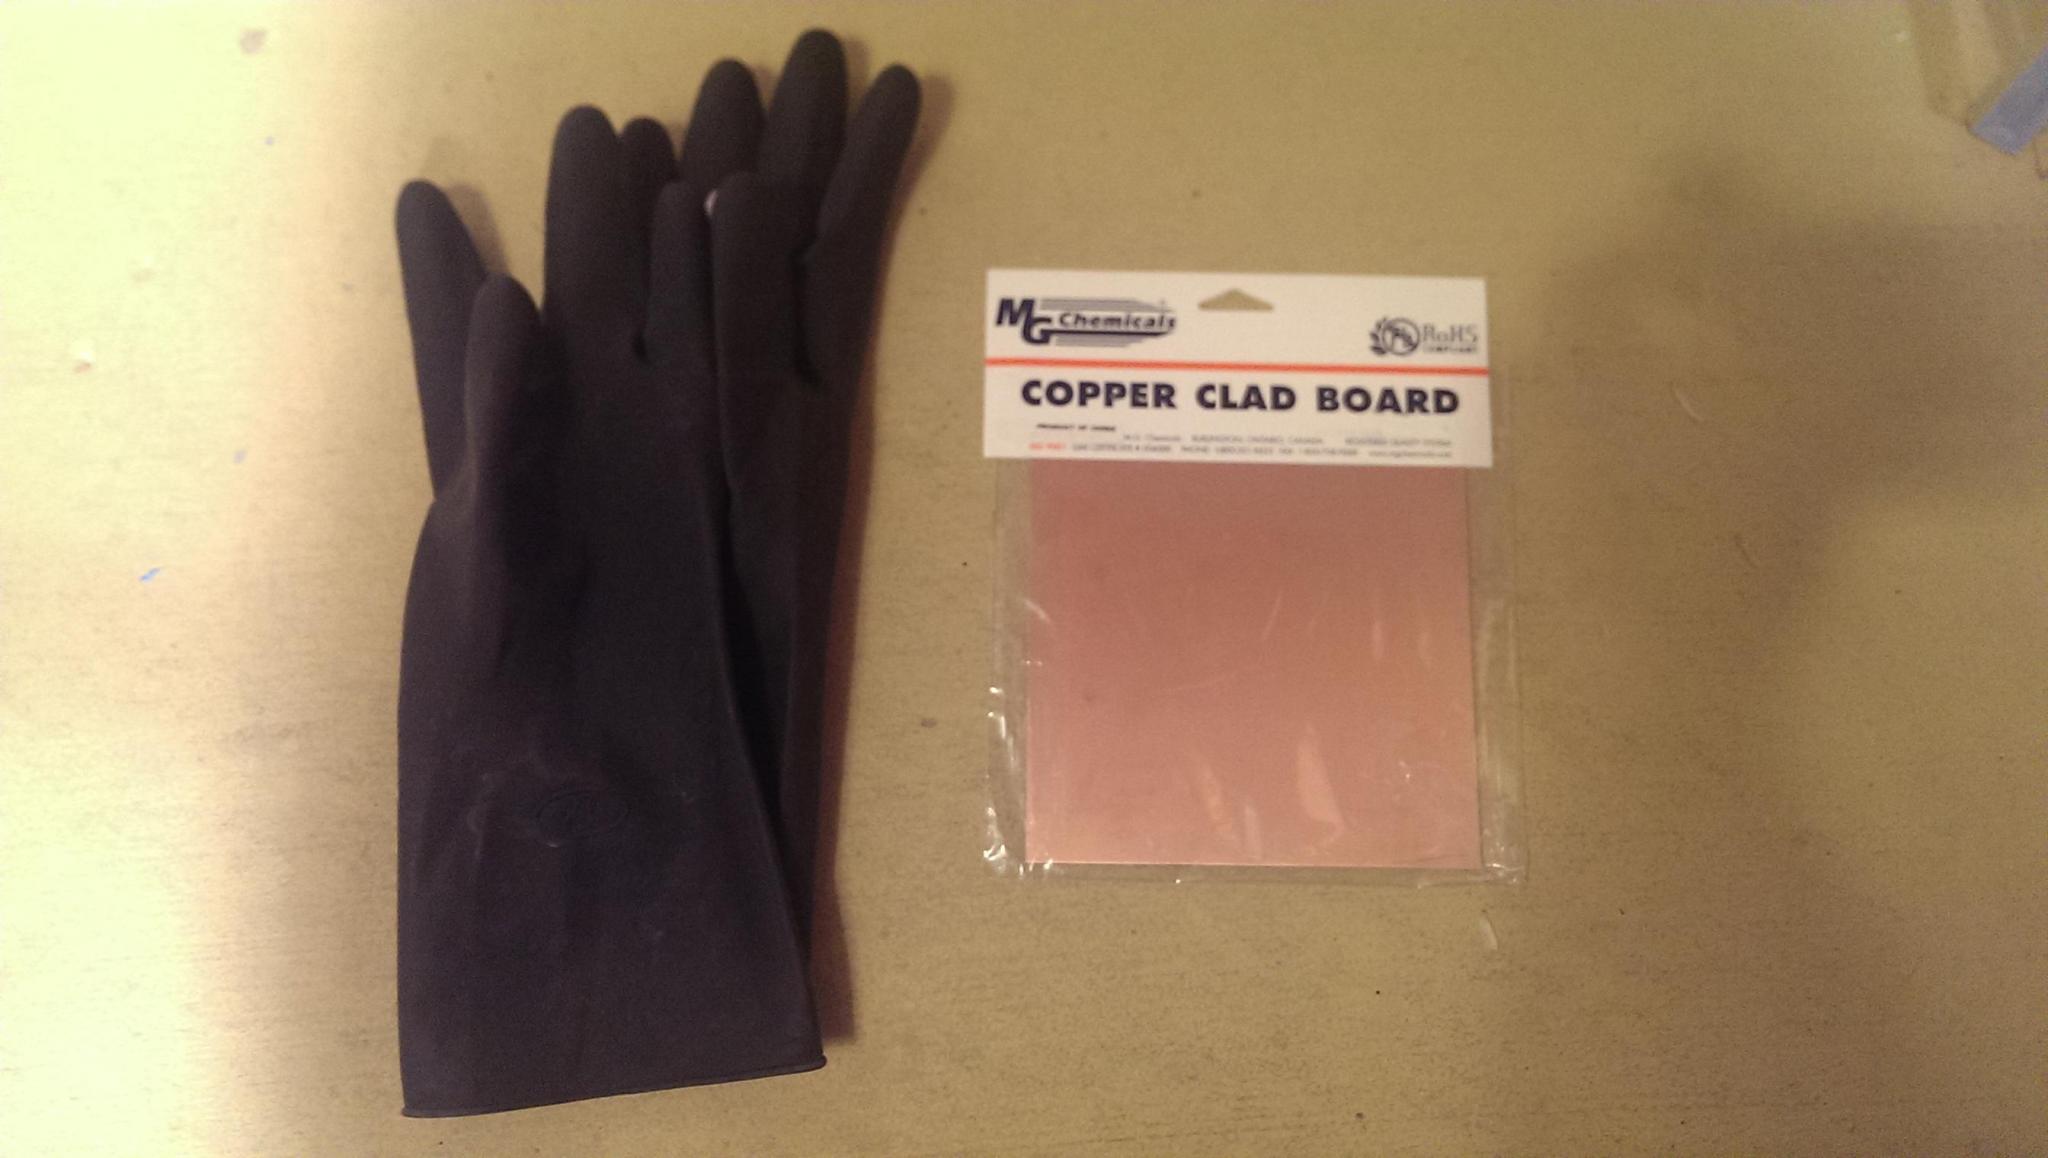
Once you have the print on magazine paper and your board cut to the right size, it's time to iron it onto the PCB.
The first thing you have to do is clean up the copper on your board so it's nice and shiny. I usually run it under water and scrub it with the green side of one of those standard kitchen sponges.
Pay careful attention to the orientation and the possible need for a mirror image depending on what you're doing. I usually put the magazine paper on the copper and then cover the whole thing with a piece of paper. This keeps the iron from possibly catching and moving the magazine paper and it also gives me something to hold with my hands because the PCB will get quite hot. If the board is double sided, I just iron on one side at a time. You'll have to play around with how hot the iron should be and how you should iron. If you iron for too long or the iron is too hot the traces start to smear.
The magazine paper should be sticking to the copper now. Put it in a cold bucket of water and let it sit for 10 minutes or so. You'll notice the magazine paper starts to get weak and even start to dissolve. The magazine paper just peals off and leaves the toner. Look at the traces and if there are any problems, like broken connections or thin lines, you can actually use a sharpie marker to carefully write where the trace should be. This actually works pretty well.
Next, create an etching solution of 2 parts hydrogen peroxide and 1 part muriatic acid in a plastic container. I just use standard pool acid due to availability. Always pour the acid into the peroxide and wear gloves and goggles.
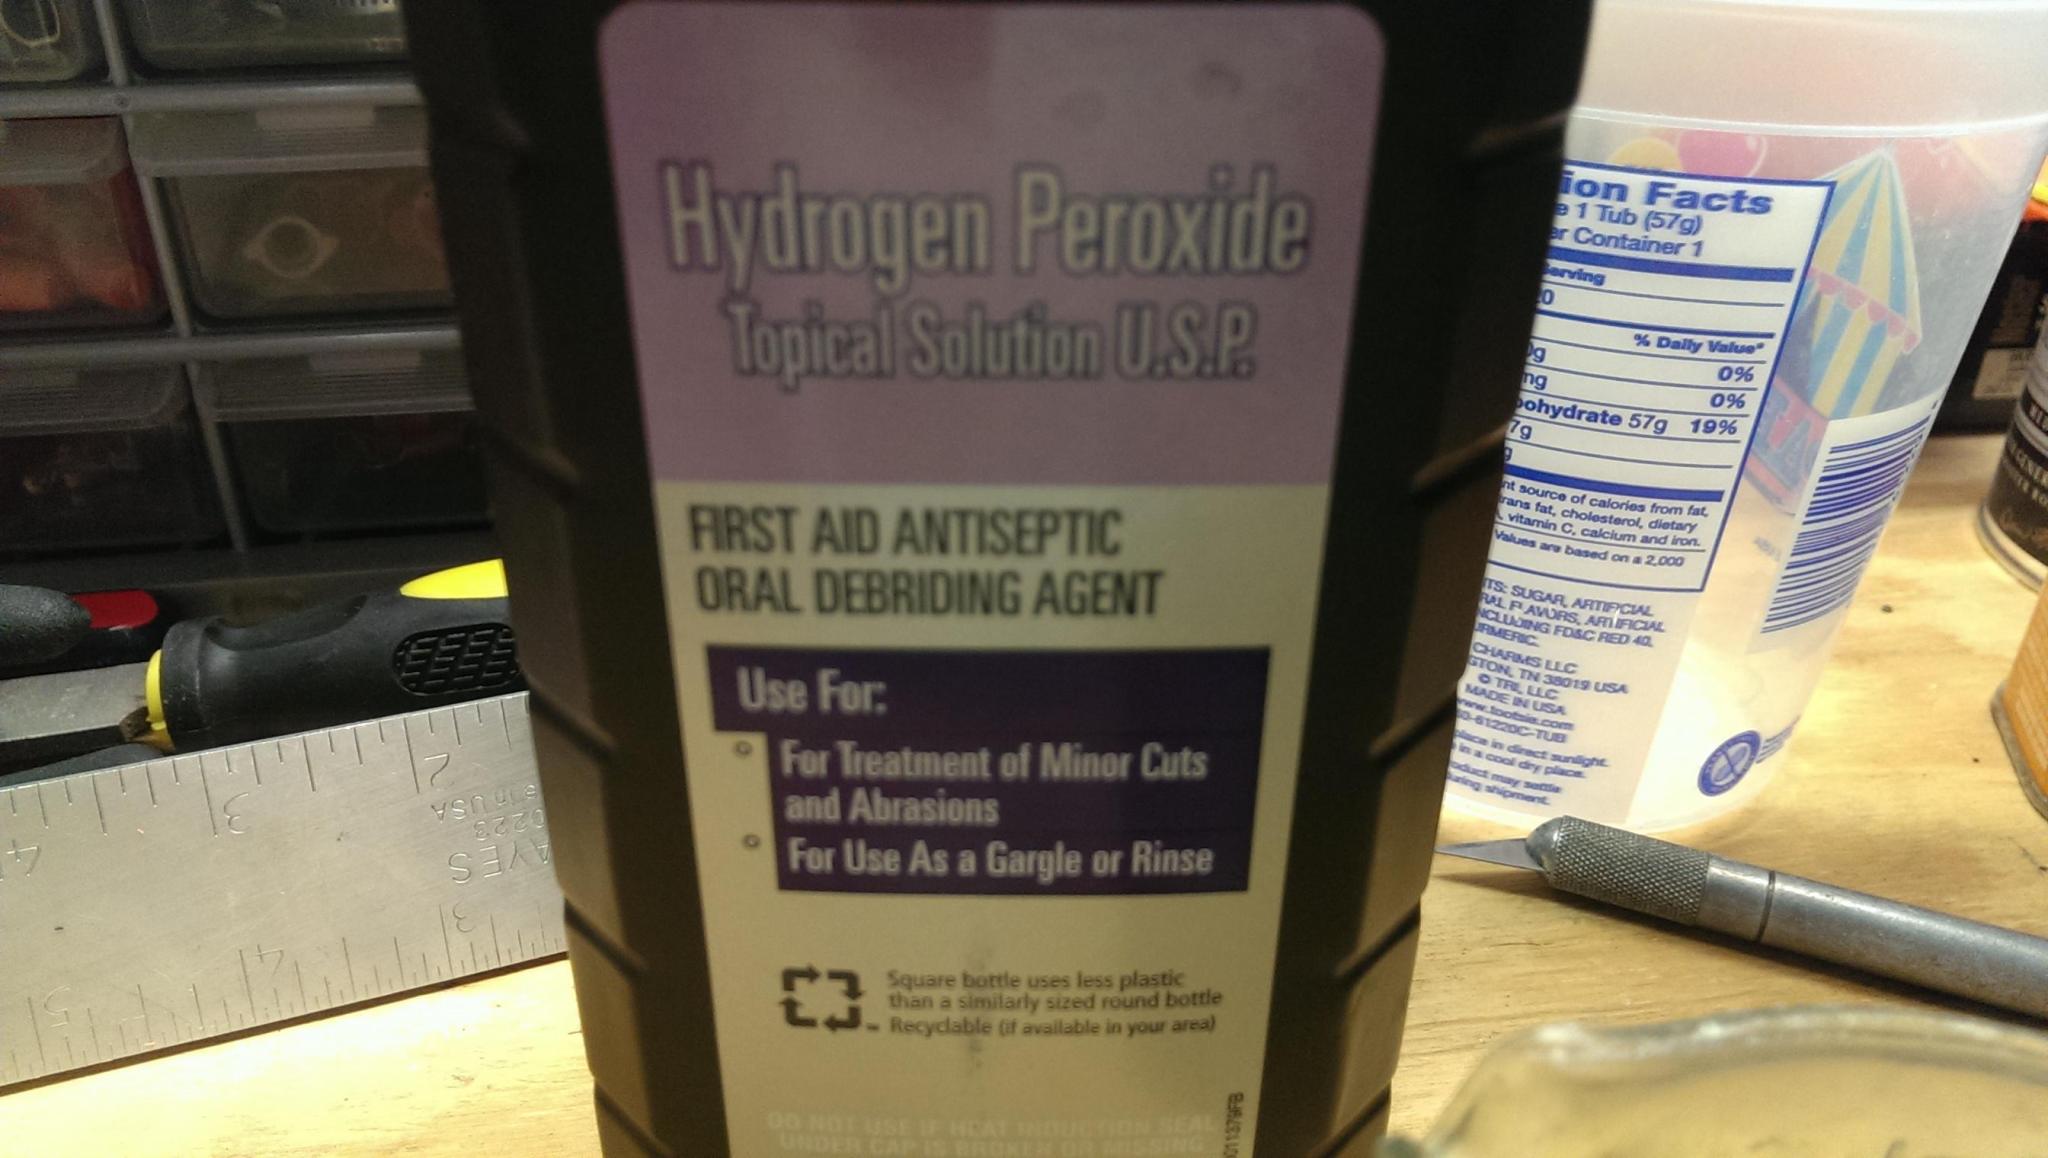
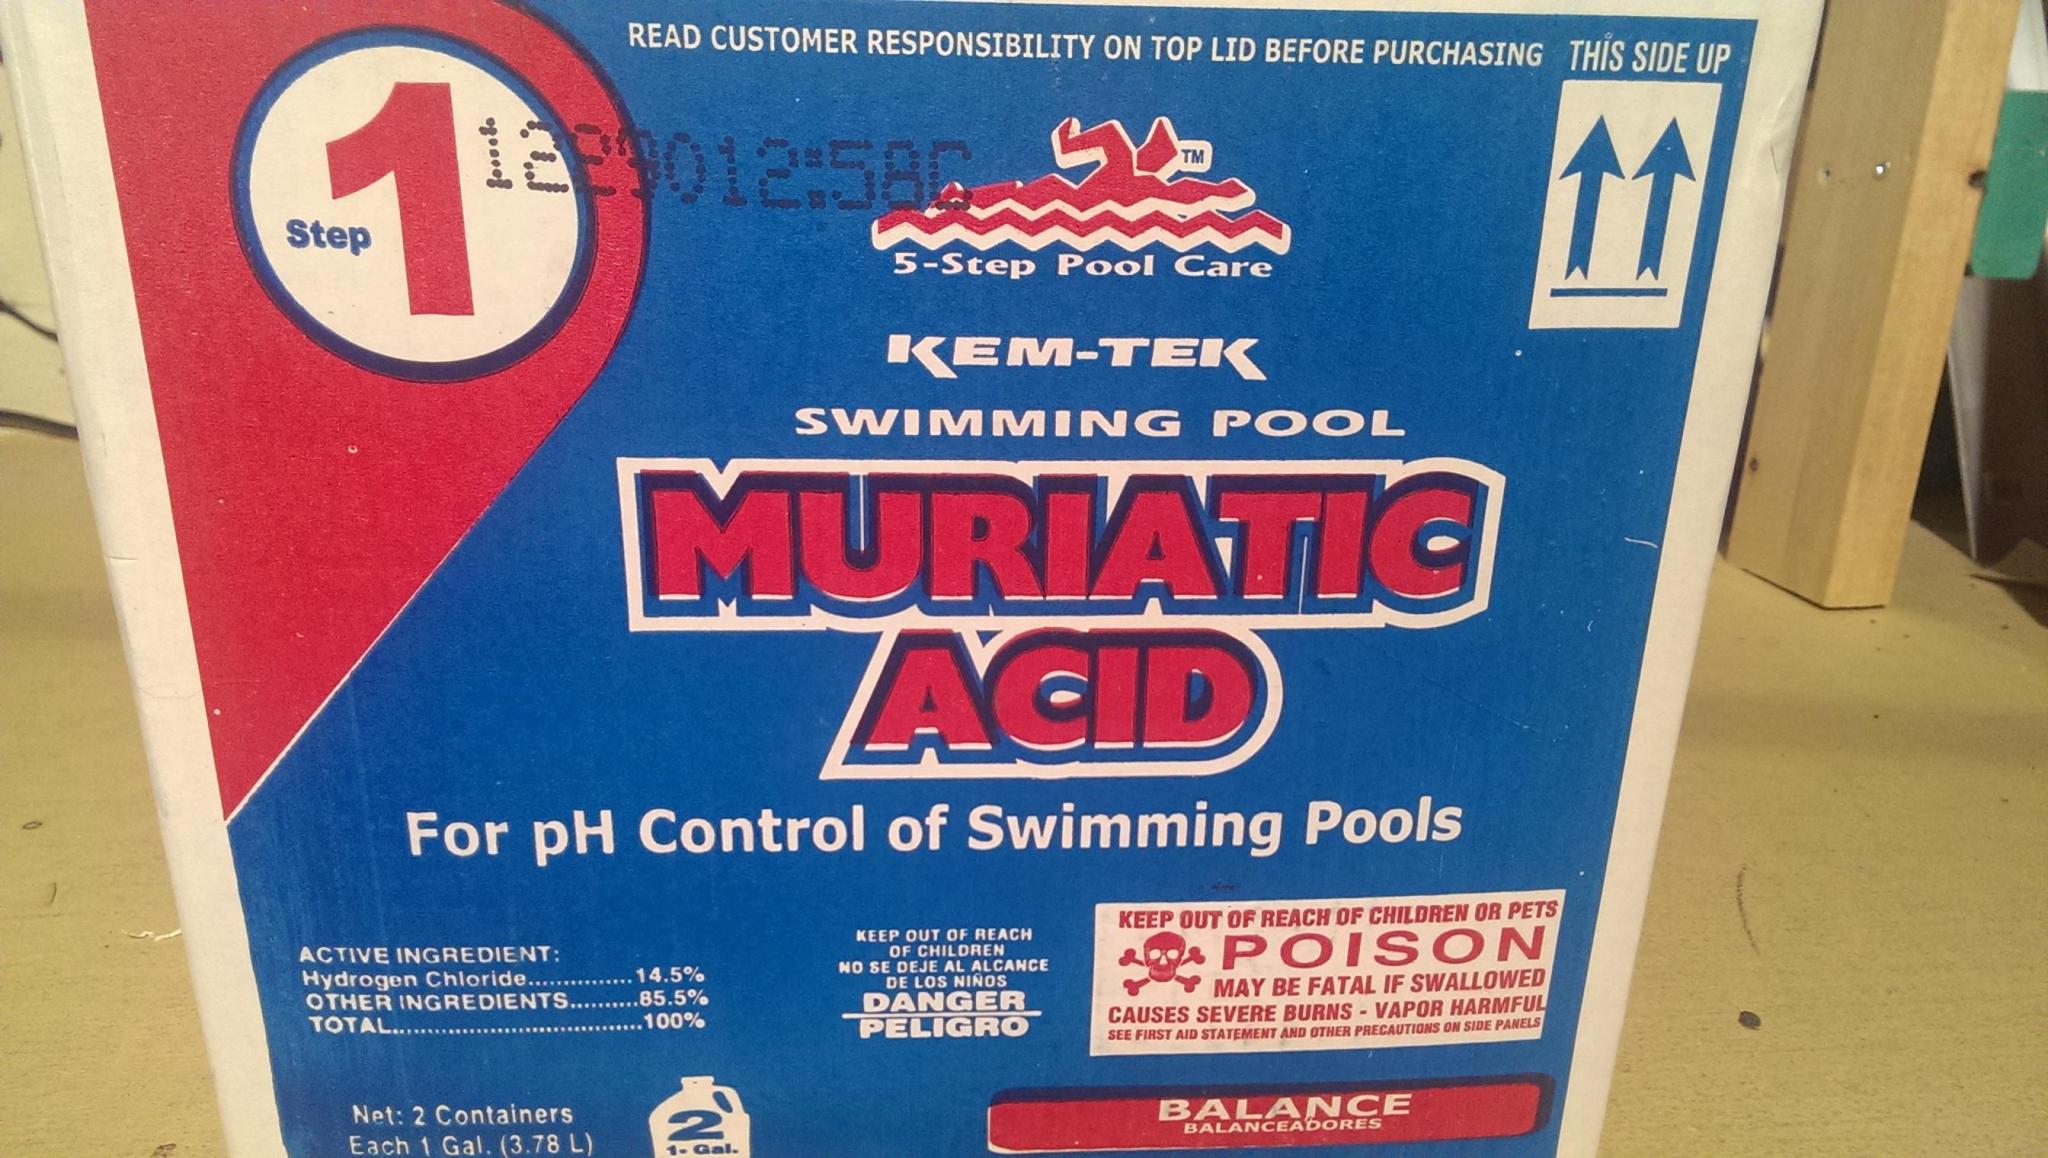
Put the PCB in the solution. I like to stir it around a bit because it seems to go faster. After awhile you'll start to see the copper disappearing and the solution starting to turn a blue-green color. Generally, if the board is double sided I try to get both sides to finish at the same time. Once you see all of the copper gone, if you leave it in the solution it starts to etch under your traces.
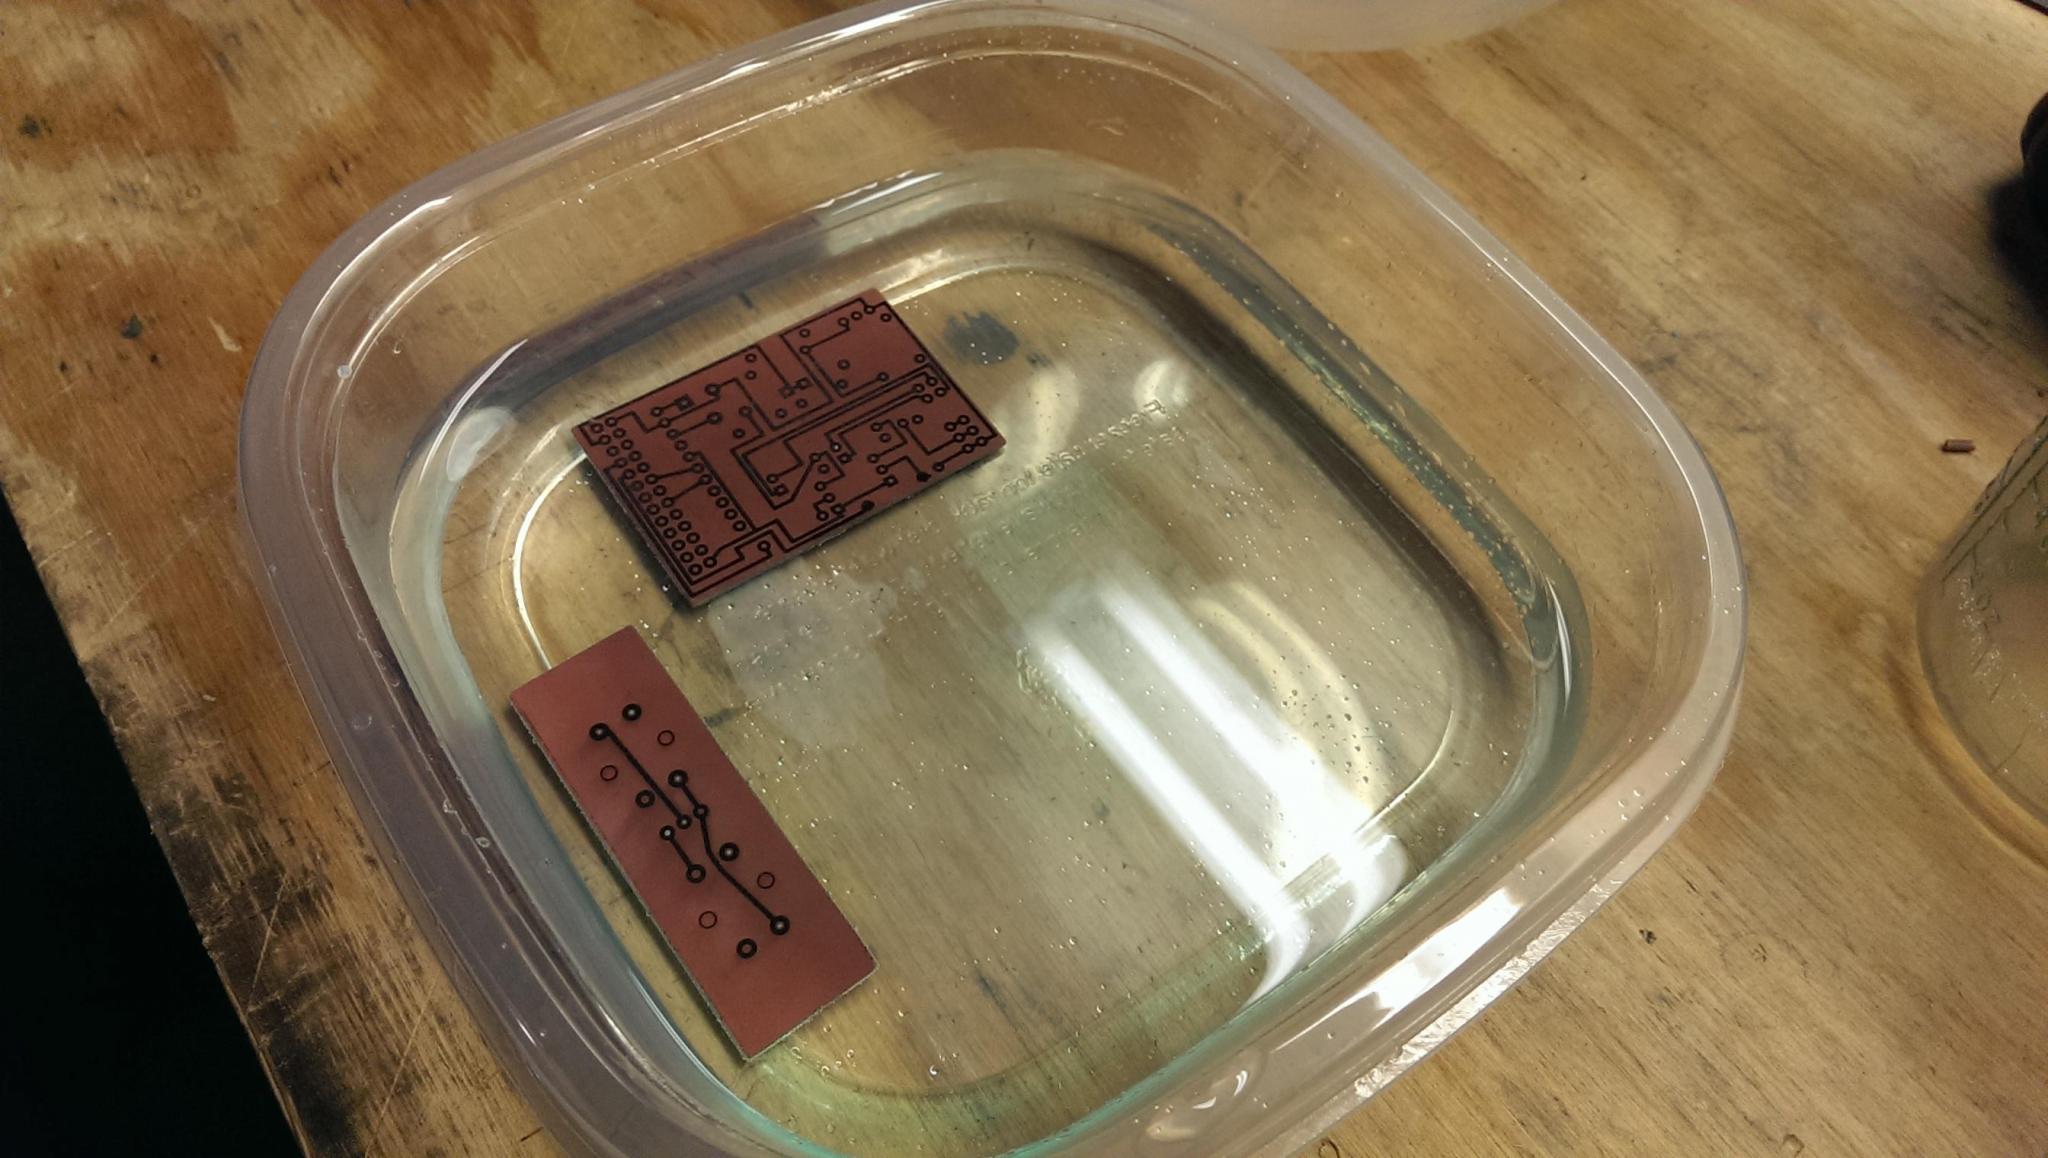
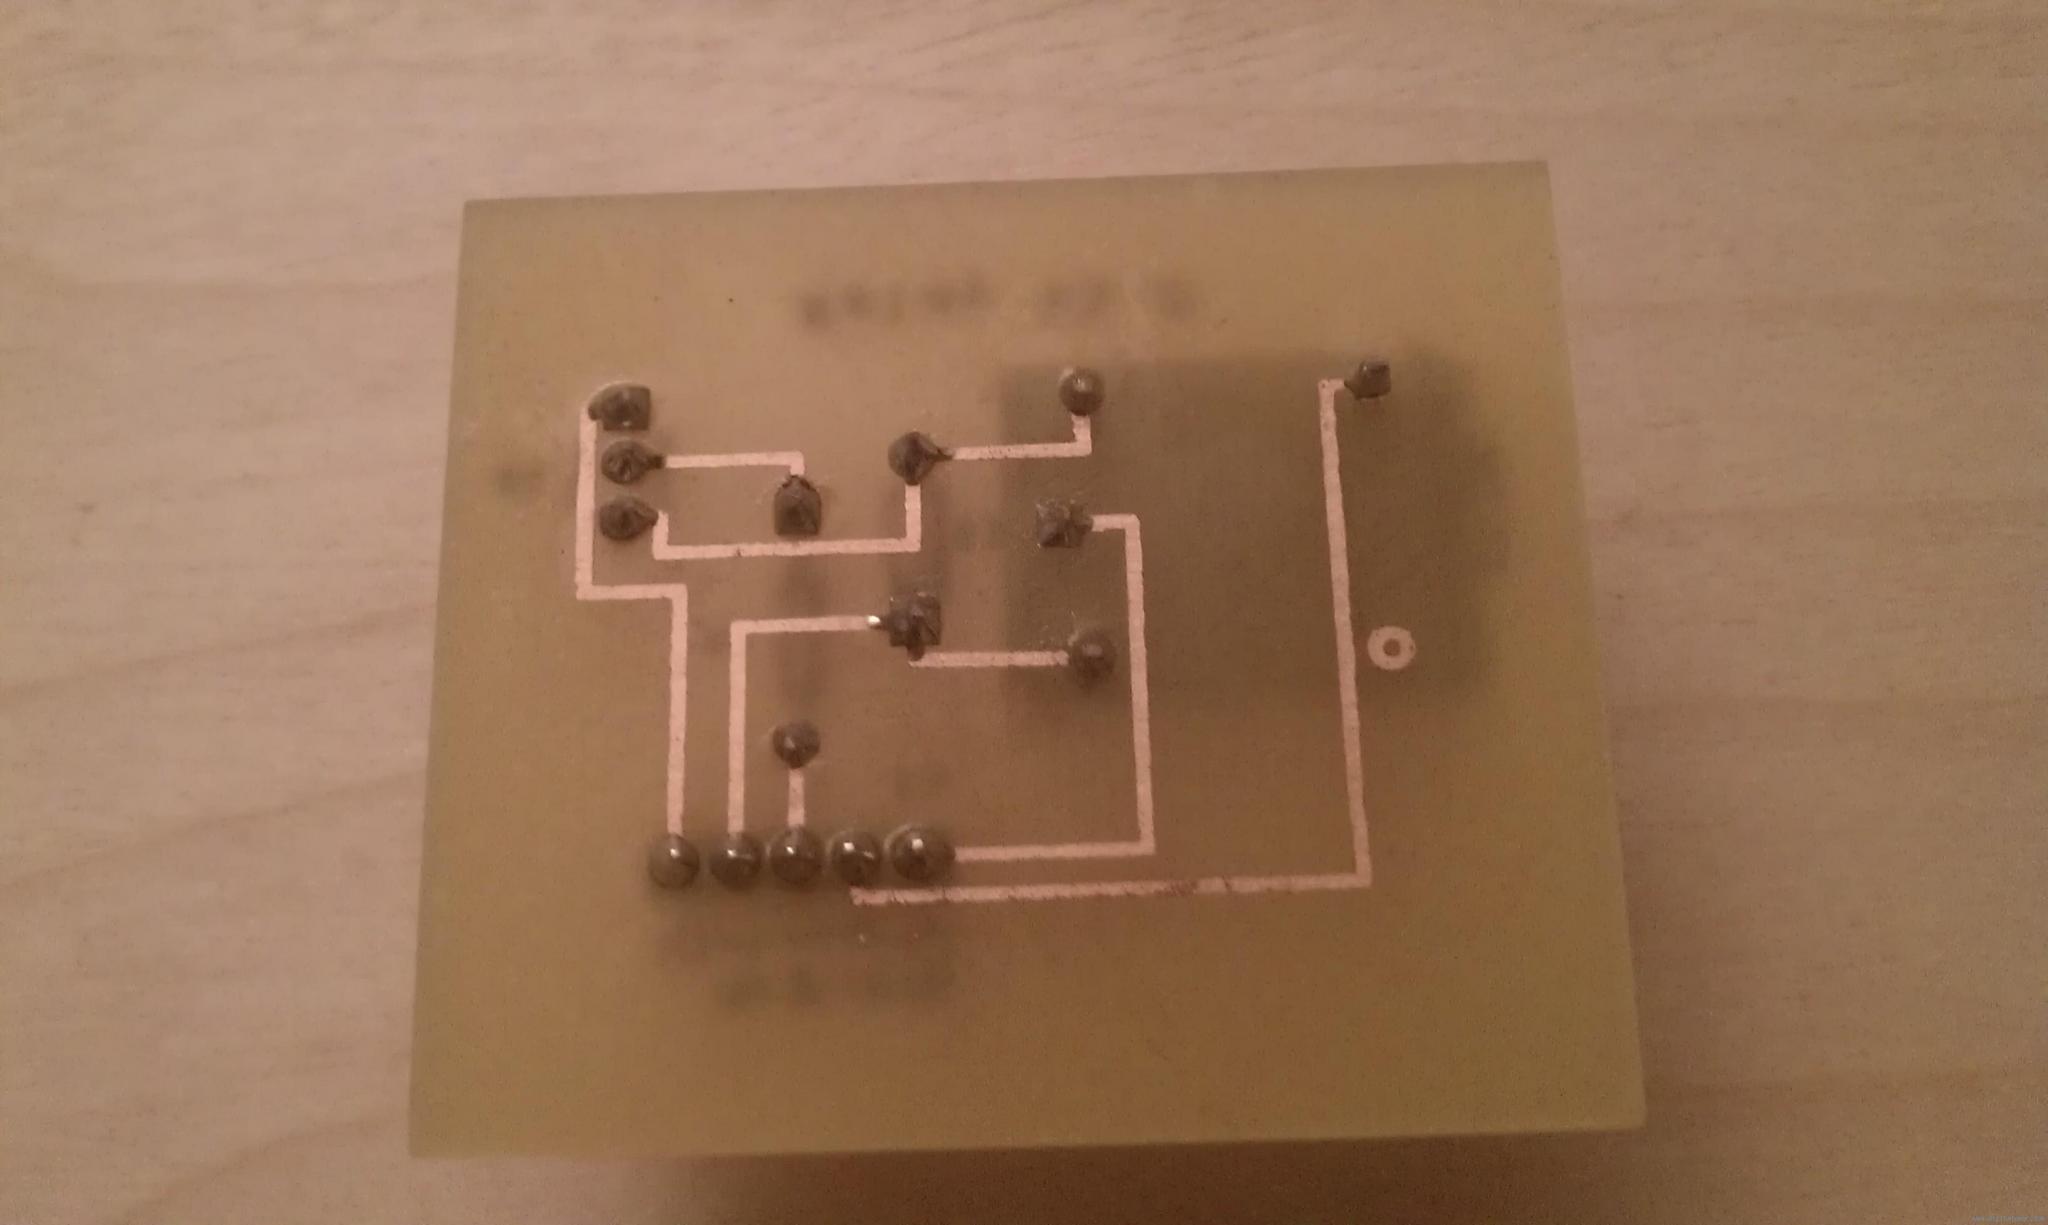
Exactly when all the copper is gone, wash off the PCB in some cold water and then use acetone or lacquer thinner to clean the toner off of the traces and you end up with your new board.
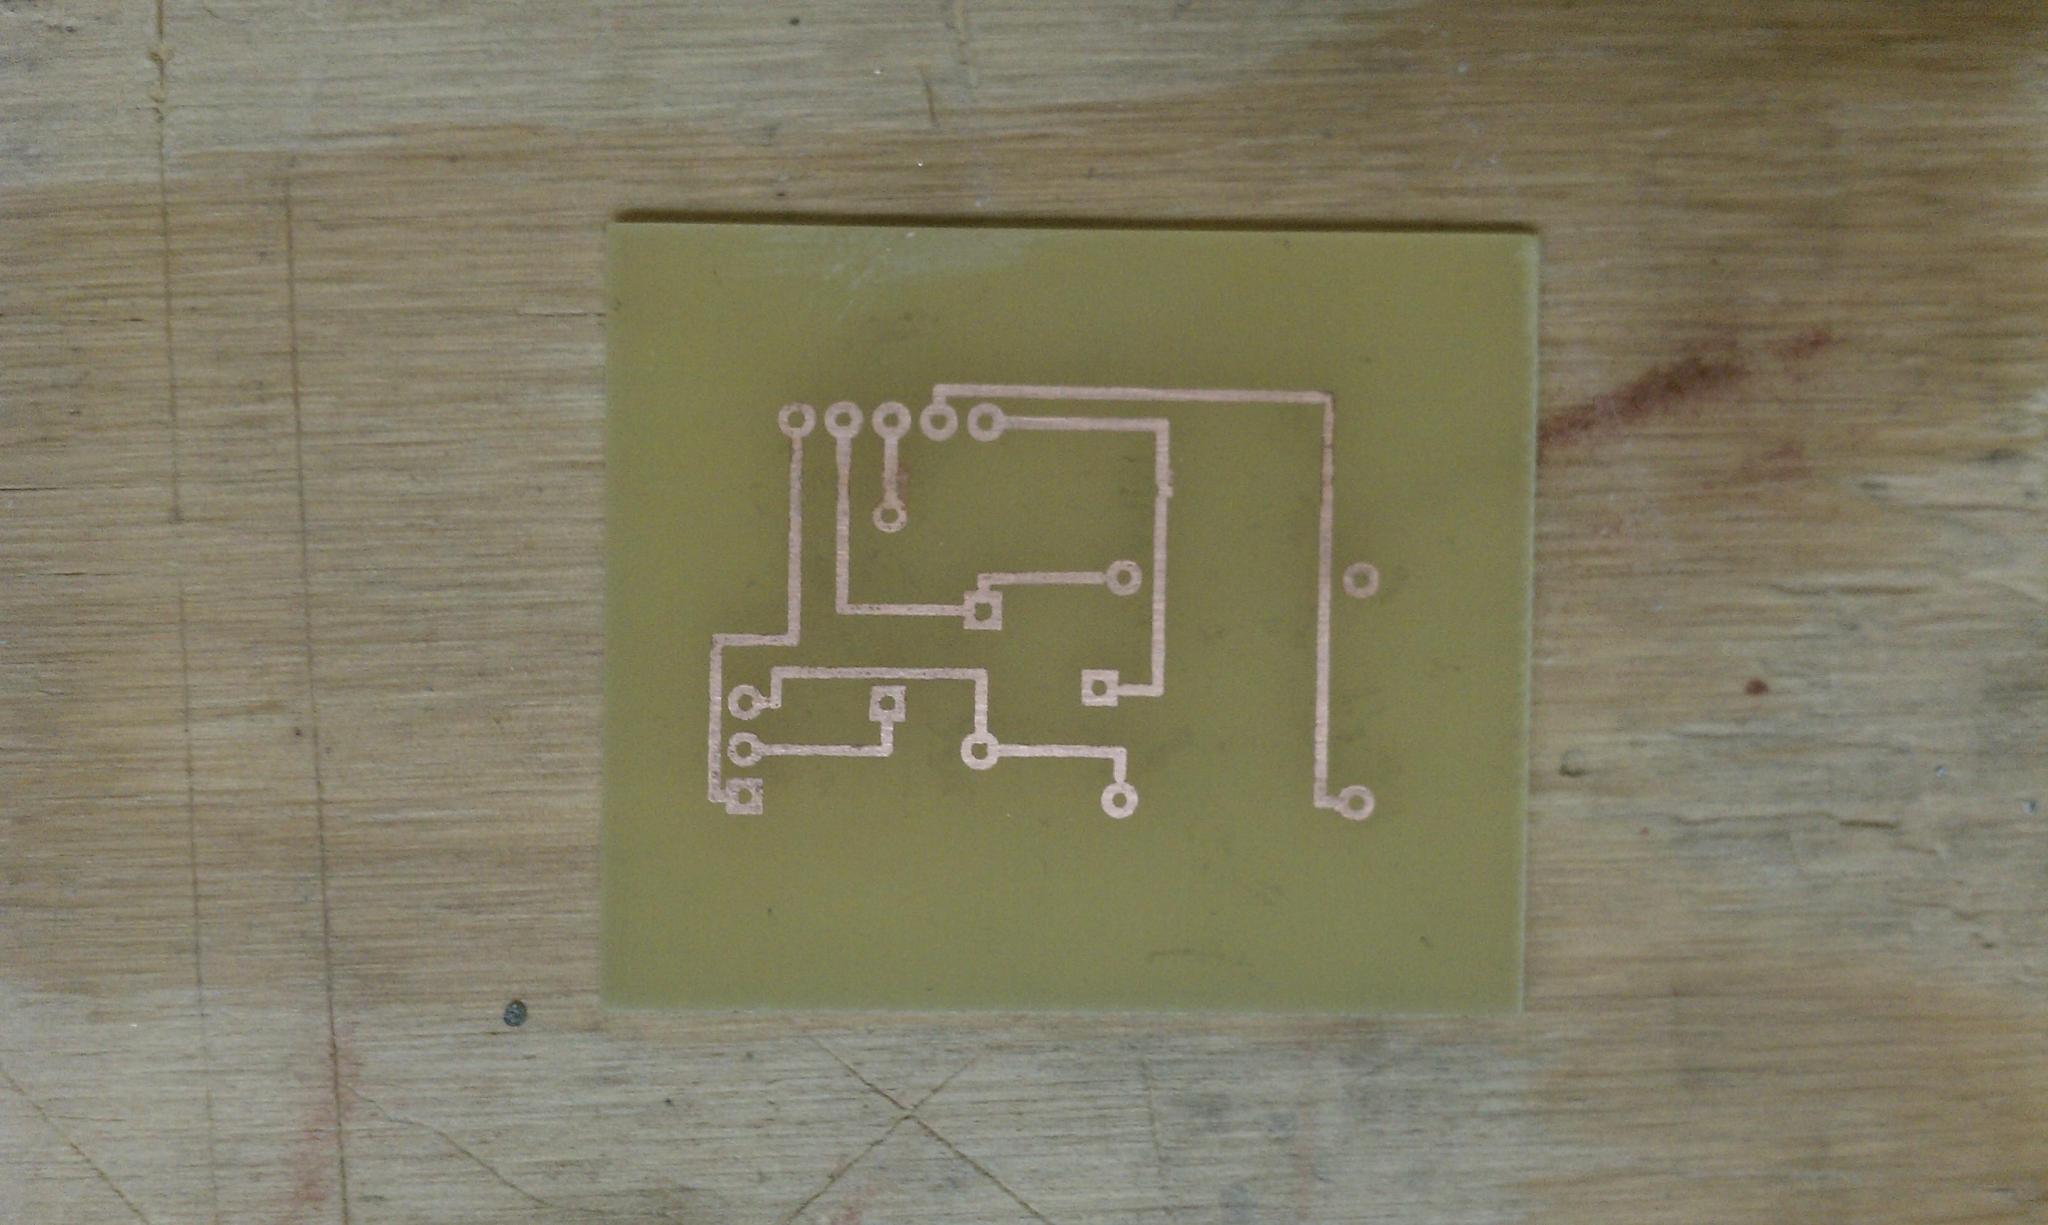
Now comes the tedious part depending on your board. Drill out all of your holes, preferably on a drill press. When that's done, you're ready to start populating.
