3D Printed Robot Arm with Raspberry Pi and Wii Remote
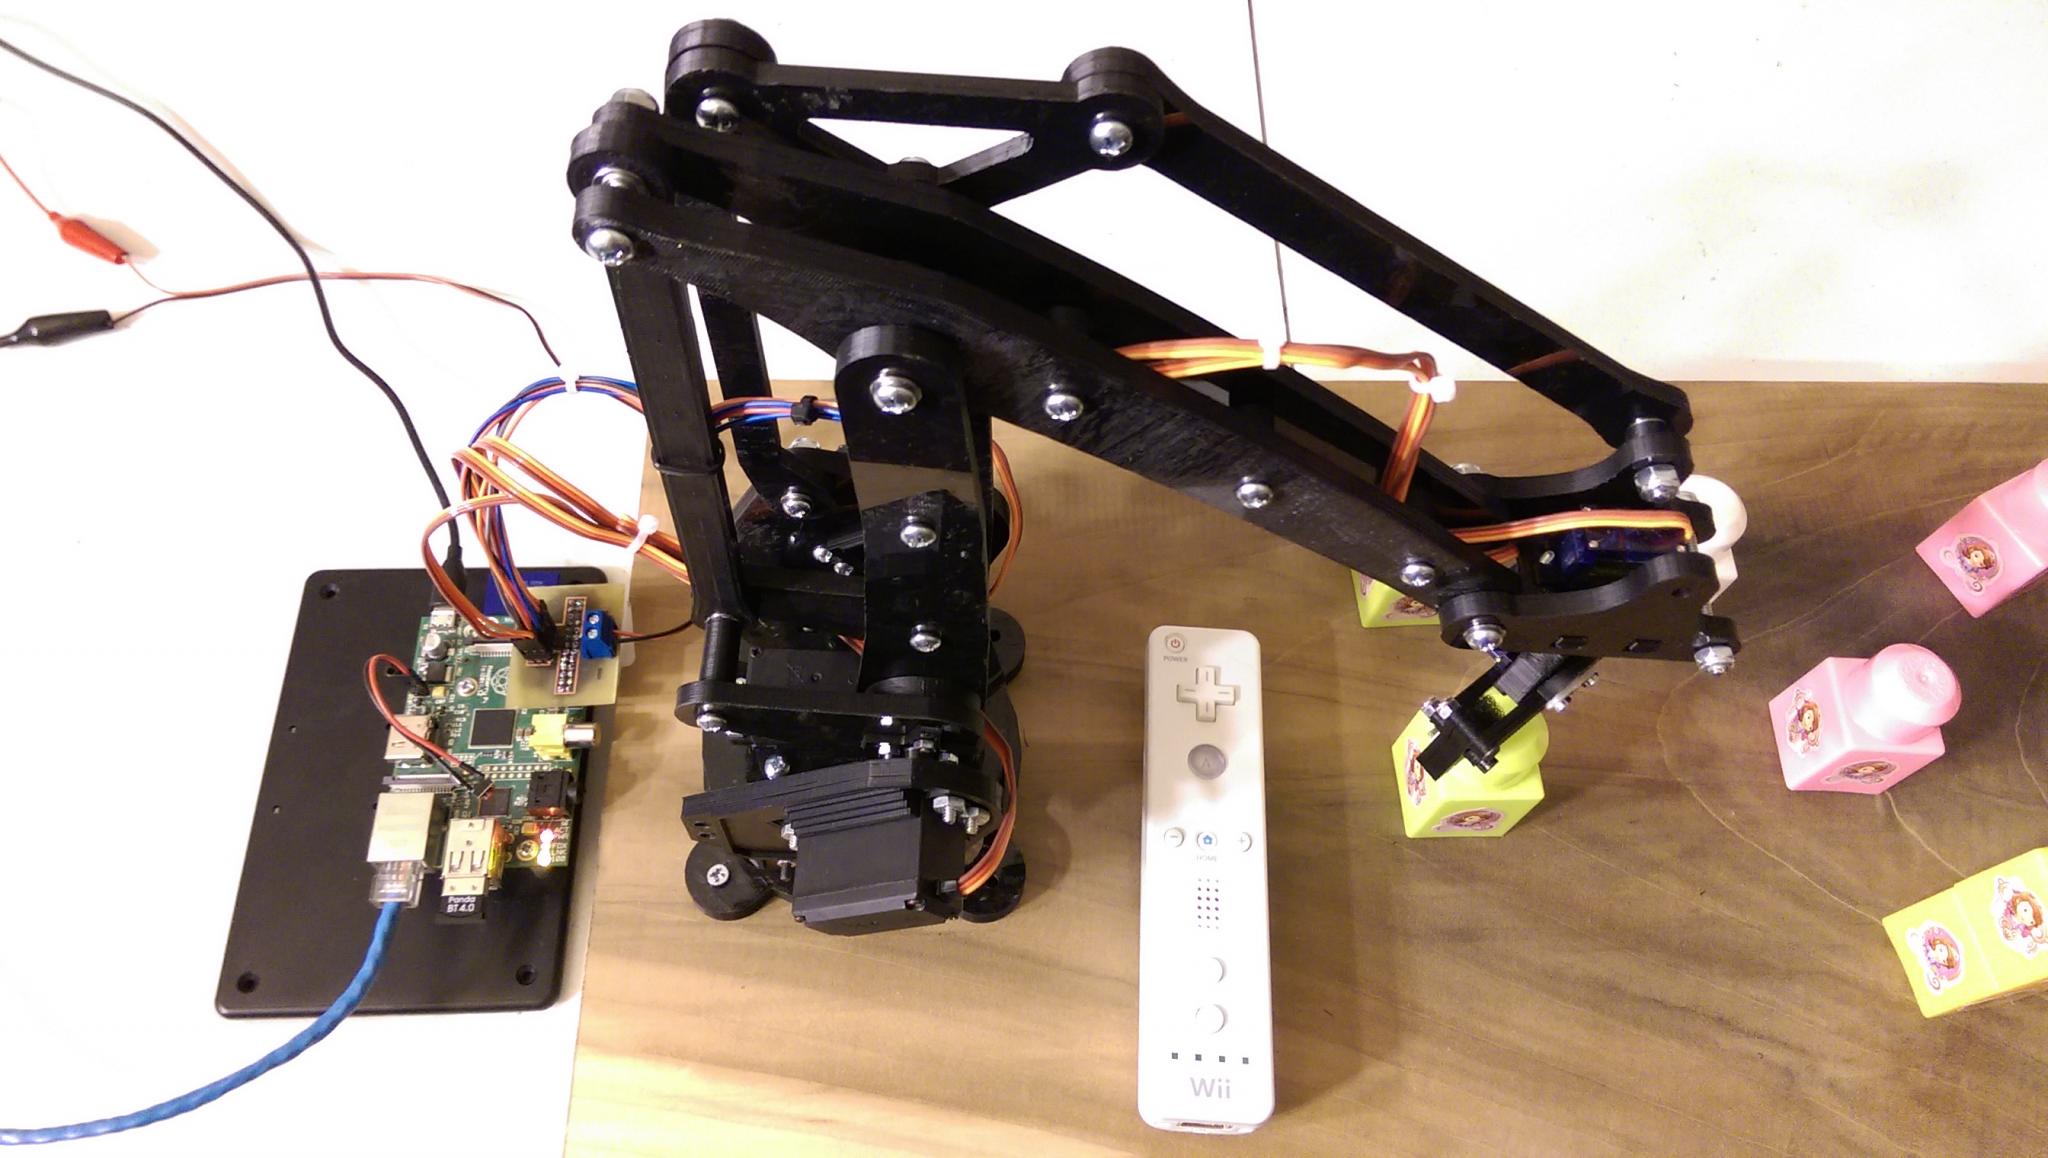
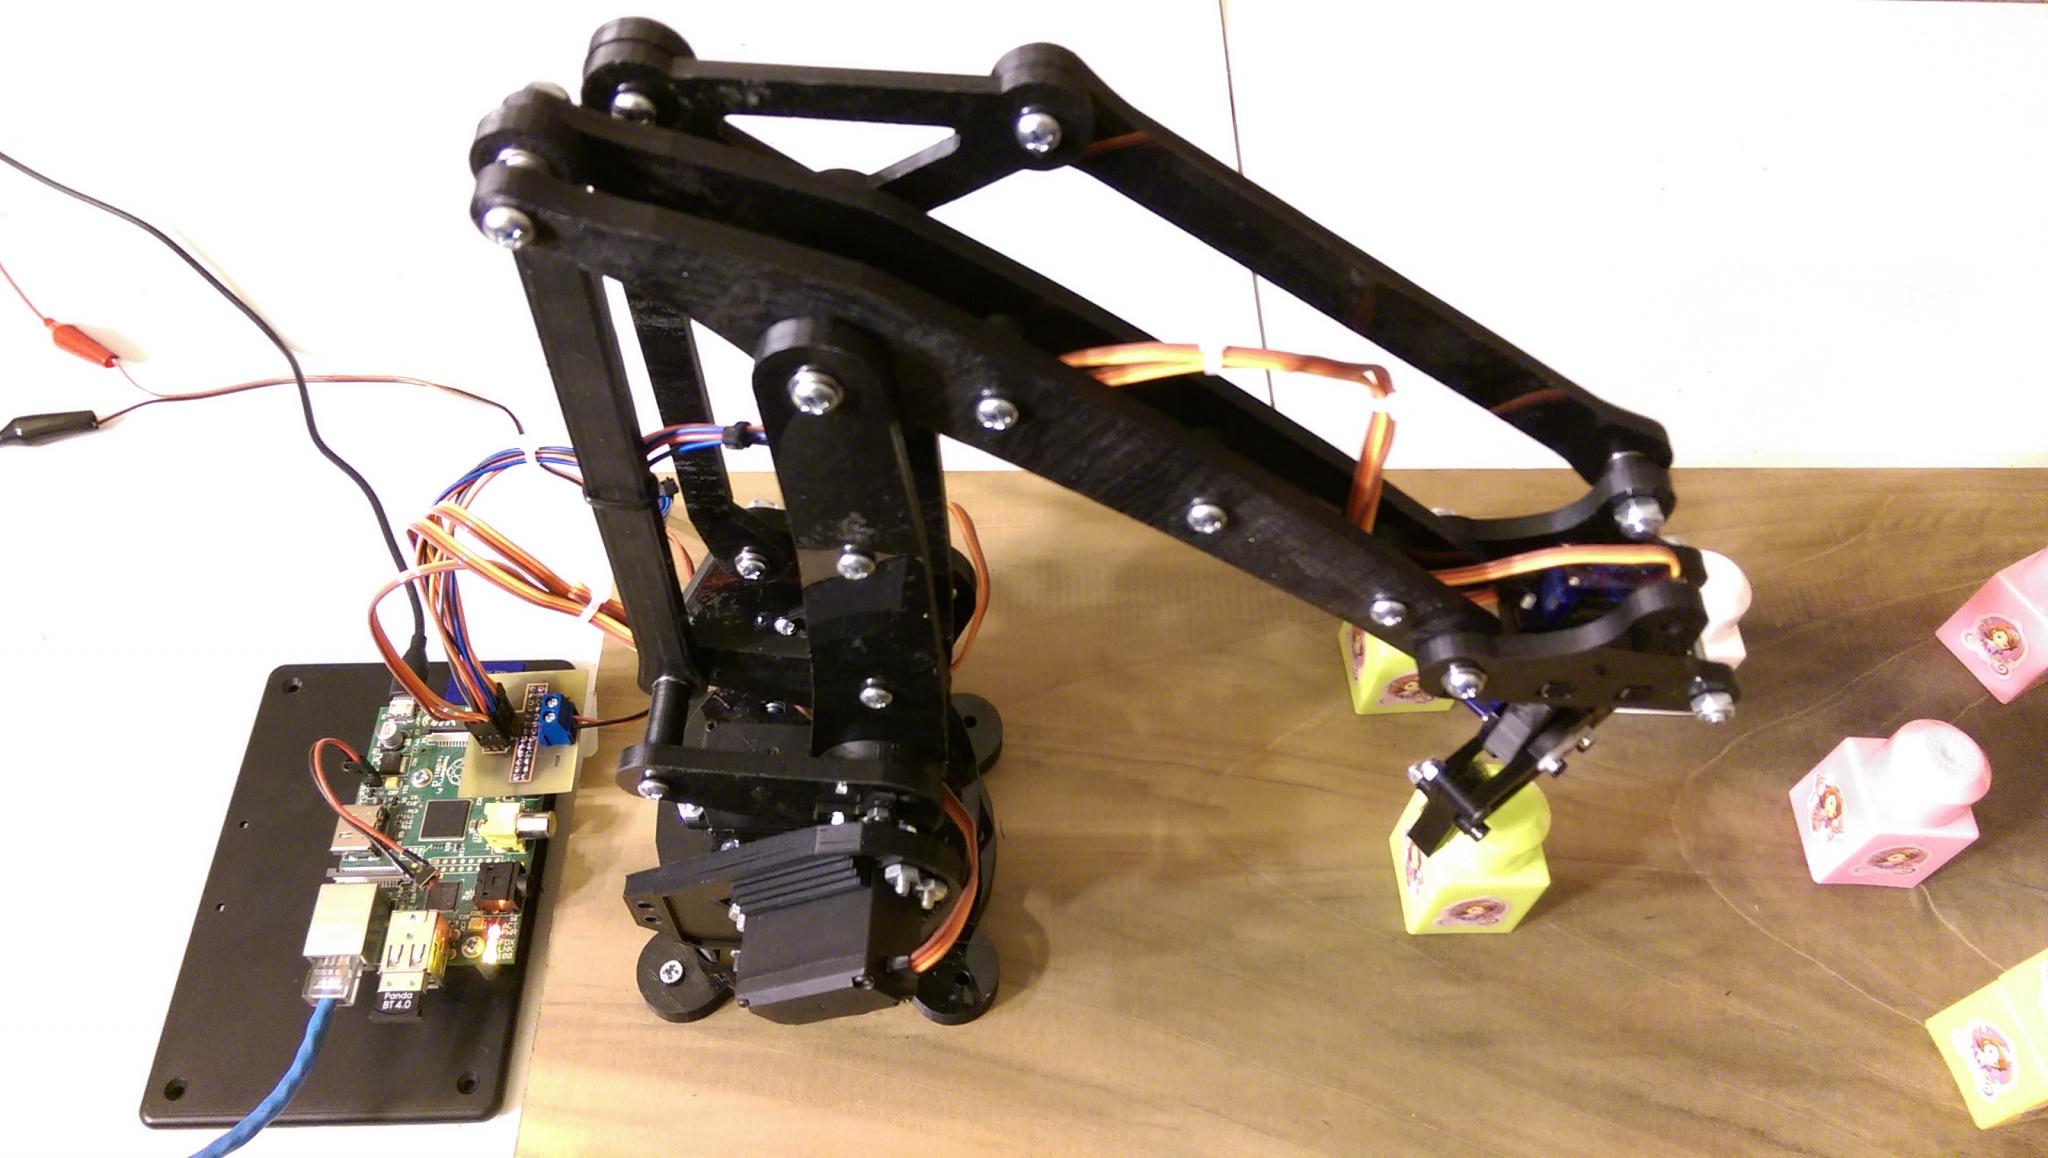
This is a fun little project I put together over a couple weekends. It's a 3D printed robot arm controlled using a Python script on a Raspberry Pi using a Bluetooth Wii remote controller. I also made a custom daughter board for the Raspberry Pi to plug everything in nicely. Of course, I've included ready-to-go software as well.
Components
- 1 X 3D Printed Robot Arm
- 2 X Micro Metal RC Servos
- 3 X Standard Metal RC Servos
- 1 X Raspberry Pi
- 1 X USB Bluetooth Adapter
- 3 X MF84-ZZ (4 x 8 x 3 mm) Flanged Ball Bearing - 10 Pack
- 1 X 6807-2RS Bearing 35x47x7 Sealed Ball Bearings
- 1 X Wii Remote with optional Nunchuk
- 1 X Custom Raspberry Pi Servo Daughter Board
- Assorted Nuts, Bolts, Zip-ties, Wire
Robot Arm
The arm is the Open Source Robotic Arm (Lite Arm i2). I made no modifications and just printed as is. This robot arm is based on the uArm Kickstarter Project. It's a very well done robot arm design for RC servos because of the mechanics. Other than taking a long time, I had no problem printing this on my Prusa i3.
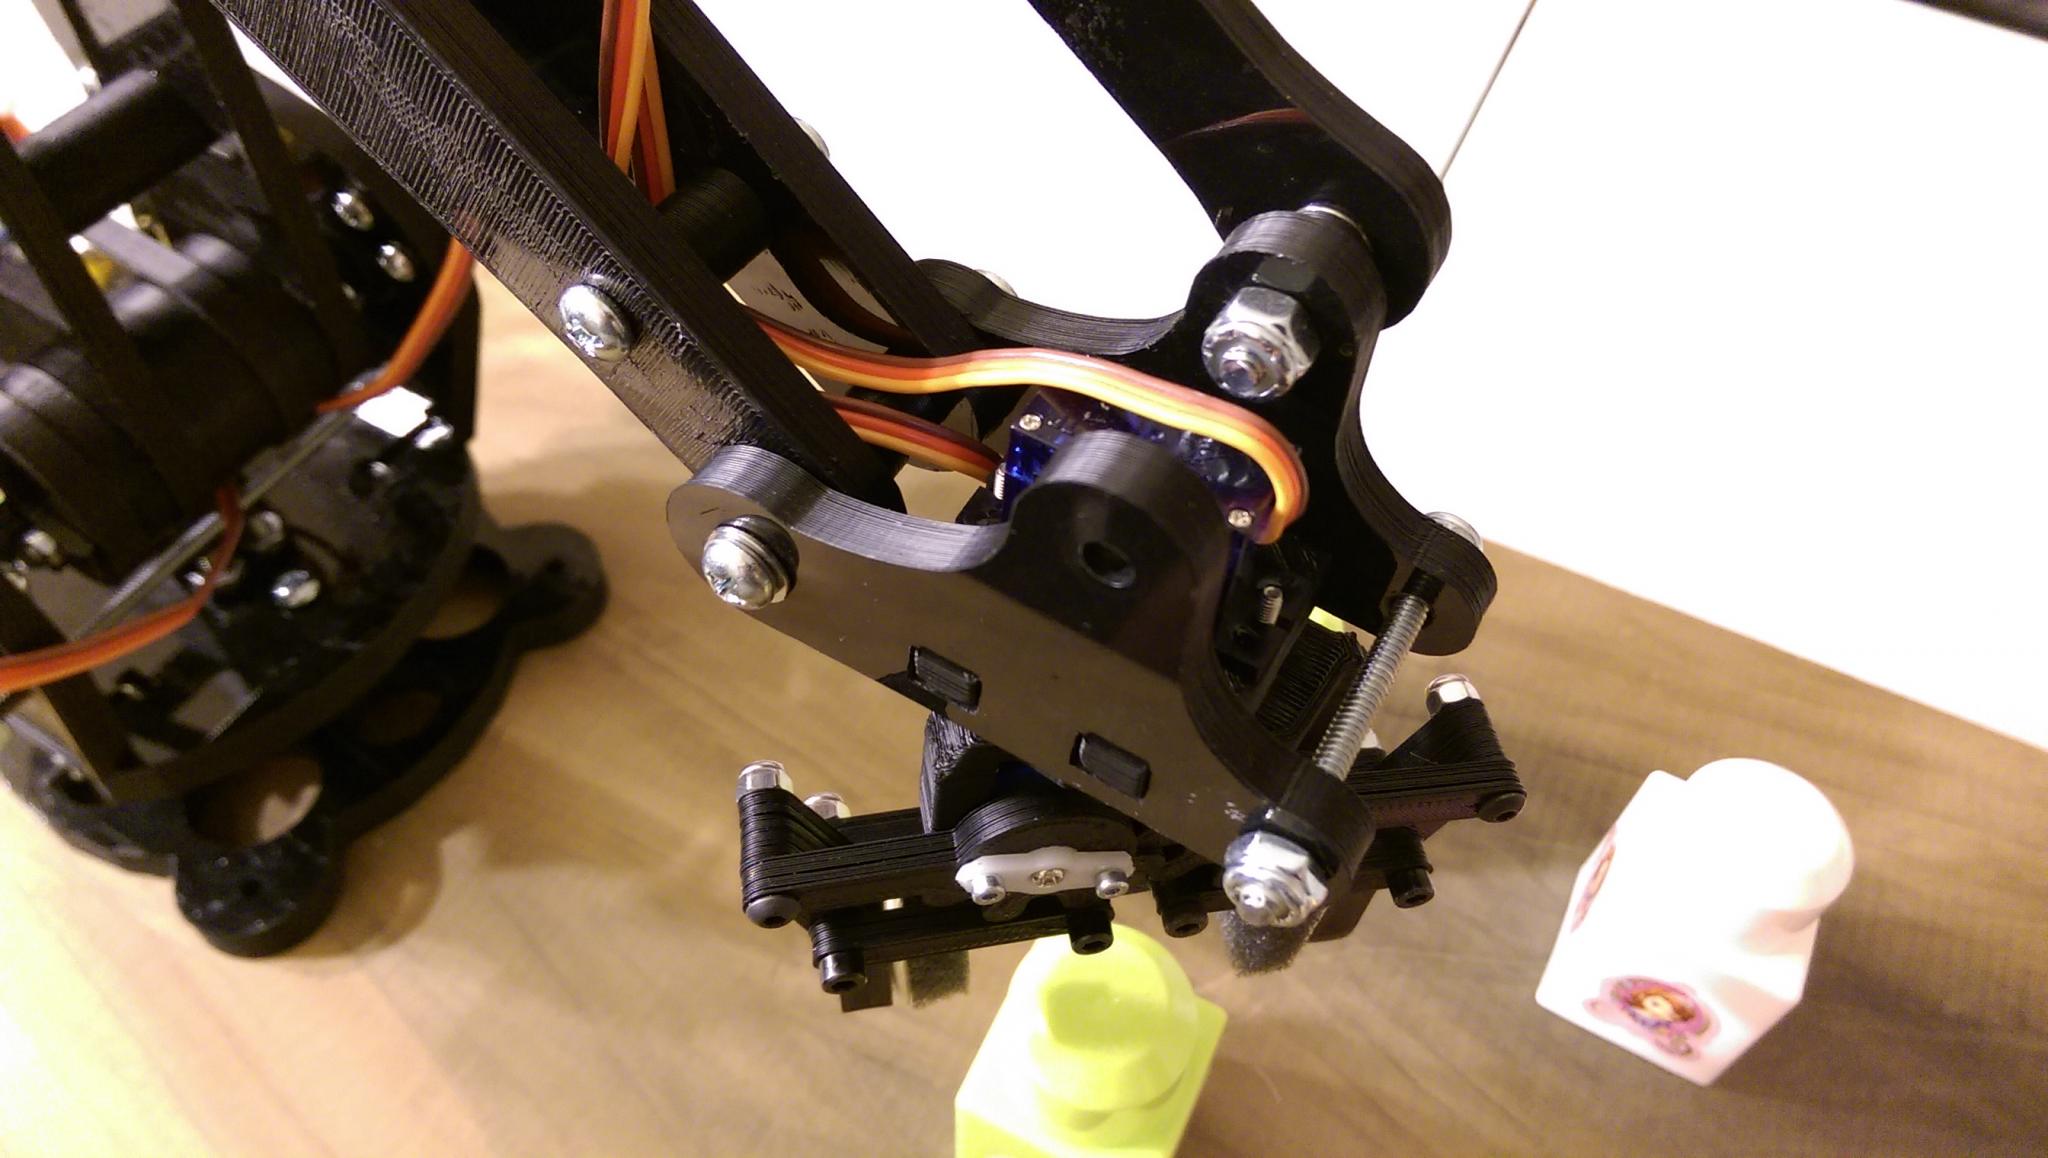
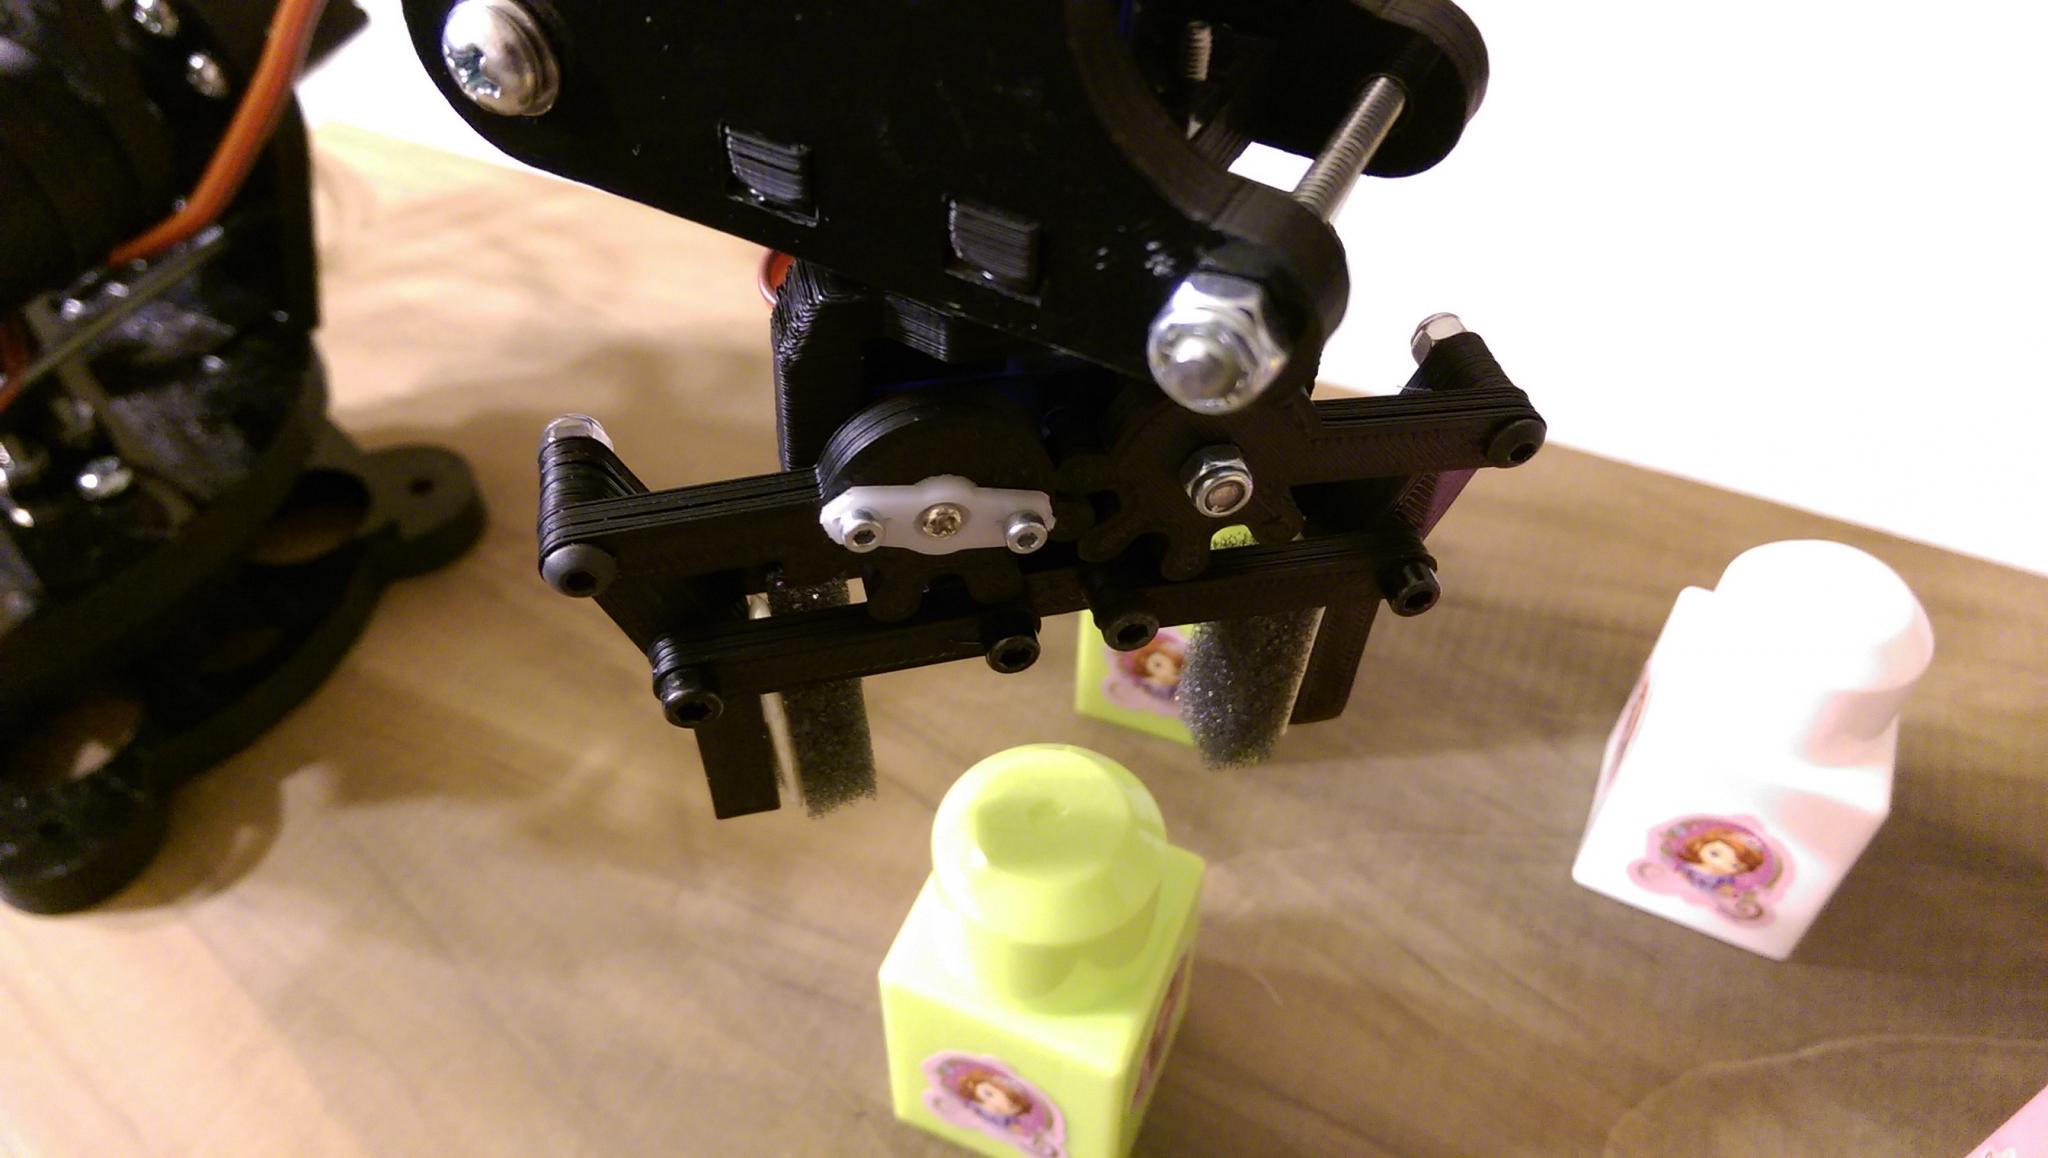
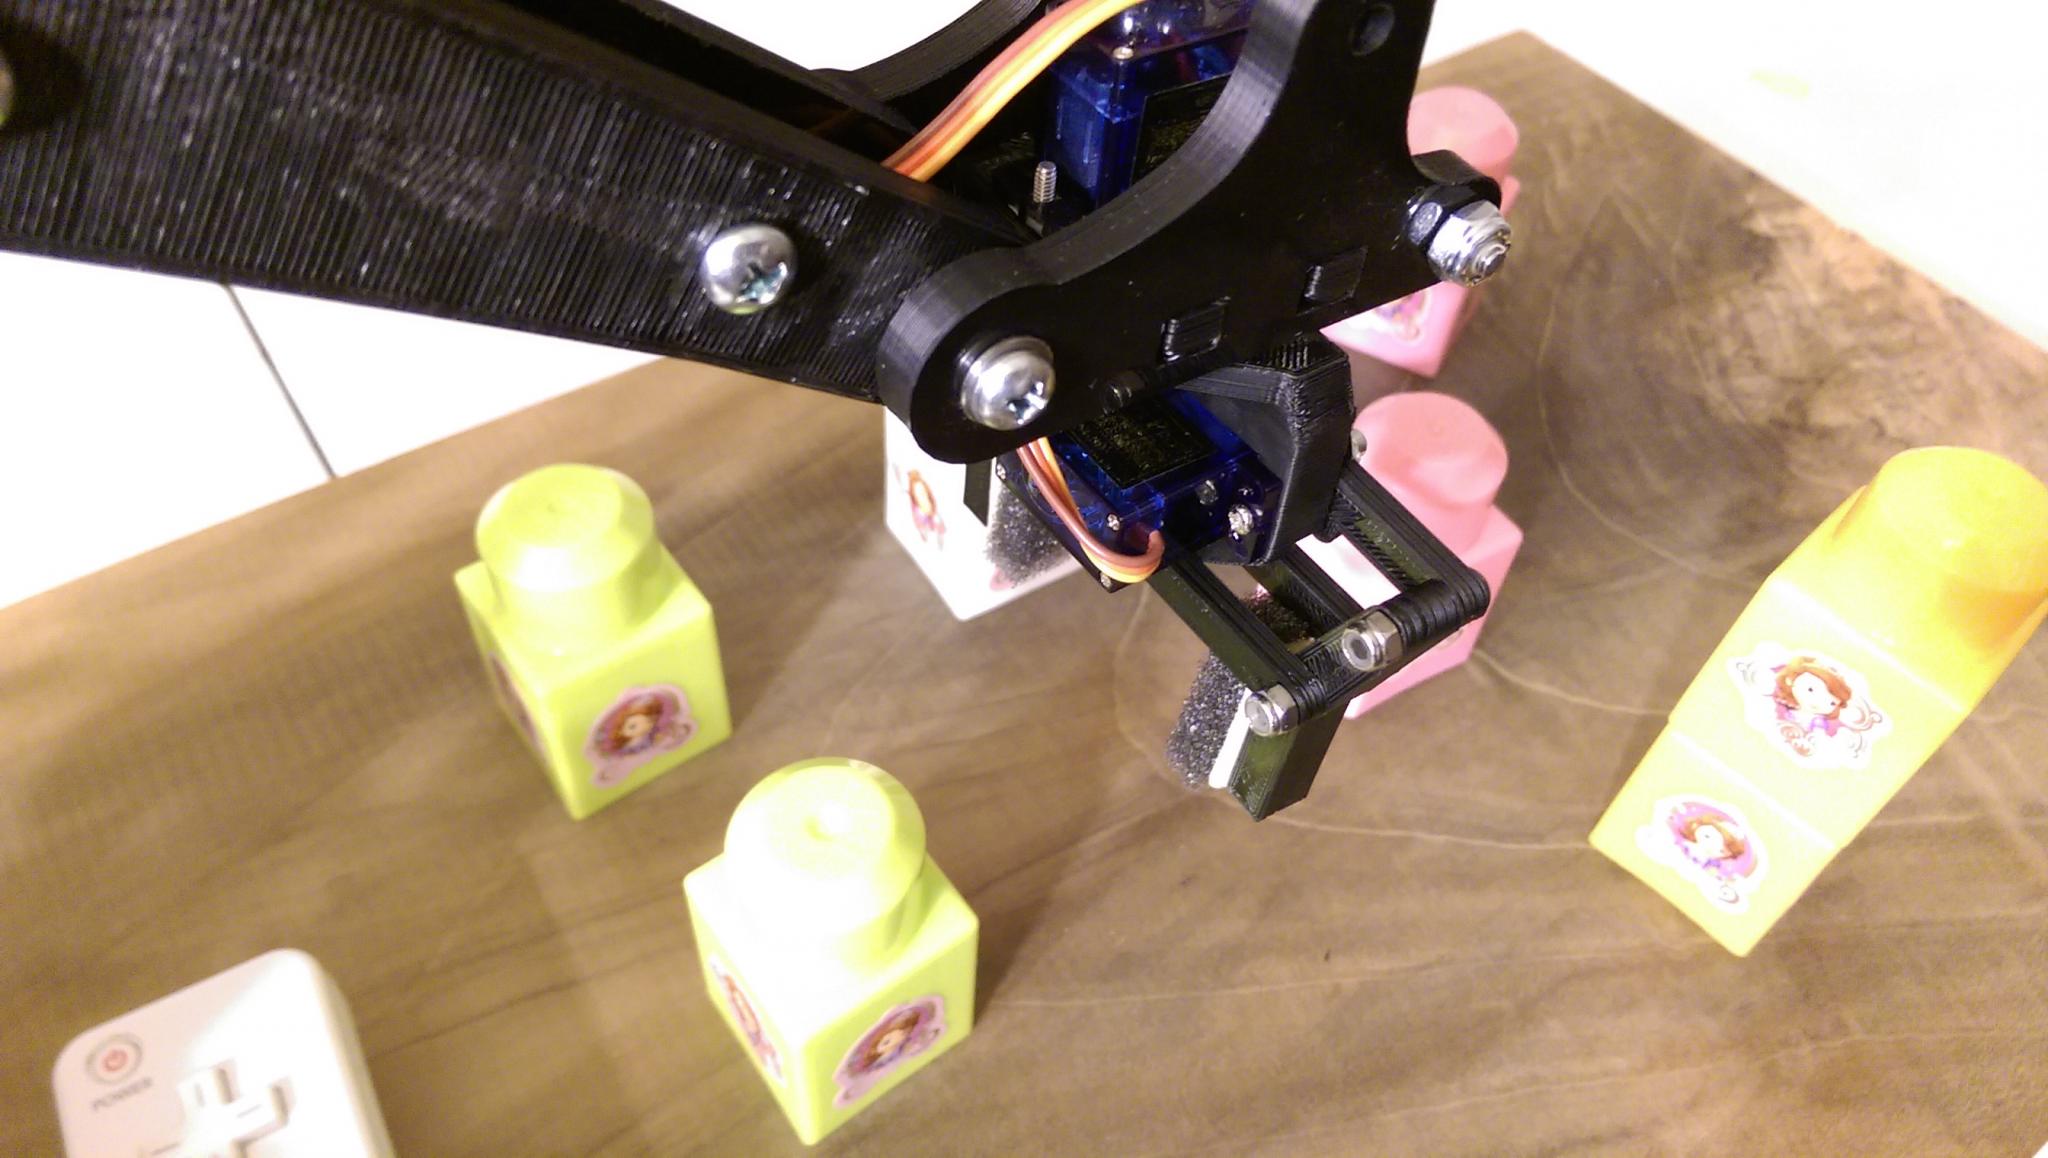
For the gripper I used the Mini servo gripper Plate which appears to be some generation of this design. It turns out, this gripper plugs right in and it's the perfect size for the arm, even though they appear to have no design relationship.
As far as assembling everything, this is where the real work is. Other than ordering the servos and bearings, I put together what I had and made a trip to Ace Hardware to gather up some of the bolts and nuts needed. The instructions for the robot arm includes a detailed parts list and assembly instructions worth following.
Wii Remote with Nunchuk
Nothing much to add here except be very careful with the version you try. cwiid, the library used to interface with the Wii remote, only supports the original and authentic remotes and nunchuk.
Raspberry Pi Servo Daughter Board
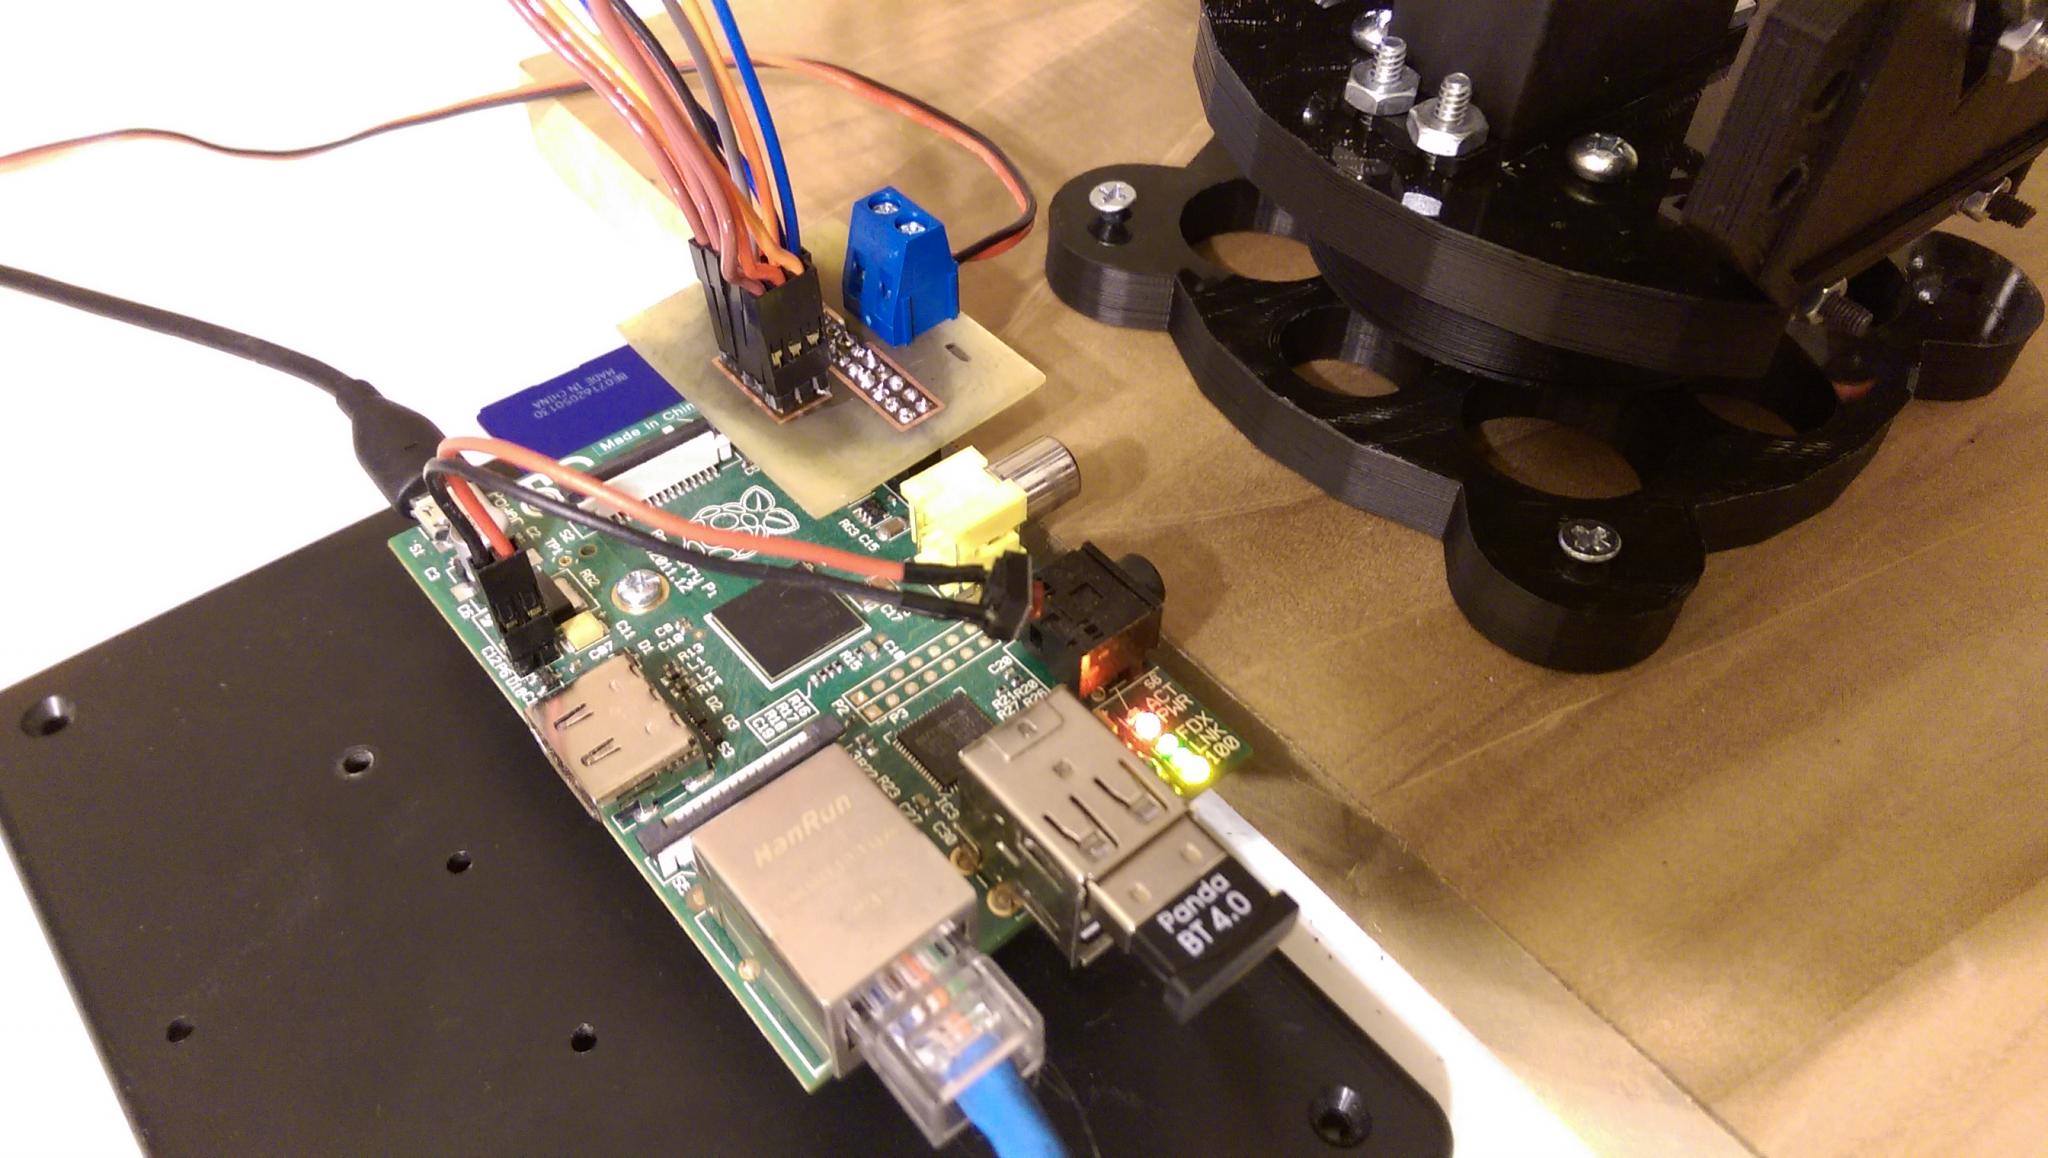
This is not absolutely necessary, but it sure helps clean things up. This is a board that plugs into the Raspberry Pi P1 header and then allows you to plug the servos and servo power in easily.
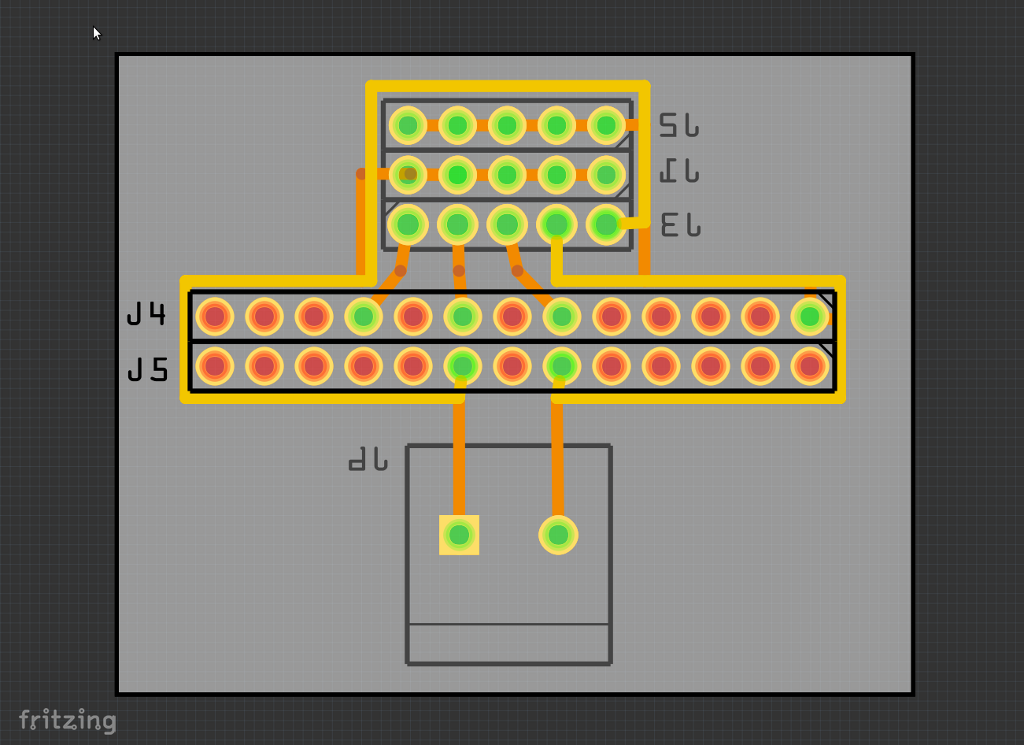
See my post on Etching Hobby PCB's for more information on how I create circuit boards like this. Download the Fritzing file robot_rpi_adapter.fzz to take a look at the circuit and make your own.
Software
The SD card image is created using a customized buildroot branch which includes everything needed to create an SD card, power up, pair the remote, and get to controlling.
A software component used worth pointing out is cwiid, which is a rather old and obsolete way of interfacing with the Wii remote. It actually depends on the kernel uinput module to basically implement the whole driver and interface in userspace. The nice thing about this library is it also comes with Python bindings which make this an ideal out of the box candidate for this task. However, I did have to patch it to get the python bindings building which were not previously supported in buildroot.
Also, a new package called rpio_pwm is added to buildroot to get the 5 needed PWM signals using DMA.
Everything needed to build the SD card image can be found on the raspberrypi-robot branch of my buildroot repository.
git clone git@github.com:digitalpeer/buildroot.git
cd buildroot
git checkout raspberrypi-robot
make raspberrypi_robot_defconfig
make
When that's complete, you'll need to format an SD card and copy over the files and extract the root filesystem. Take a look at this README for detailed instructions.
Pairing the Wii Remote and Controlling the Arm
Power up the Raspberry Pi and wait about 10 seconds. Press the 1 and 2 buttons on the remote at the same time. The Wii remote LEDs will begin flashing and when they have paired with the Raspberry Pi they will stop flashing. Now, you can use the following controls to move the robot arm.
Remote
Left/Right - Servo Base
Up/Down - Elbow
1/2 - Shoulder
Plus/Minus - Gripper Rotate
A/B - Open/Close Gripper
Nunchuk
C - Start/Stop Recording
Z - Playback recording
The nunchuk is only used to take advantage of the record and playback feature implemented in the python script. When you record, it saves every move you manually make off to a file. When you playback, it repeats the exact same movements you have done in real time. This means you can move something around on the table manually, and then have the robot arm do the exact same thing by itself exactly as you did it.
