Custom Quadcopter X525/CC3D Build
After having dabbled in R/C for awhile now, I figured I'd take a stab at a quadcopter build. The Phoenix R/C 5 flight simulator I use has one in it that I've played around with and it's super easy to fly so I figured it would be a fun project. They practically fly themselves, and that's where I find the firmware in these things fascinating. Not too long ago, this would have been a video game screen.
Without further adieu, here's the very first flight - a lot of progress and more to go.
I didn't follow any existing kit or existing parts list. I found a frame that seemed to be fairly popular on forums and built up around that. I was inches from just building one myself, but I would have spent more on just parts than the X525 cost. Total cost ended up being far less that I was expecting for this size quadcopter.
Parts List
- Turnigy Aerodrive SK3 - 2826-1240kv Brushless Outrunner
- Hobbyking X525 V3 Glass Fiber Quadcopter Frame 600mm
- HobbyKing 30A BlueSeries Brushless Speed Controller
- 9x4.7 SF Props 4pc Standard Rotation (Yellow)
- 9x4.7 SF Props 4pc R/H Rotation (Red)
- ZIPPY Compact 2700mAh 3S 35C Lipo Pack
- 3.5mm Male Female Banana Plug Bullet Connector Replacements 20 Pairs (paid link)
- Neewer® Glass Fiber Flight Controller Anti-vibration Shock Absorber Set for APM2.5/2.6 /KK /MWC (paid link)
- Neewer® RC MultiCopter Multi-Tri Copter Power Battery ESC Connection Board Distribution (paid link)
- 10 Pair T Plug Connectors Deans Style Male and Female Connectors (paid link)
- Hobbypower Cc3d Openpilot Flight Controller 32bit for Qav250 X-copter Multirotor Fixed Wing (paid link)
- In addition, I had spare wire, zip-ties, spacers, bolts, foam, heatshrink, and a Hitec Optic 6 radio on hand.
Mounting to Frame
With the X525 frame at the core of the physical build, I went the extra mile and ran motor wires inside of the arms instead of zip-tying the ESCs on the arms. I wanted to be able to safely and easily grab the arms without worrying about ripping off an ESC. The ESCs are mounted on the 4 edges of the center, with a zip-tie and some foam underneath. The controller board is mounted with the anti-vibration mount and some spacers. The power is distributed from the battery to the ESCs with a simple breadboard mounted right under the controller in the middle of the ESCs. Basically, the only need for this is cleaner wire management and it works like a charm.
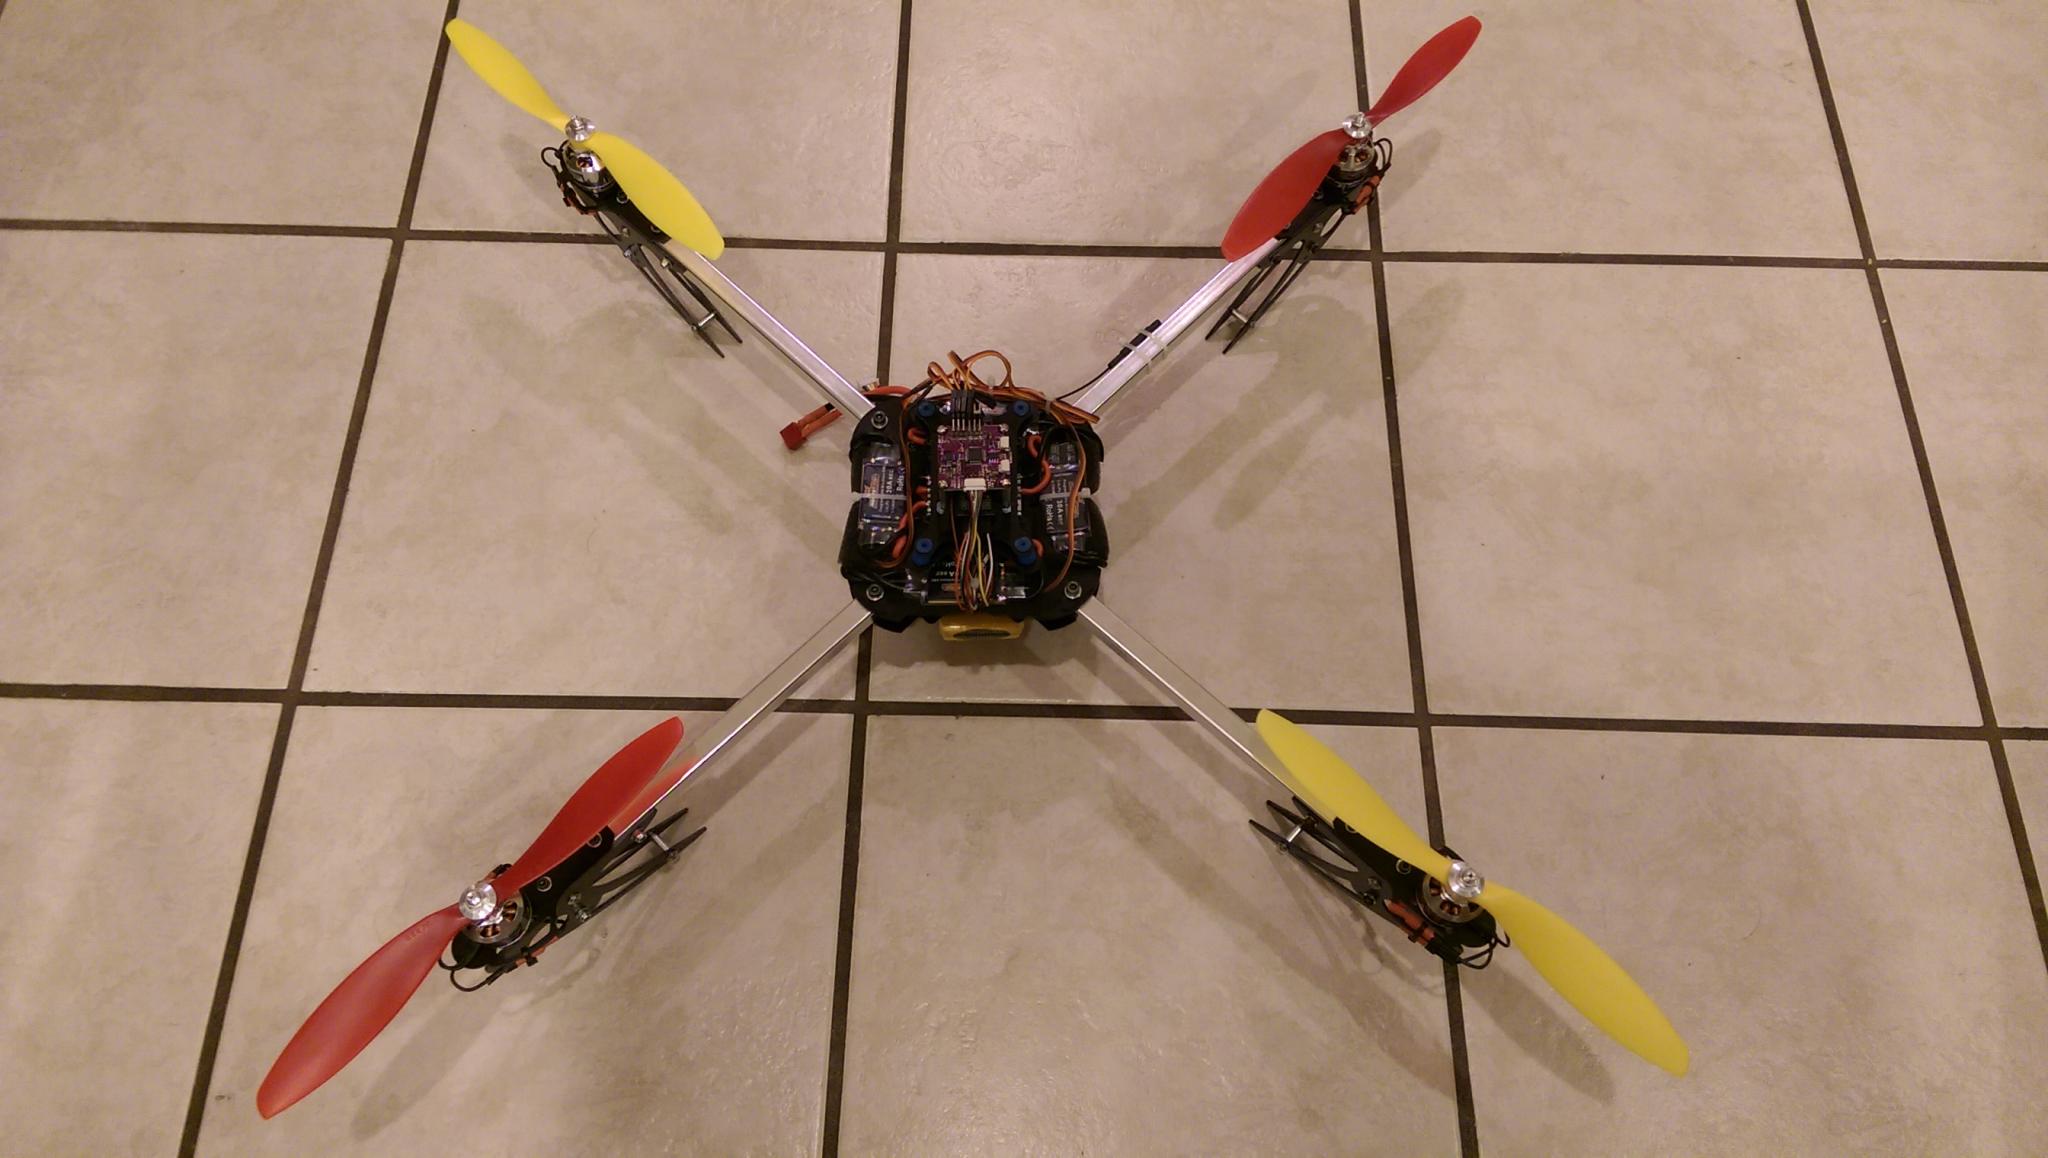
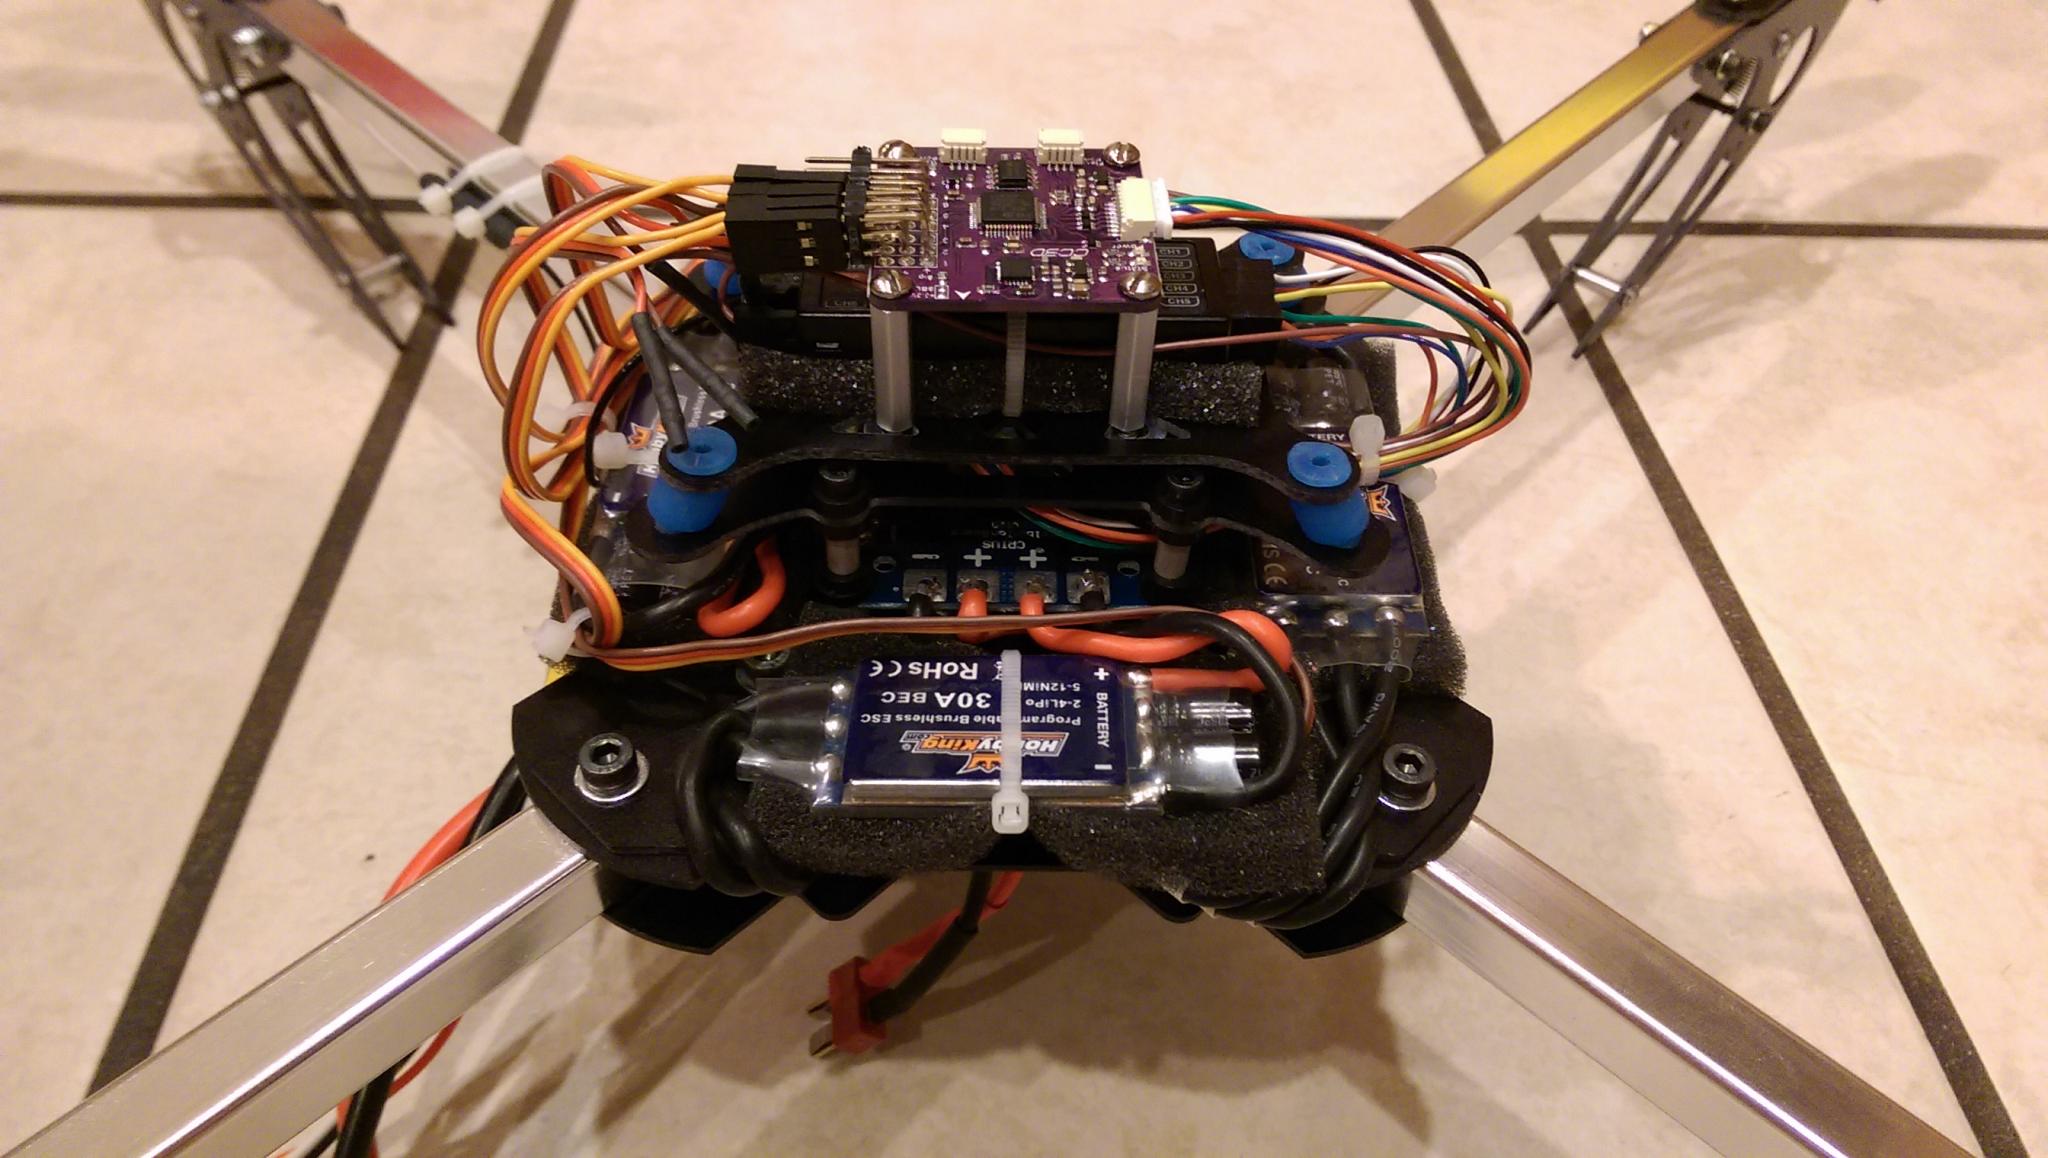
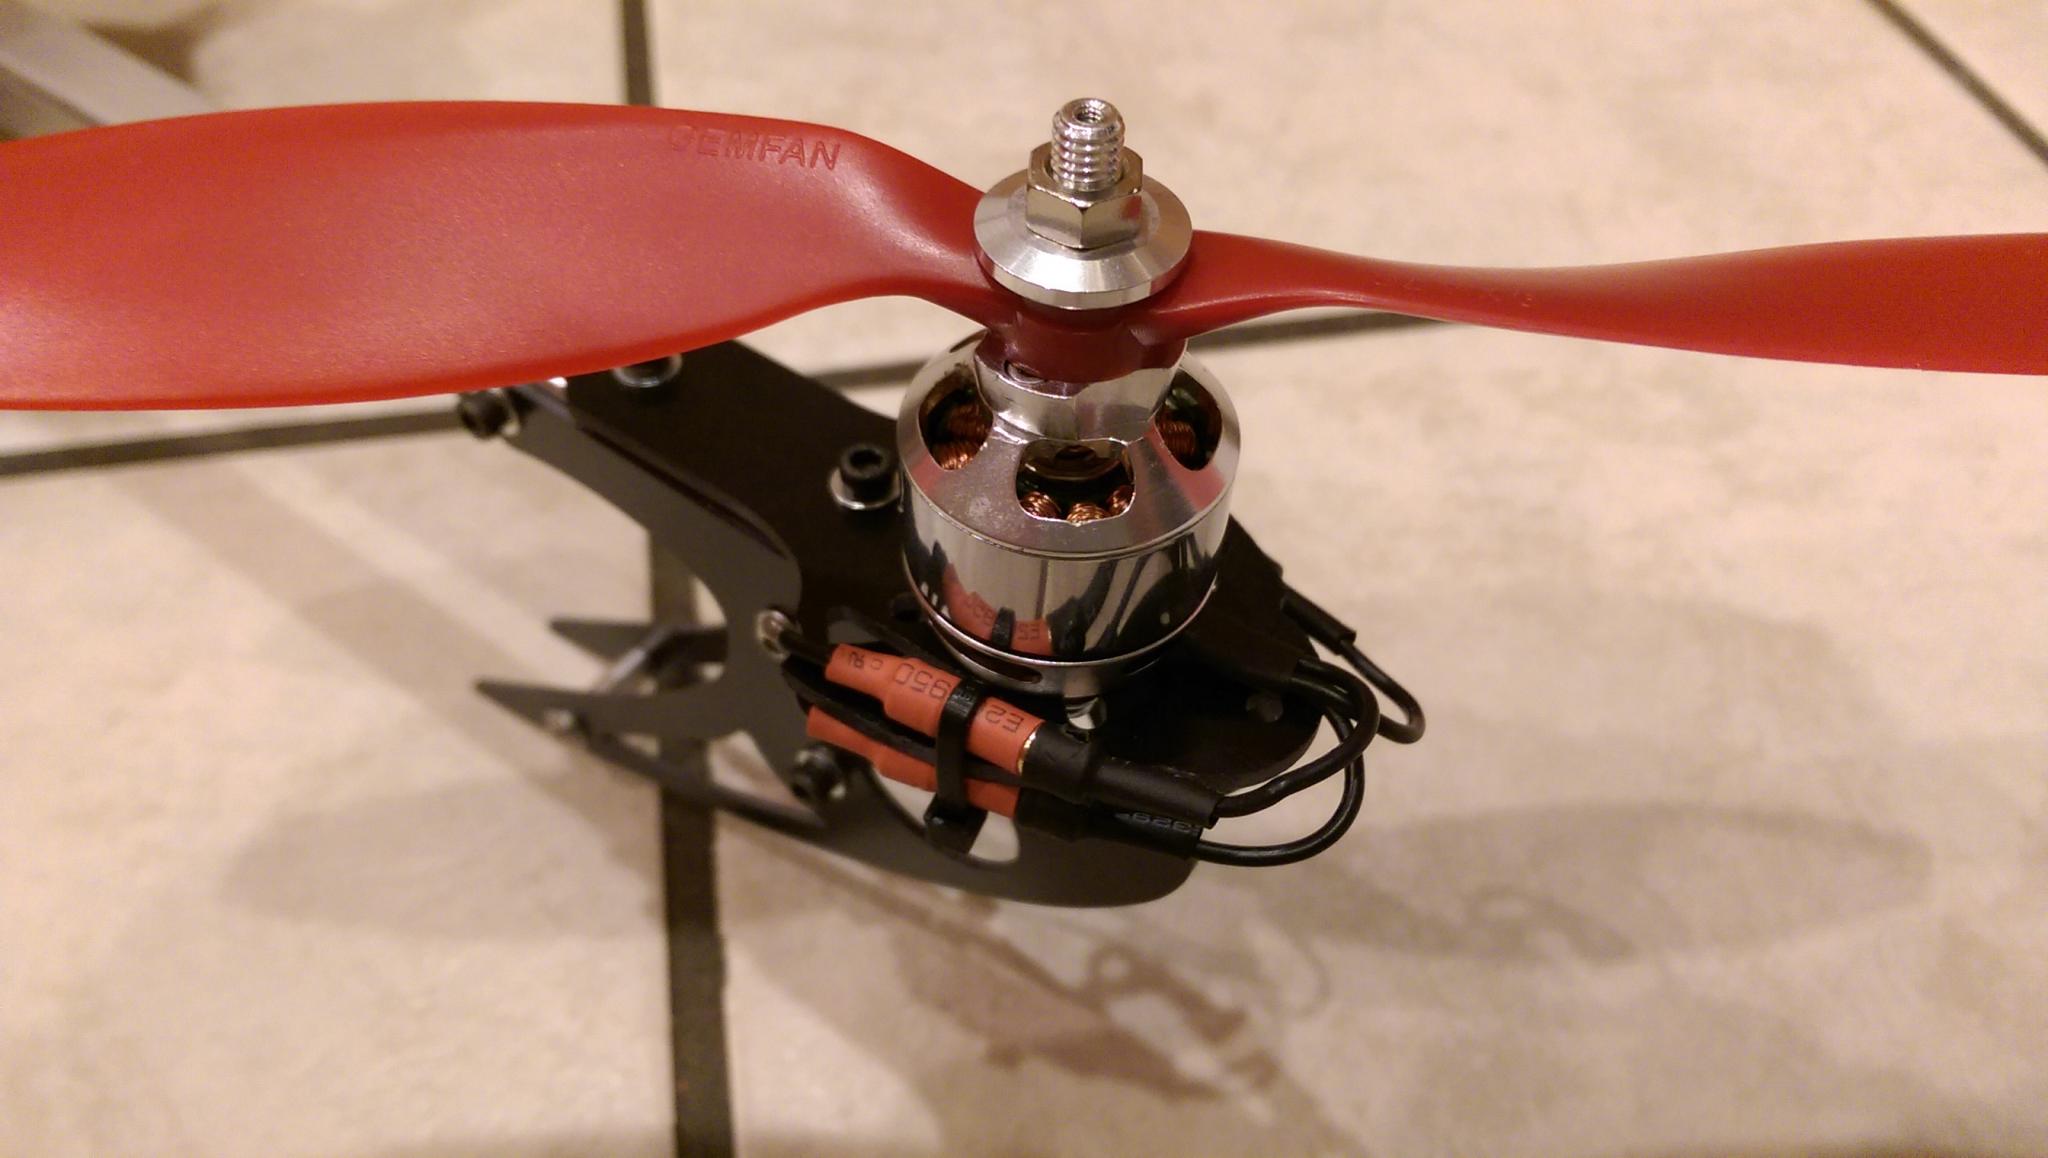
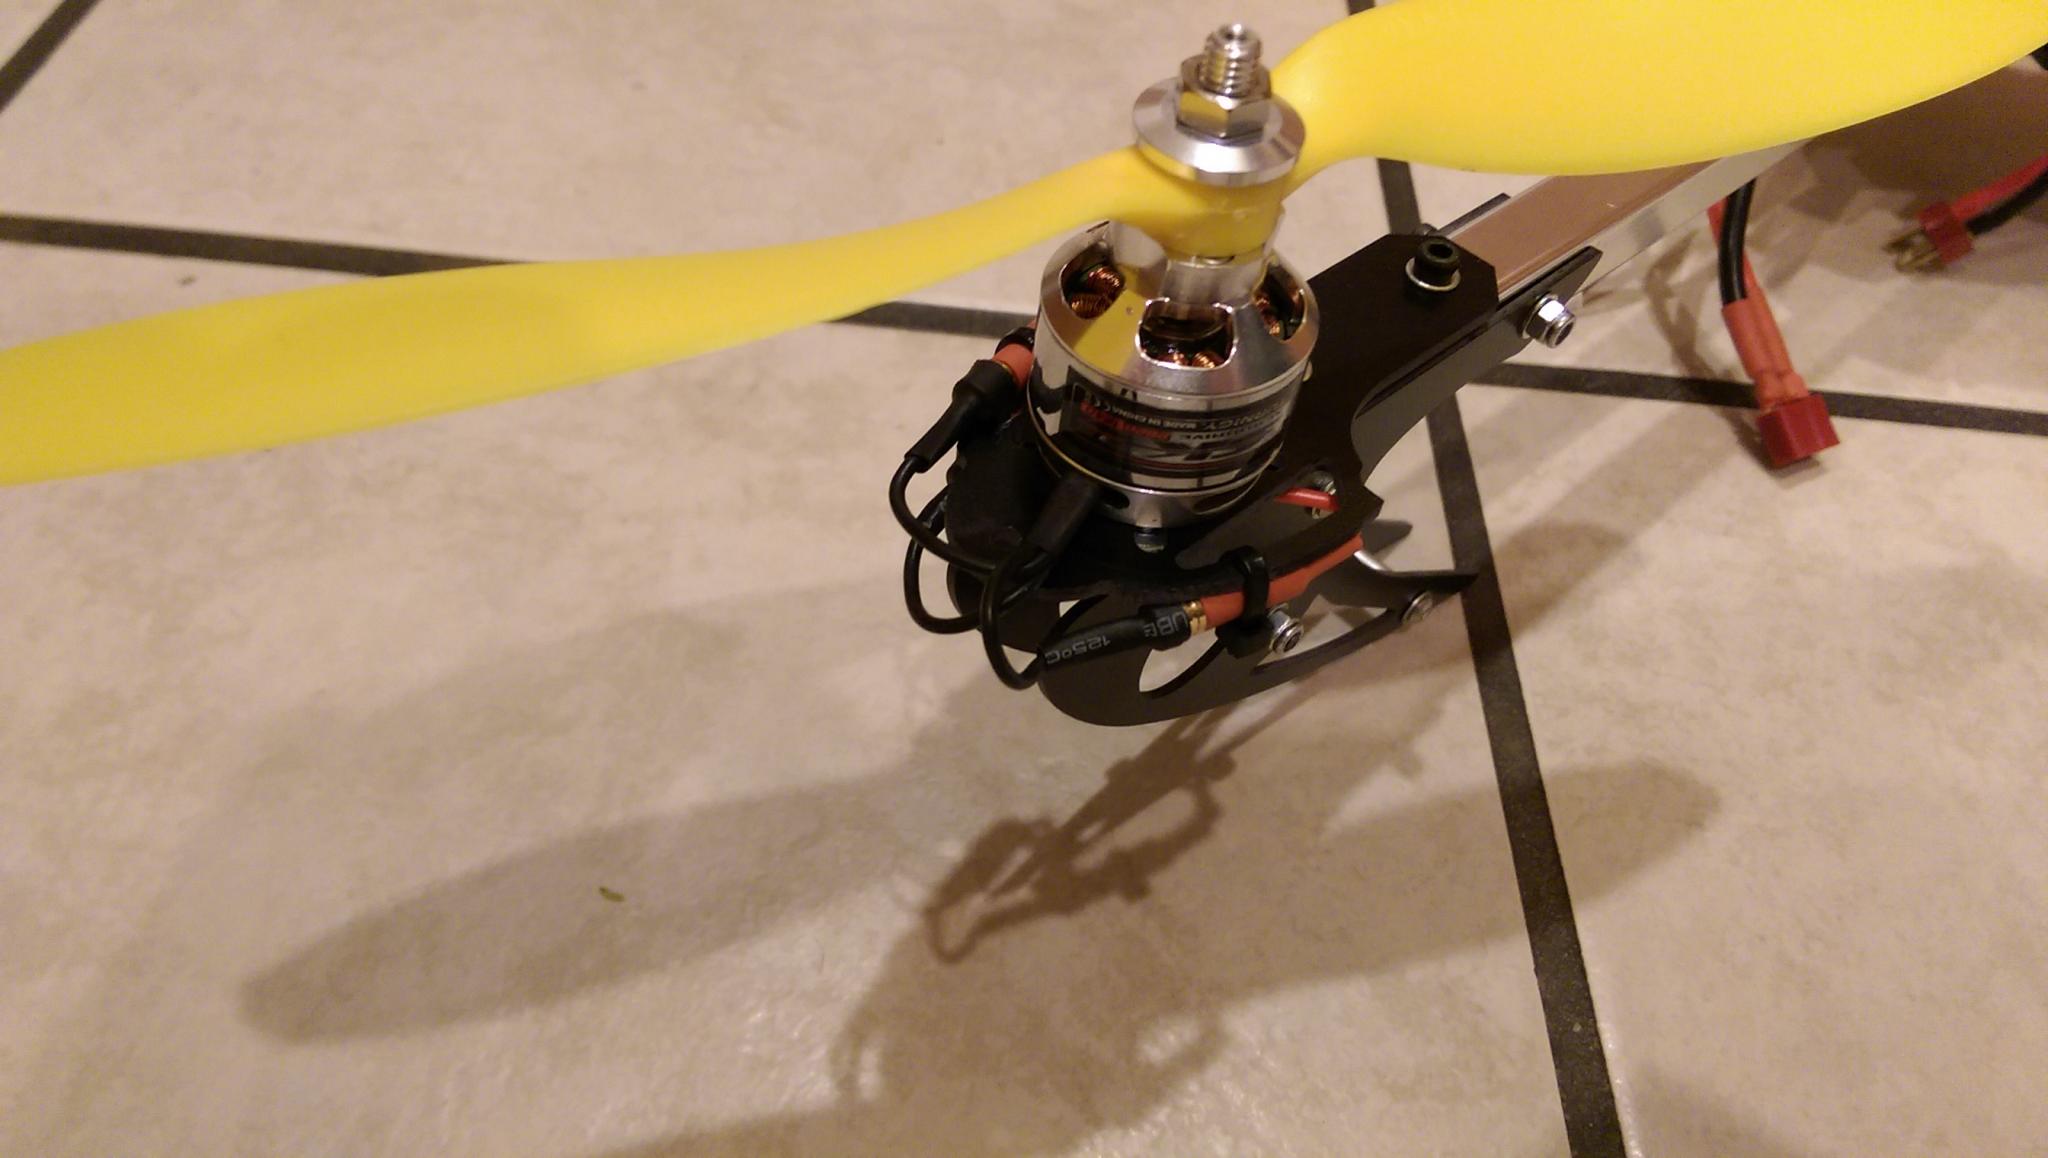
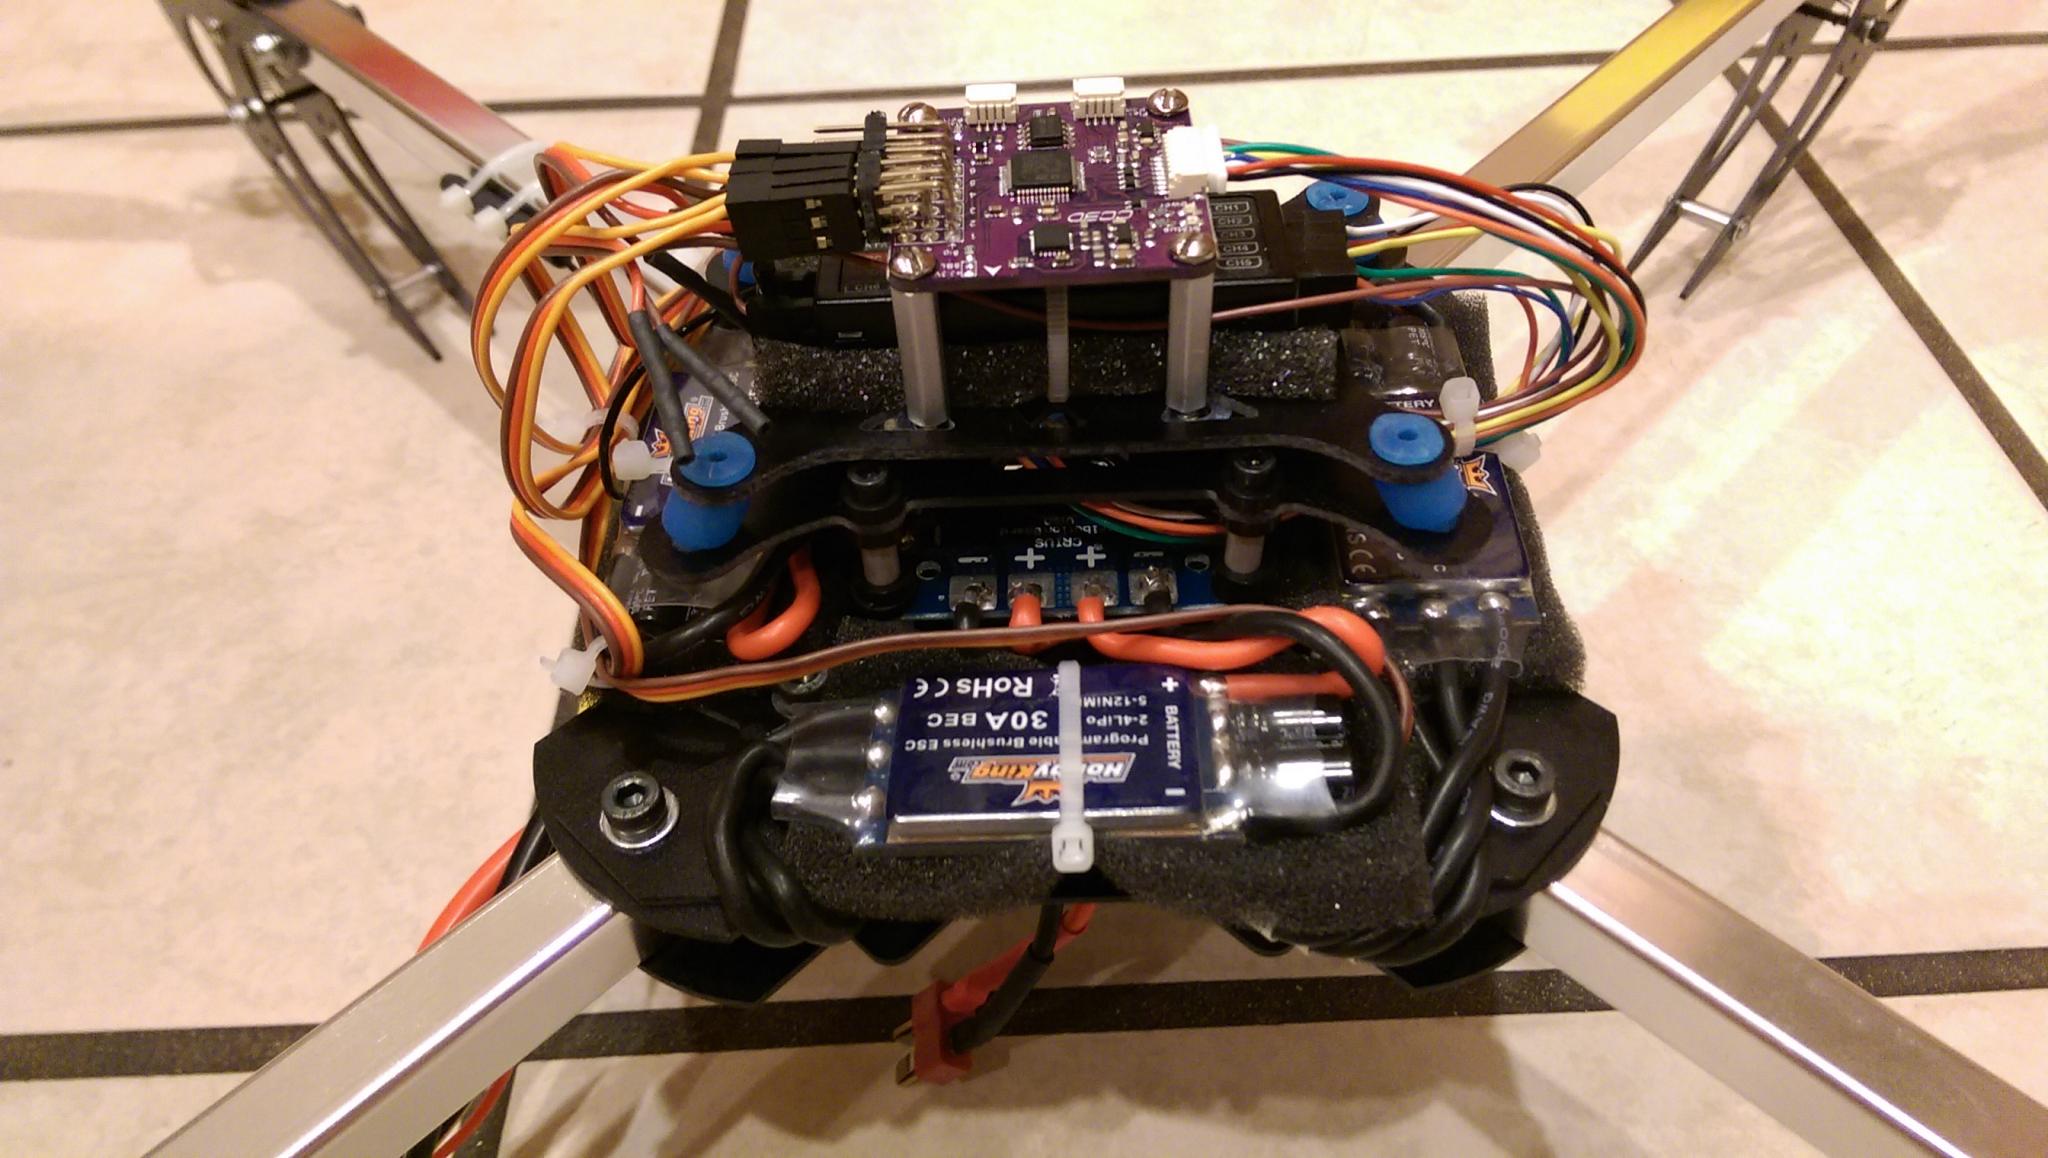
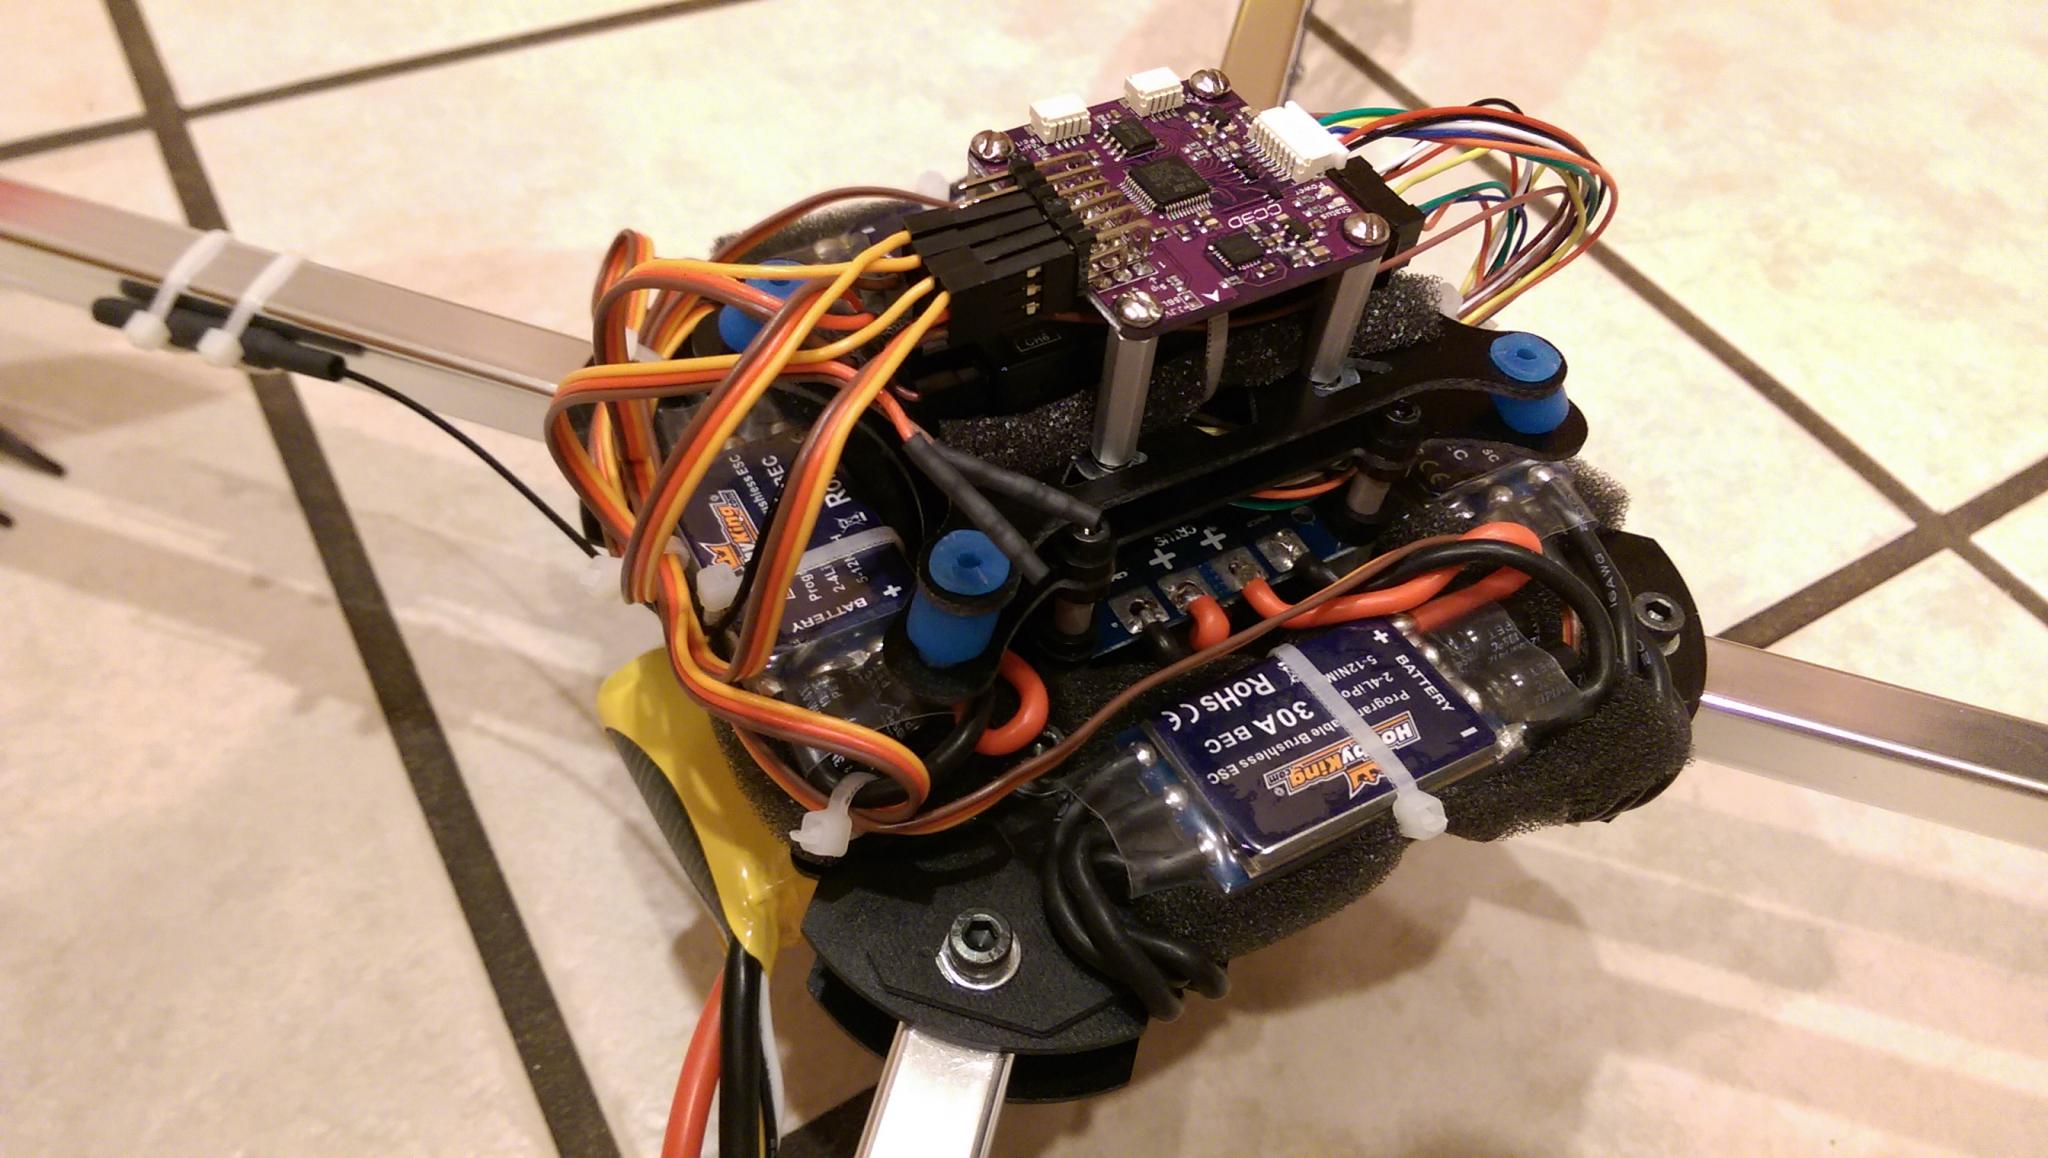
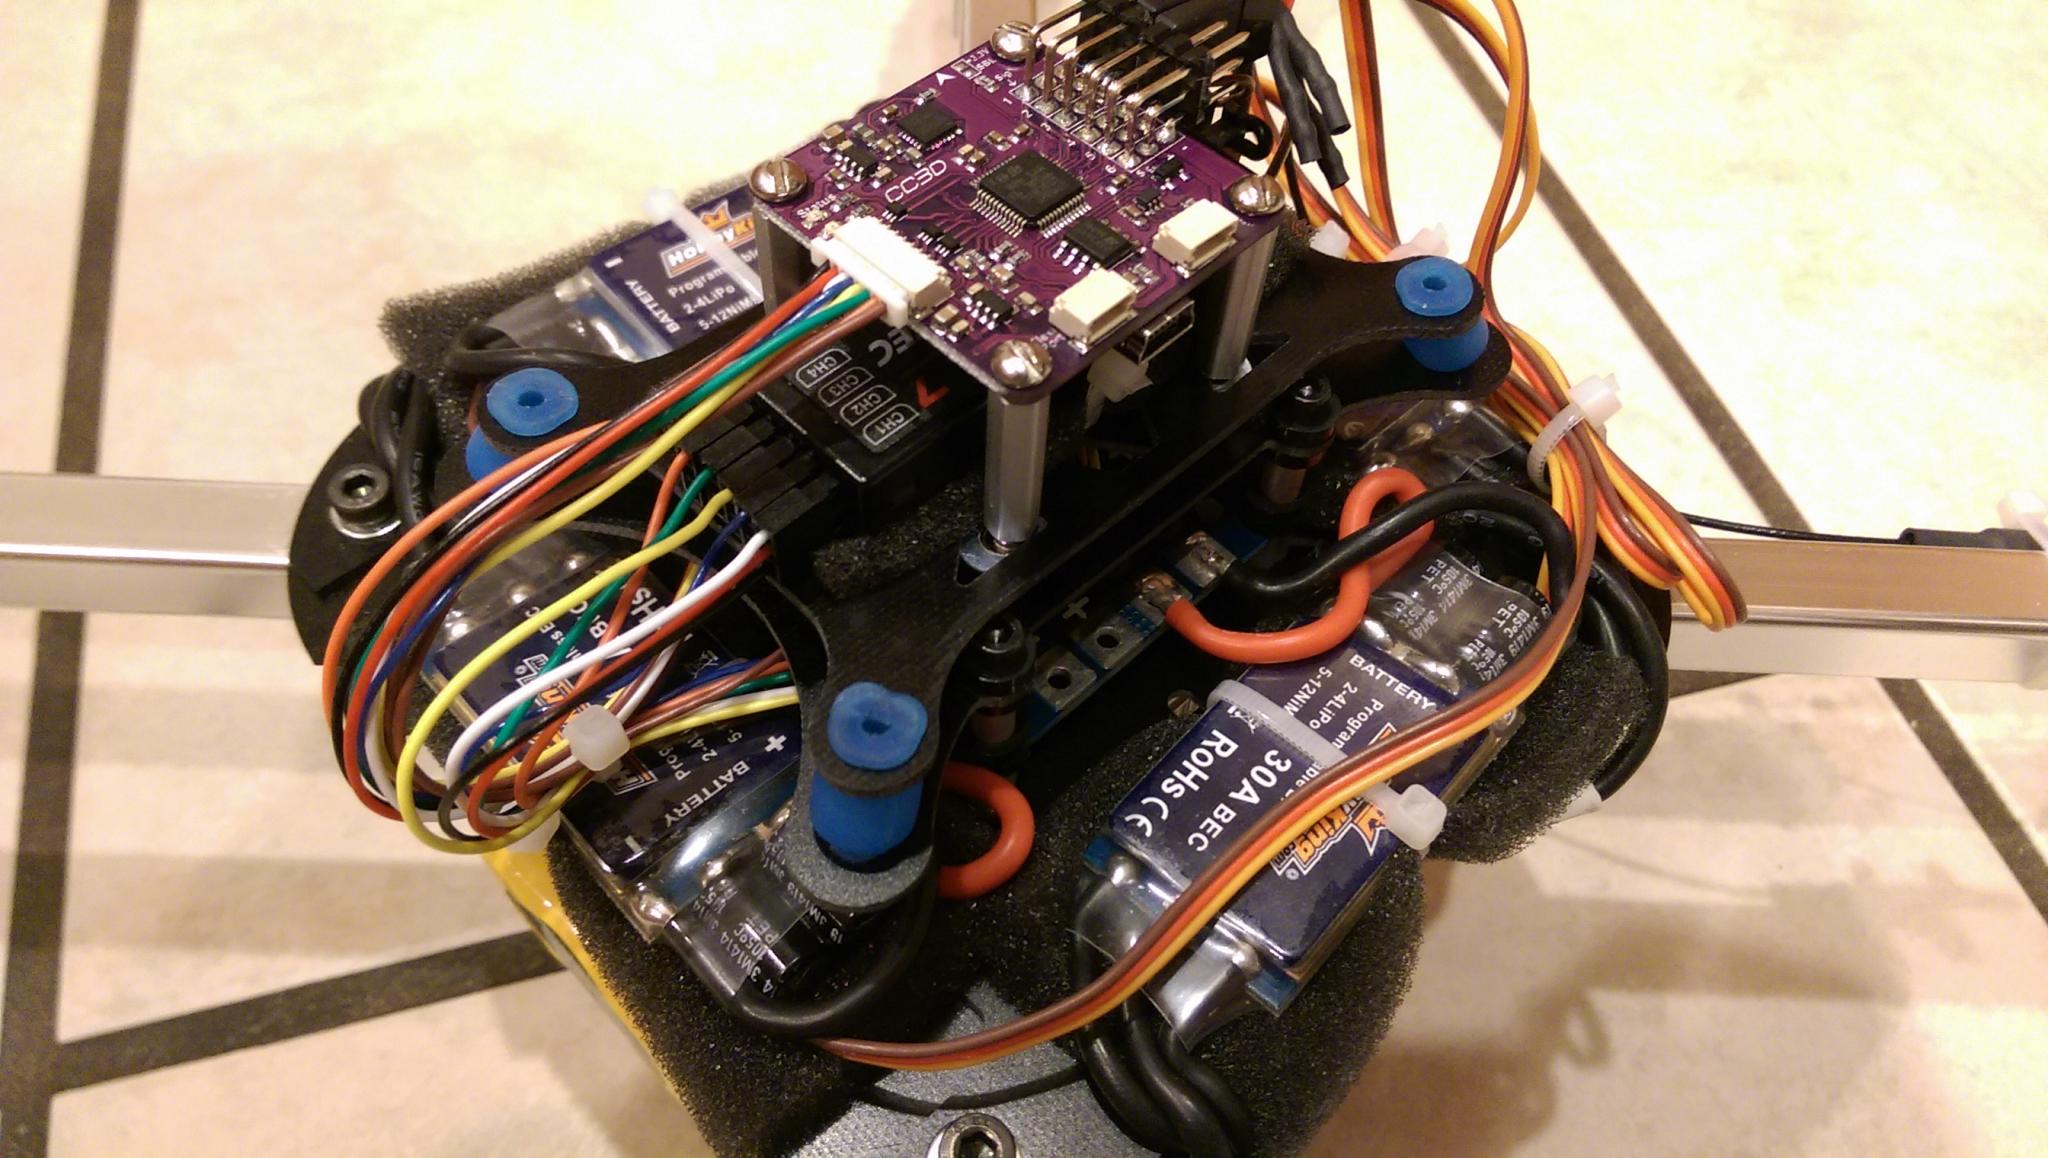
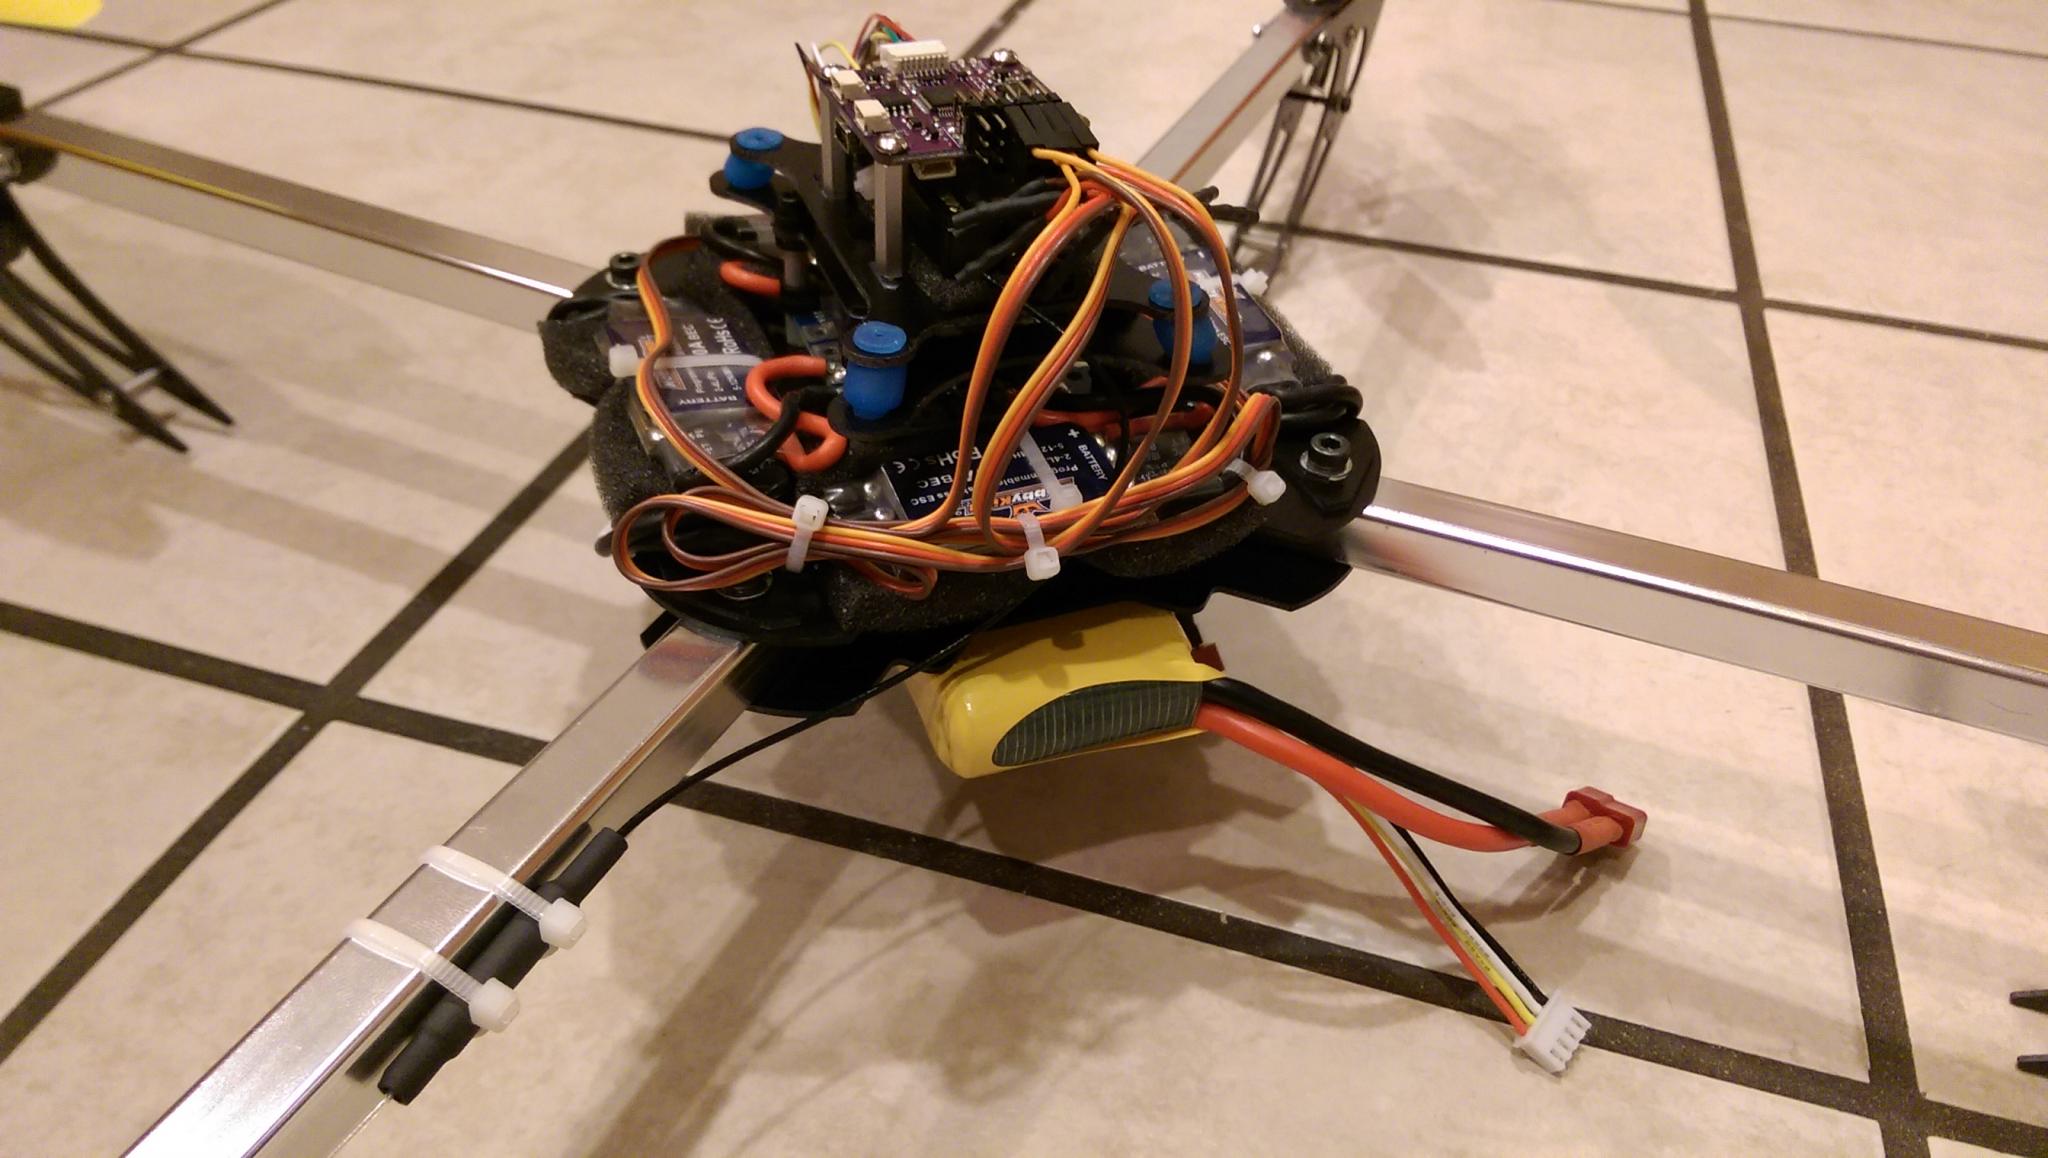
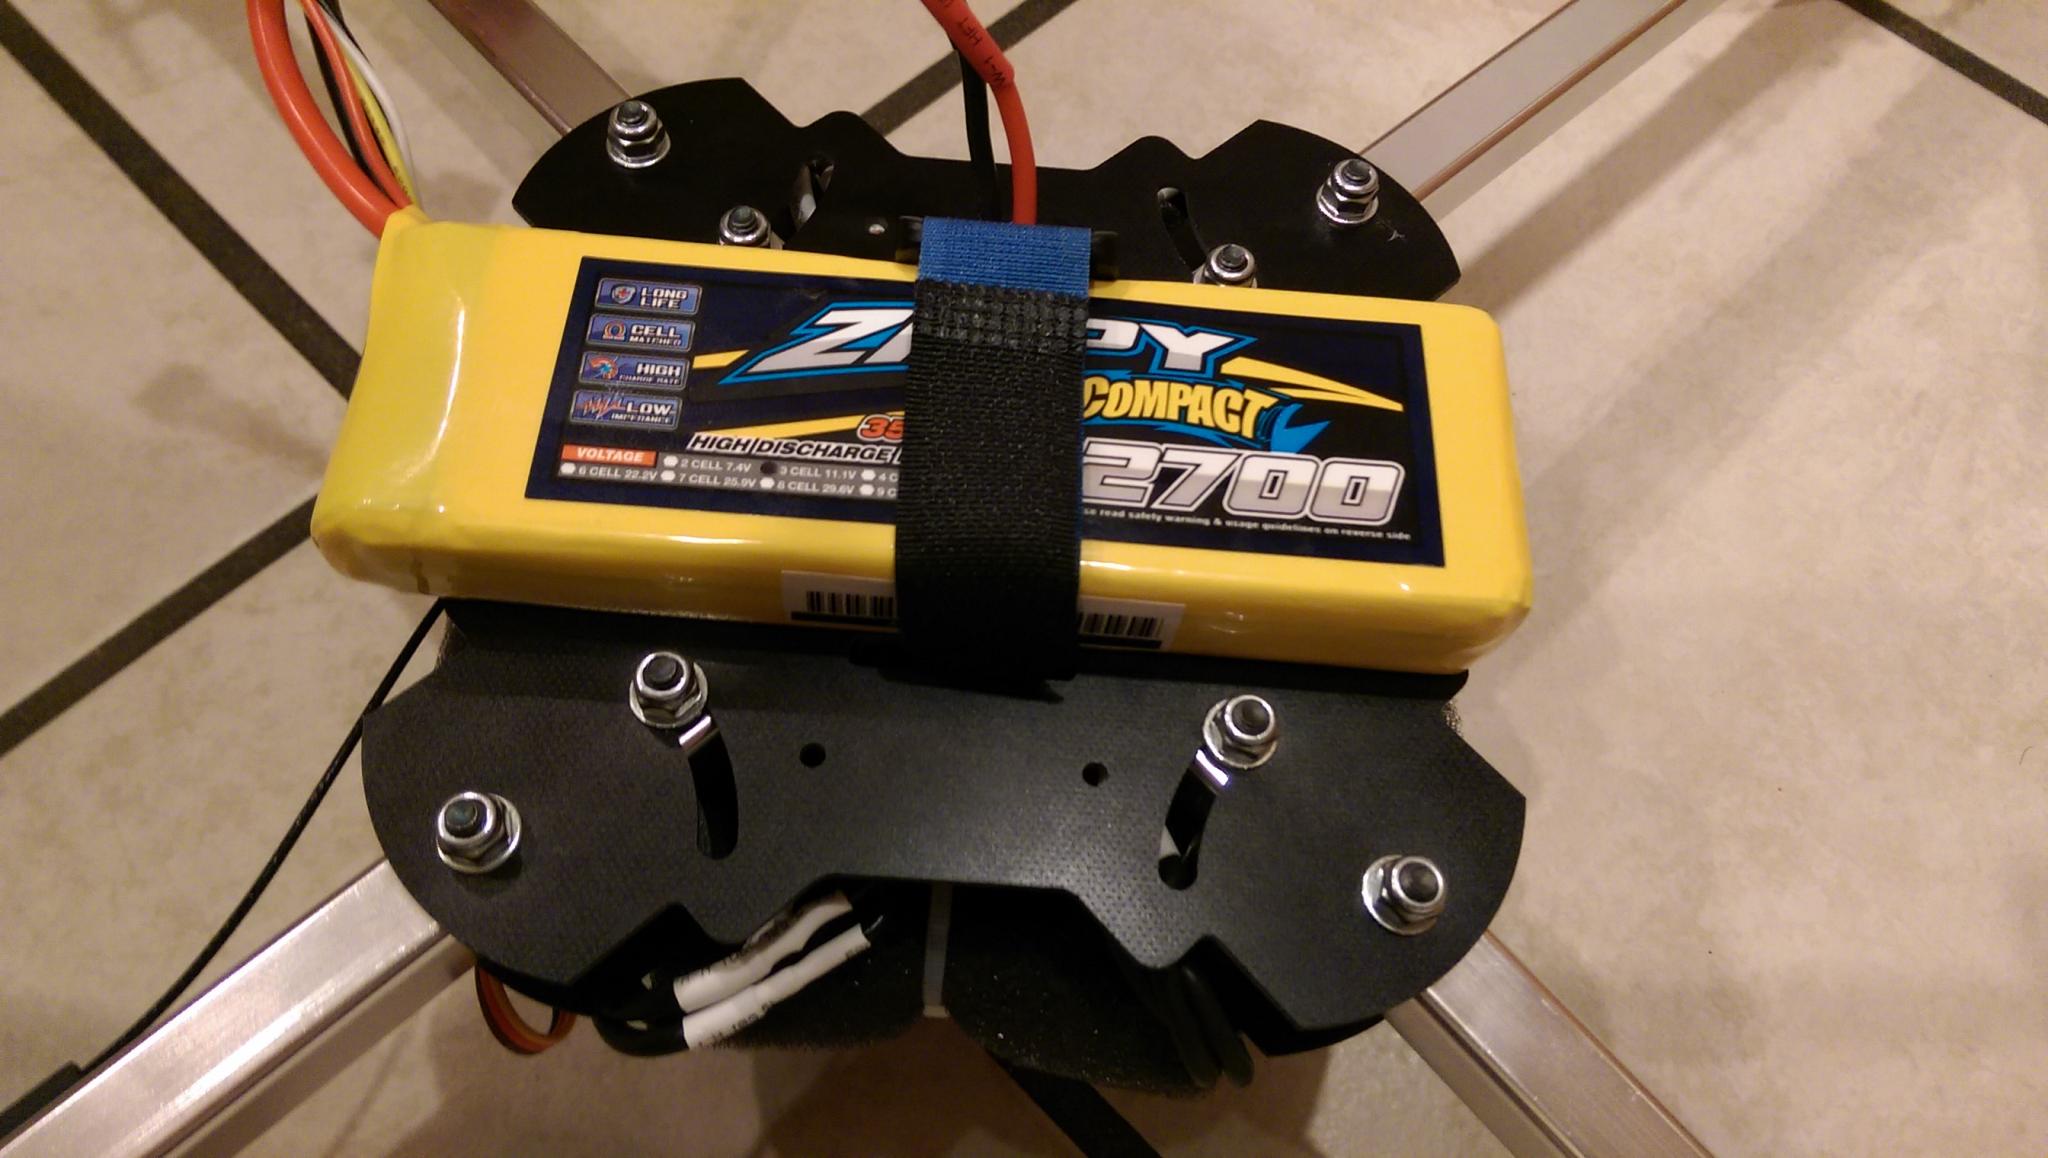
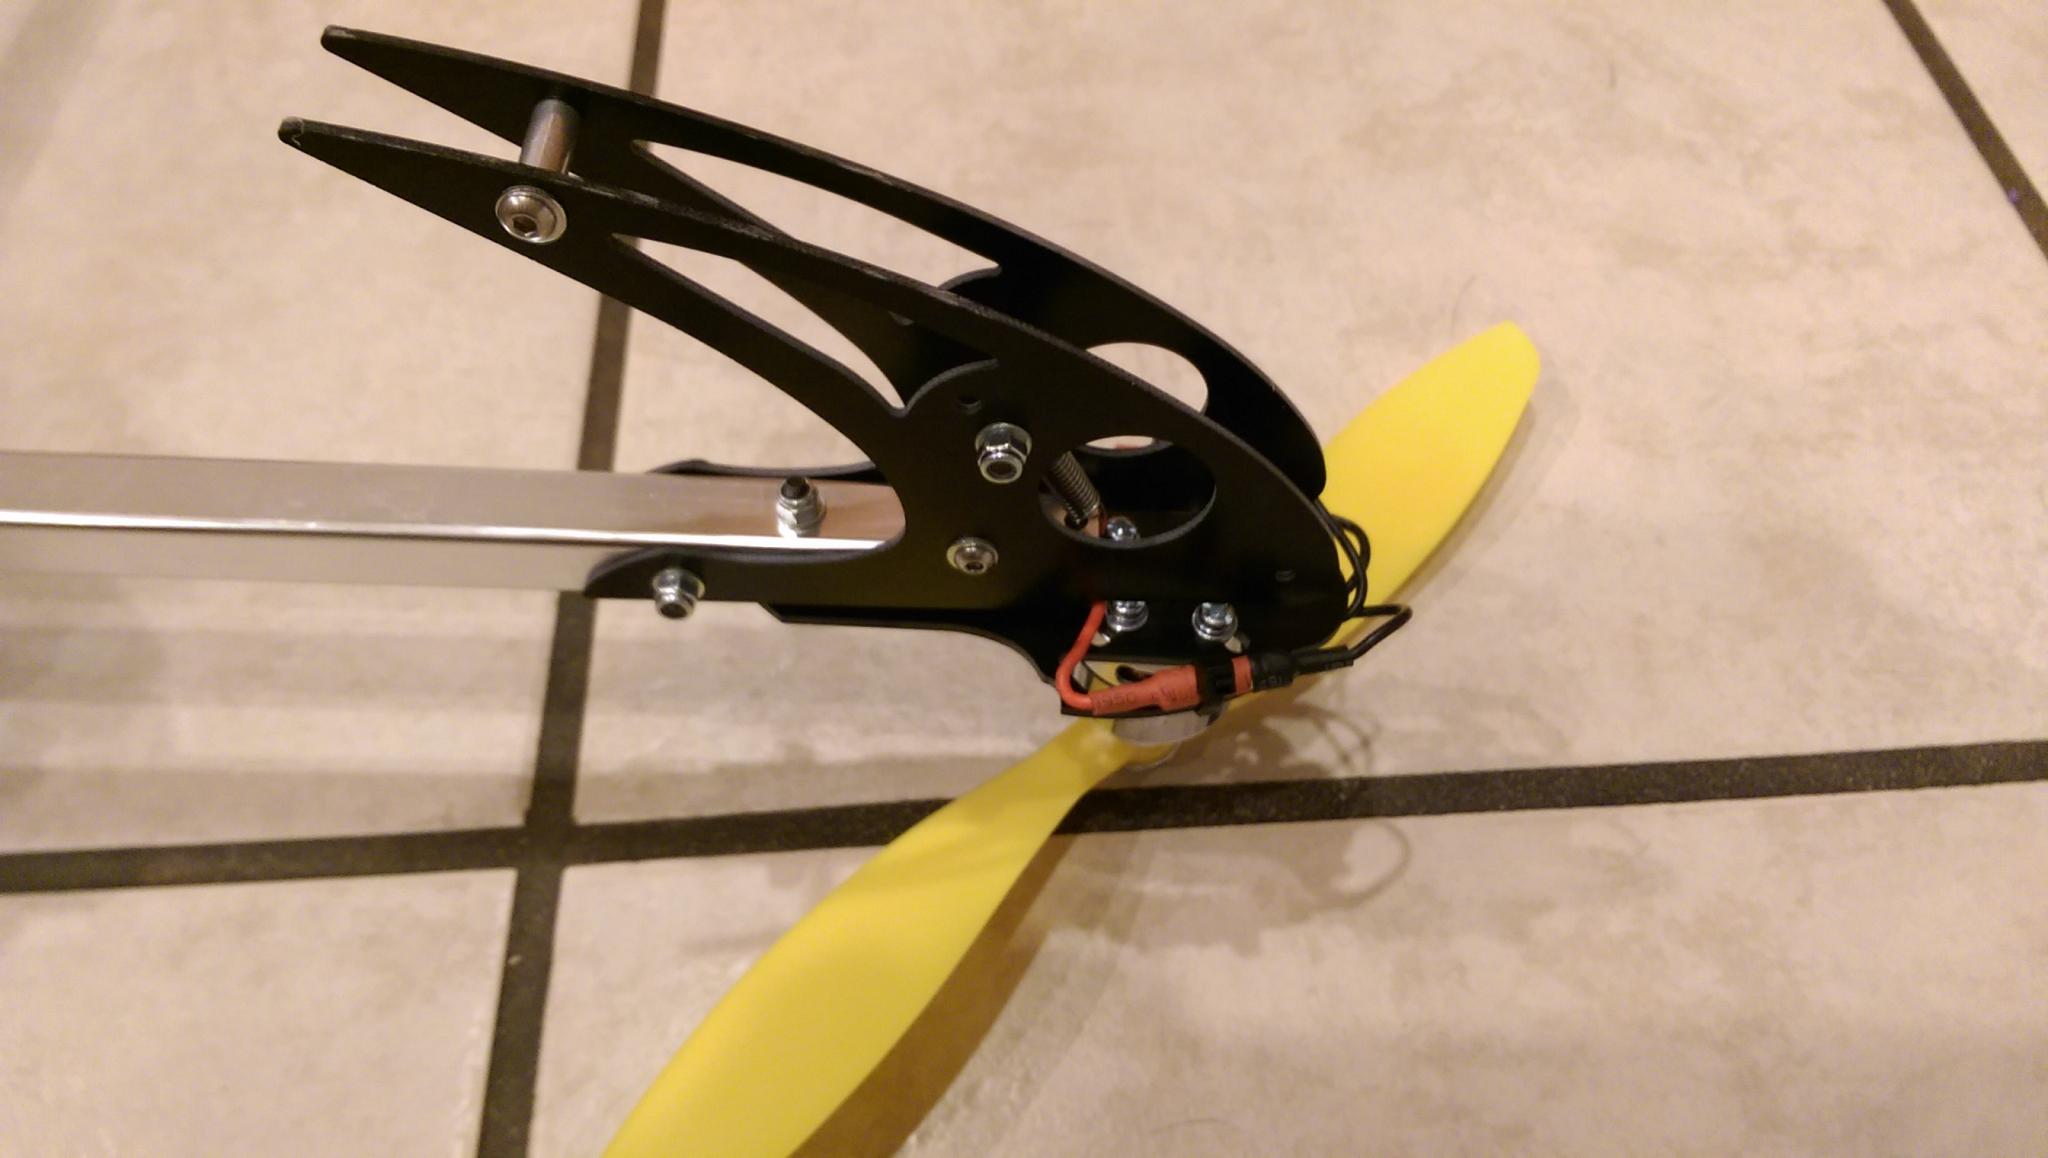
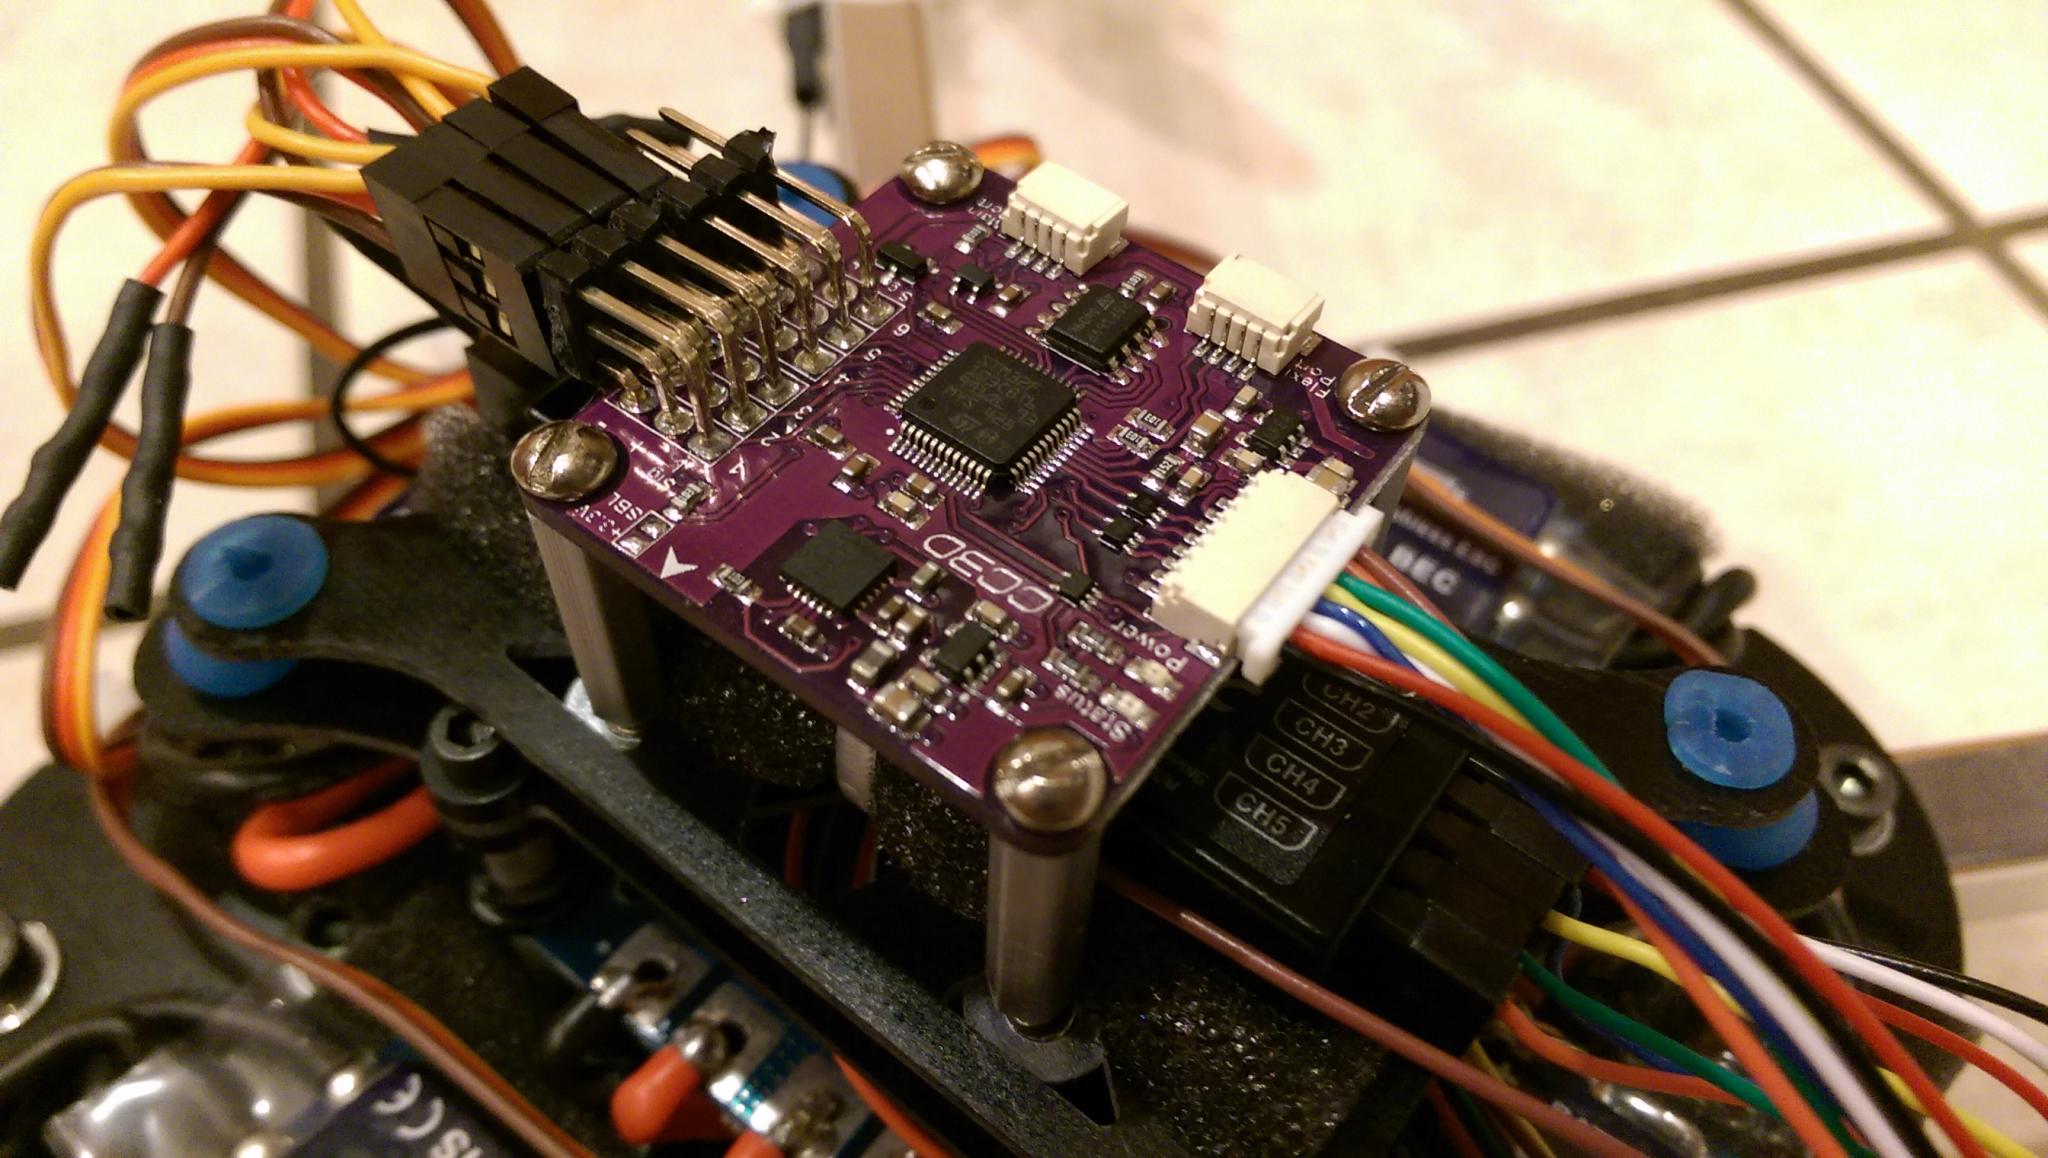
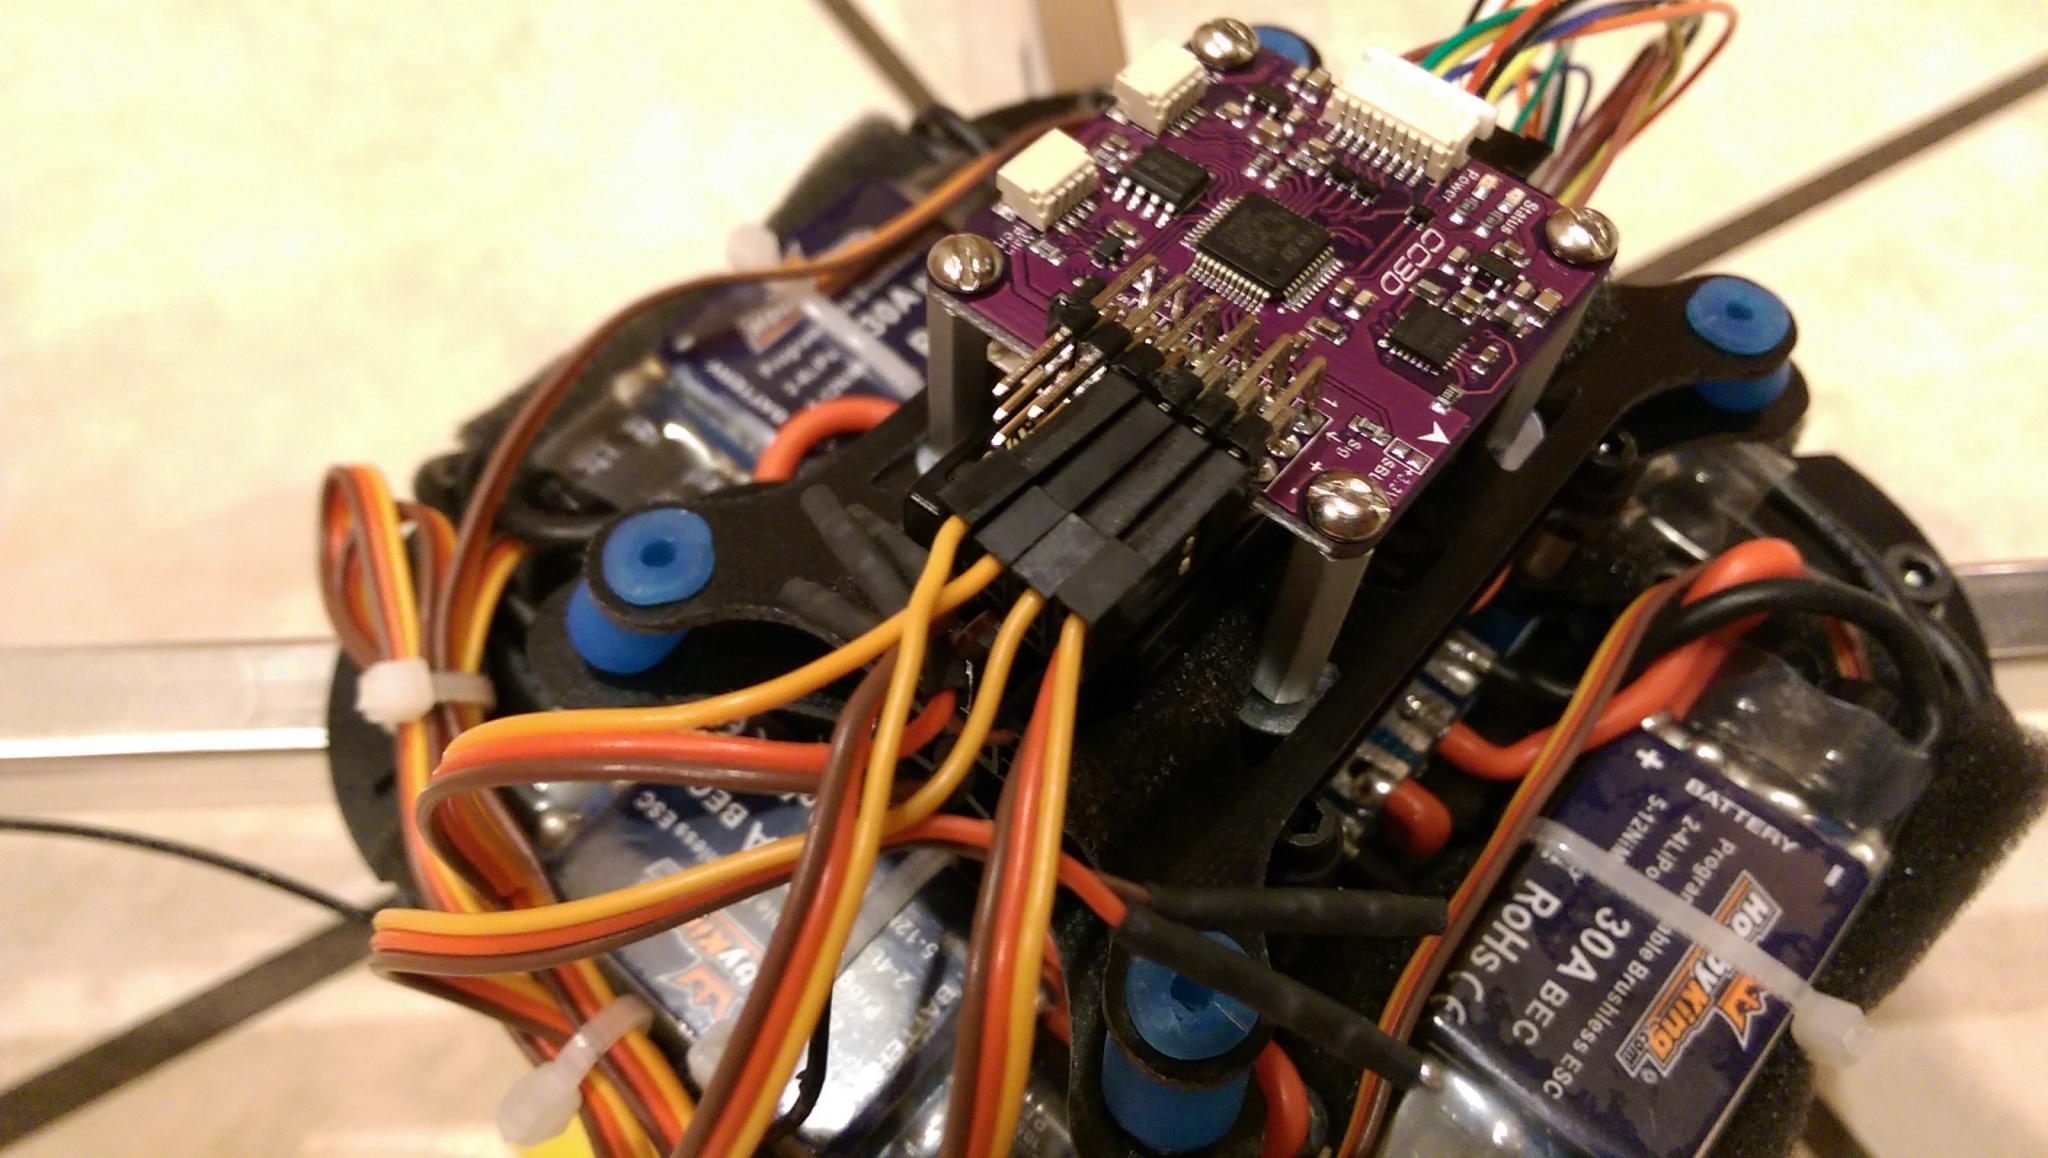
The final build, without battery, comes in at just over 30 ounces. Right now I'm leaning towards this thing being a bit on the heavy side. It hovers at around 40% throttle, but this thing has a lot of momentum in the air.
About the CC3D Controller
The controller is the OpenPilot CopterControl CC3D. When looking into what controller to use, it certainly didn't stand out as a clear front-runner at the time, but it was in line with a list of others. The controller board itself is smaller than I imagined. Little did I know, the OpenPilot software package available with this controller is absolutely fantastic. The setup of the controller is wizard guided and you could tell some real thought went into it. I went from initial power on to first good flight in the same afternoon. That's a win considering my quadcopter was somewhat custom. Here's an excellent video on walking through the OpenPilot GCS tutorial setup. The provided OpenPilot Debian package installed on Ubuntu 14.04.1 without issue.
I have a Hitec Optic radio on-hand that I use for various other RC planes and it works just fine for the quadcopter. I used it in airplane/glider mode instead of helicopter mode. I have not decided if one is really better than the other. Also, I have not figured out a good use for channels 5 and 6.
I wired everything up pretty standard following the CC3D documentation shown here:
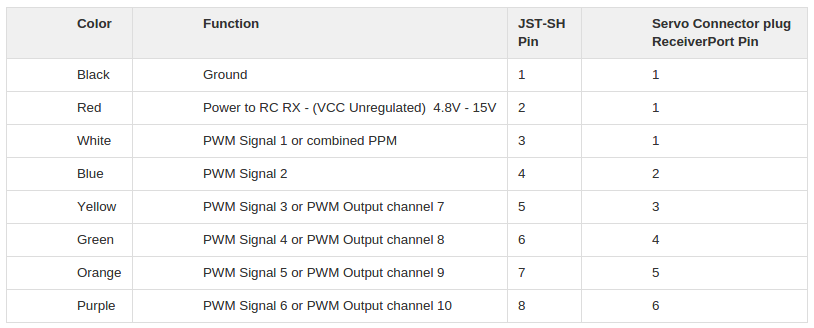
As a precaution I did remove the power/ground from all of the ESC connections to the flight controller with the exception of one as recommended. I just pulled the pins out of the sleeve and covered them with shrink wrap. I'm not sure if it would cause an issue, but there's really no need for them as it is.
Here is where my initial, flyable, CC3D settings are. It will take some work to get these closer to optimal settings.

Configuring the ESCs
I programmed the ESC's using 2 different methods. The first method consisted of temporarily rewiring the ESCs directly to the receiver and programming them one at a time like you would with fixed wing aircraft. Turns out, this is a brutal waste of time. There's a much better second option that I'll quote right from the OpenPilot wiki on doing this:Remove all the props first and disconnect your battery from the ESCs, then power your board through the USB.
Go to the output config panel in the configuration gadget, check the "test outputs" function, and confirm that you want to continue.
Move the slider on all ESC output channels to the max value you like (for example 1900 microseconds). (You can link the outputs so you can calibrate all ESCs at the same time by 'checking' the Link box.)
Now apply power from your battery without disconnecting the USB. Your ESCs will boot and beep accordingly, indicating that they have received a high throttle set point.
Move all the sliders back to 1000 microseconds. The ESCs will beep several times to confirm the low position and all will be calibrated properly.
A nice tip by Z-axis
To move the slider instantly, just hit the "home" key on the keyboard. It is instantaneous and much faster than trying to slide it.
So after you have moved the slider to your maximum value and applied power you can hit the "home" key on the keyboard once the ESCs are booted and beeped.
Along with calibrating throttle range, for the HobbyKing ESCs, I configured them as factory default and then set:
- Battery Type: NiCad/NiMH
- Cut Off Voltage: Low
- Acceleration: Hard
Notice in the first flight video one of the motors dropped out right at the end. I was able to repeat this happening and I suspect it was due to low battery. That has been fixed with the above ESC configuration (which I had not completed in the video).
First Flight Test Attempts
After CC3D setup, my first attempts to get this thing off the ground exposed an immediate problem. I tried taking off and also tried holding it in hand and in both cases experienced what would turn into a violent wobble. One of the first attempts to hover resulted in it coming about a foot off the ground and proceeding to flip right over on the ground very swiftly. It seemed to be fighting itself and its response to that was more throttle. At this point I reflected on fly-by-wire systems. After a bit of troubleshooting, I isolated it down to the Rate Stabilization roll and pitch settings. The default settings for this quadcopter are way to high (probably due to weight and the ESCs I used). I cut the proportional and integral settings right in half and that fixed the problem. The wobble is completely gone.
I can hover in place for just over 10 minutes. After a 10 minute hover the ESCs, battery, and pretty much room temp so I don't think I have anything to worry about on that front.
Updates
In the middle of putting this together, I also 3D printed the Omnimac MultiWii Pro Mount v1.0. The print actually turned out very well, but the mount is not made for a CC3D off the shelf so I printed another plate to adapt it.
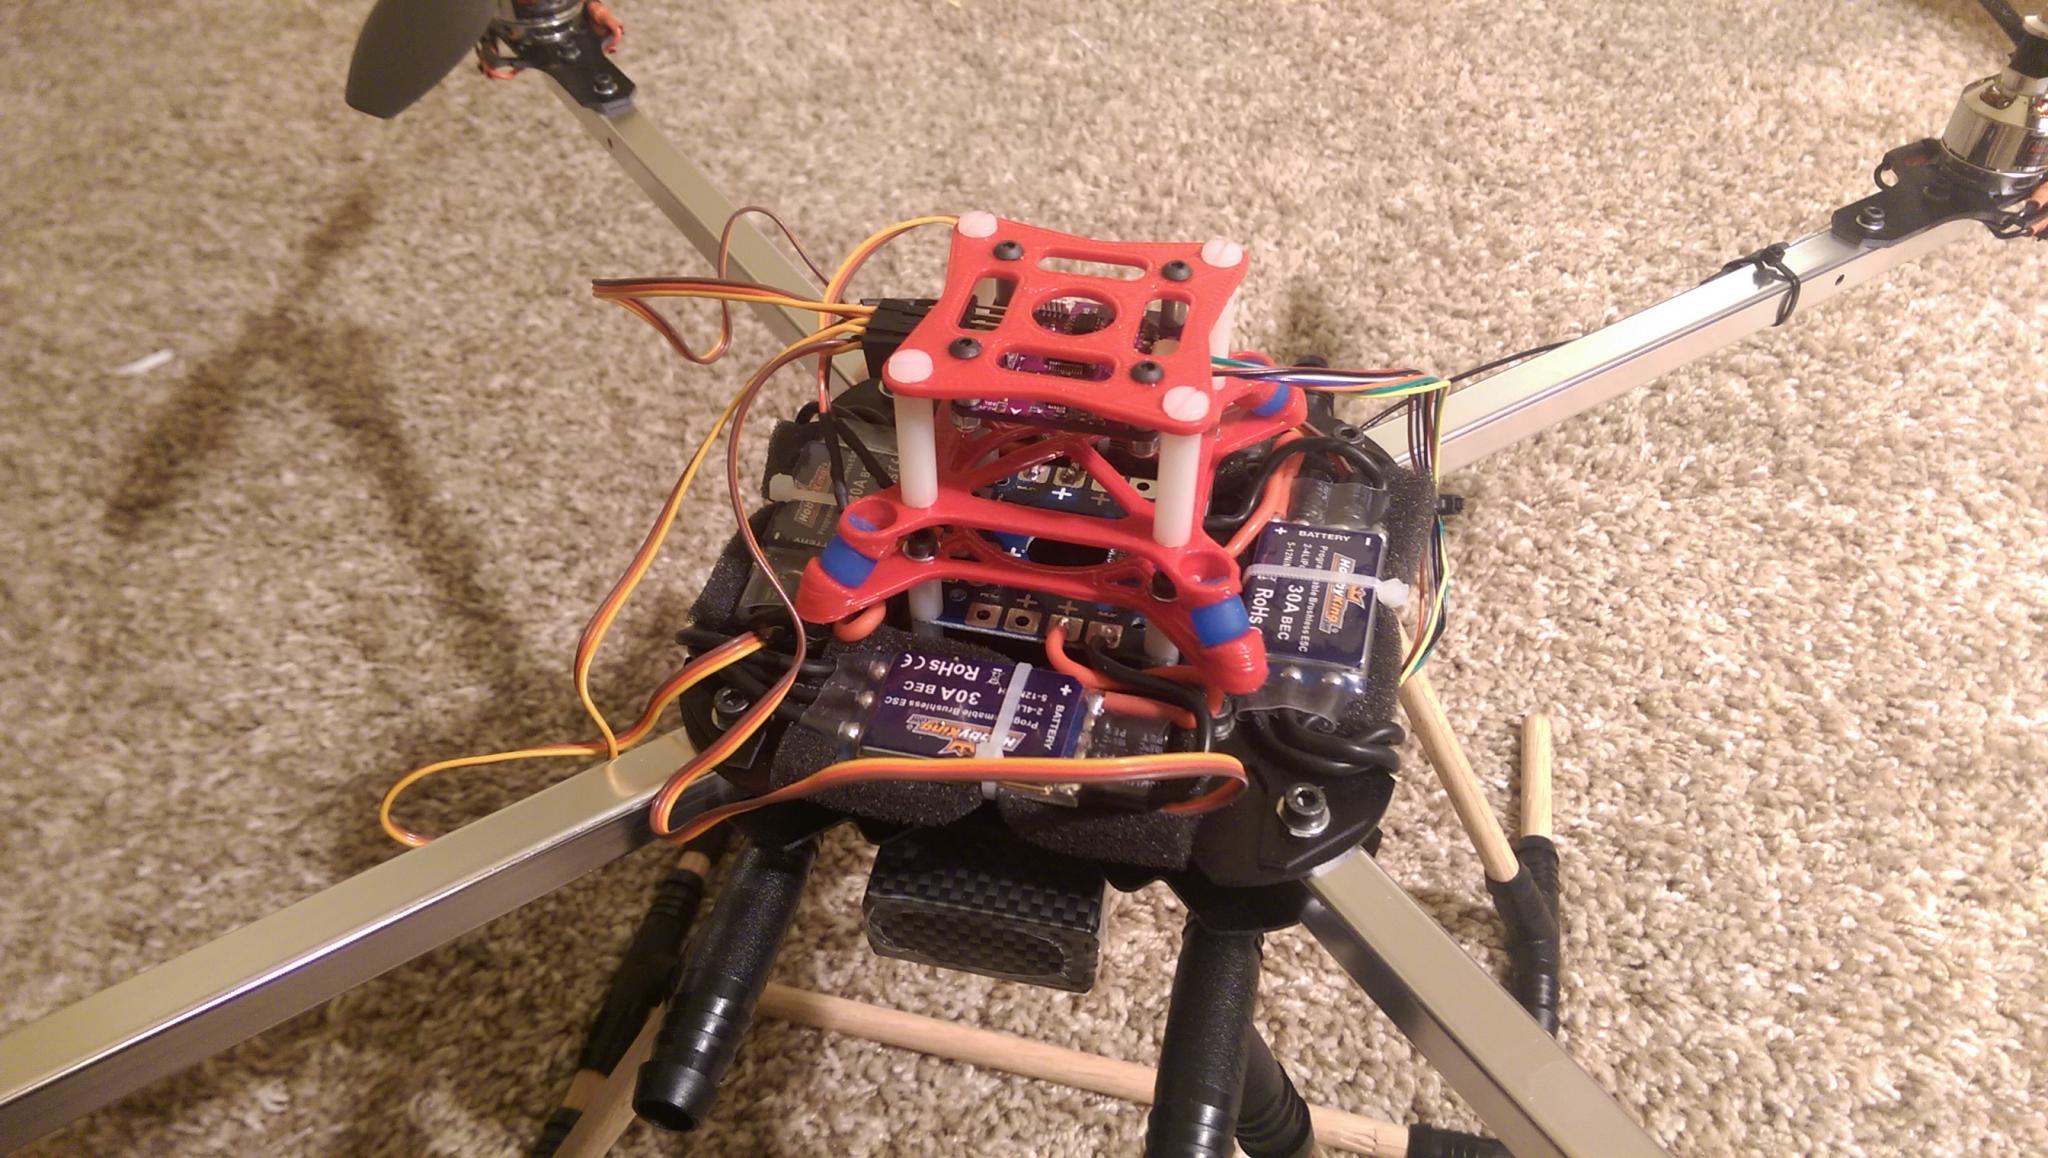
I moved to 10x4.5 propellers. Even though I balanced them, I still notice a bit more vibration (I think a couple of the motors themselves are the source). I have not flown them long enough to note an impact on flight time, but it seems to have a little better control force.
I also added on some higher landing gear both for future possible video equipment and better landing protection in the meantime.

4 Comments