Arduino UNO Unbox to First Program
This is the simplest possible unbox and first program of an Arduino UNO that I can think of using Ubuntu. No external hardware needed other than a printer USB cable.
The UNO comes in a box that has a picture that's near life size.
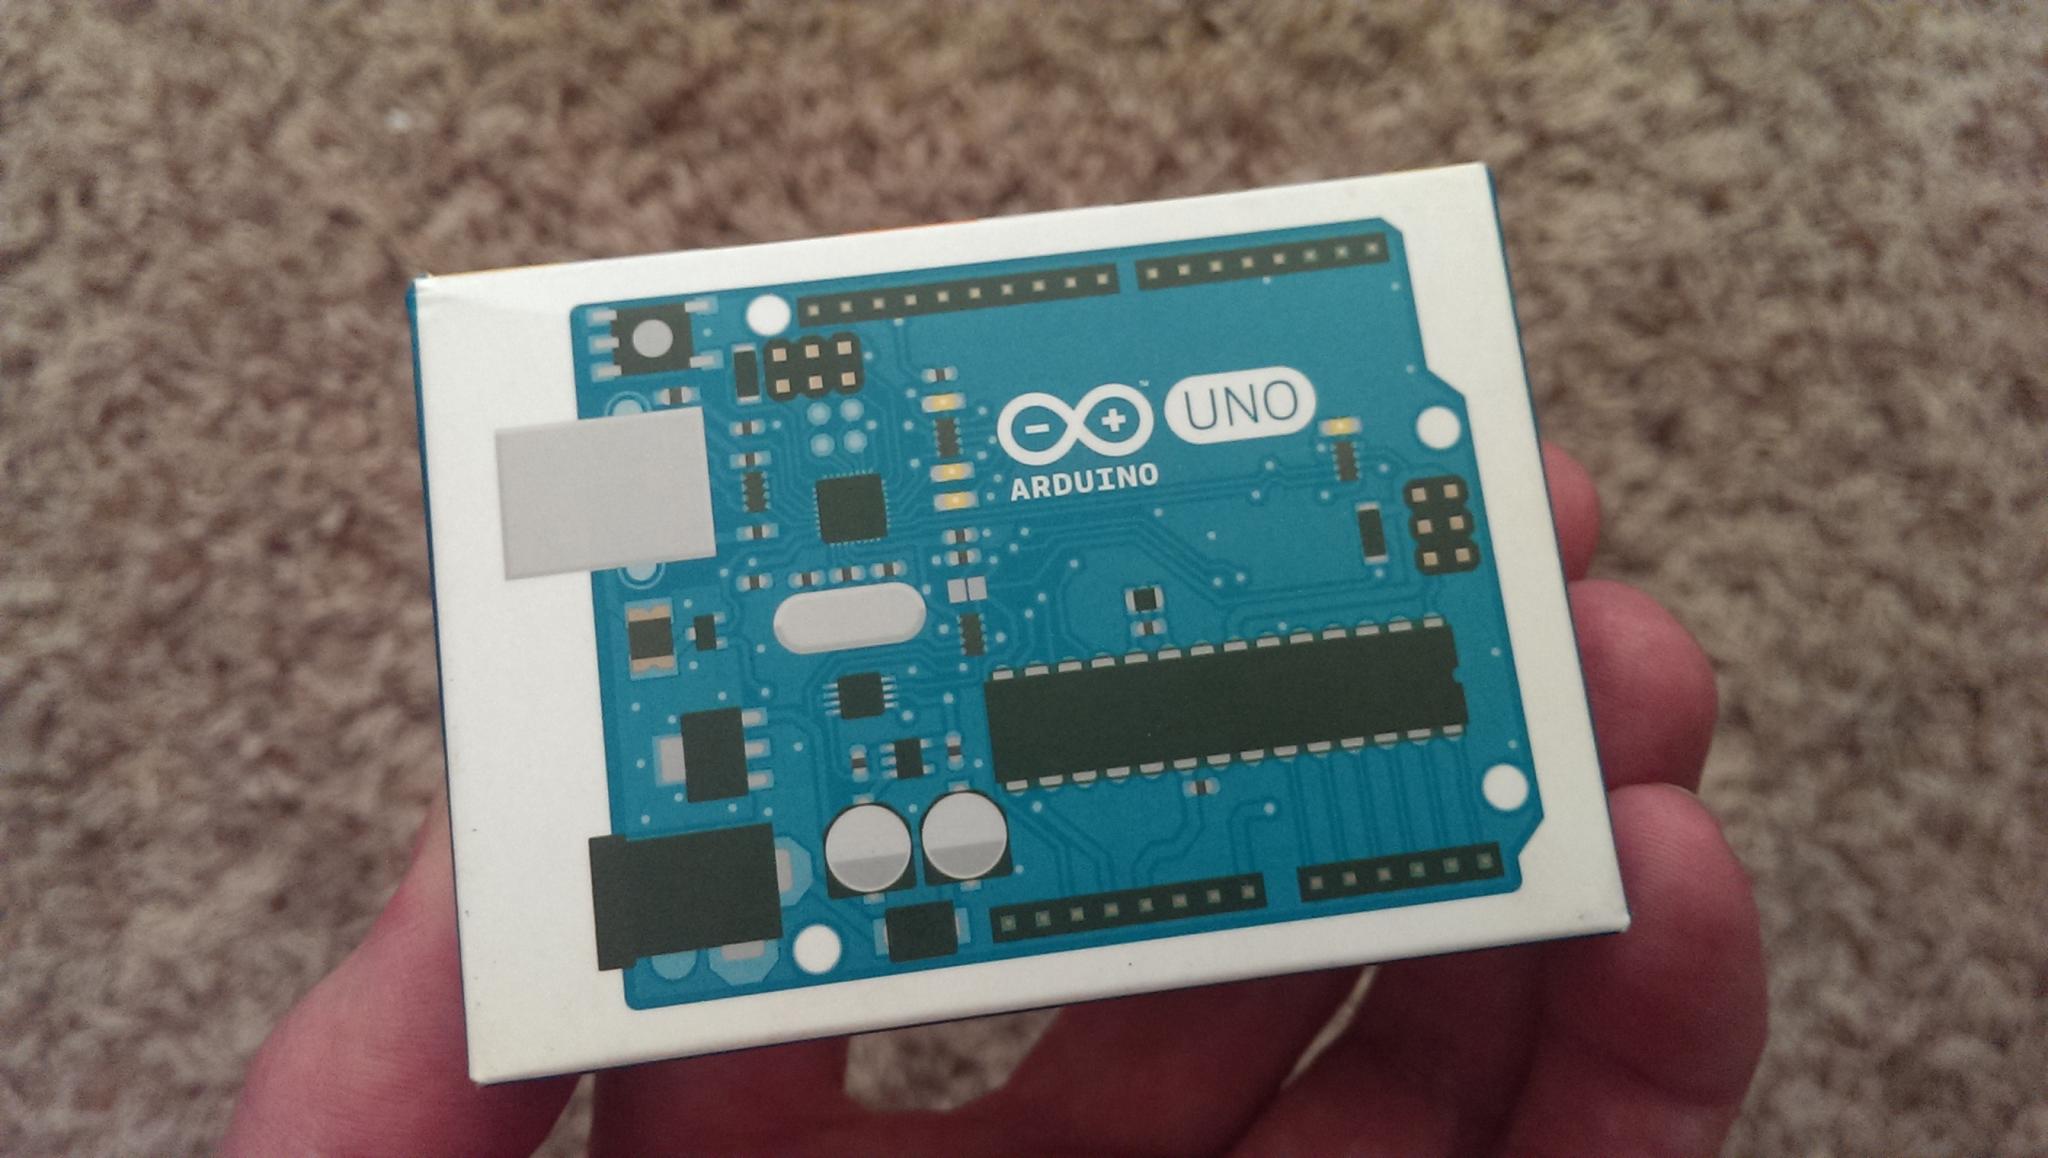
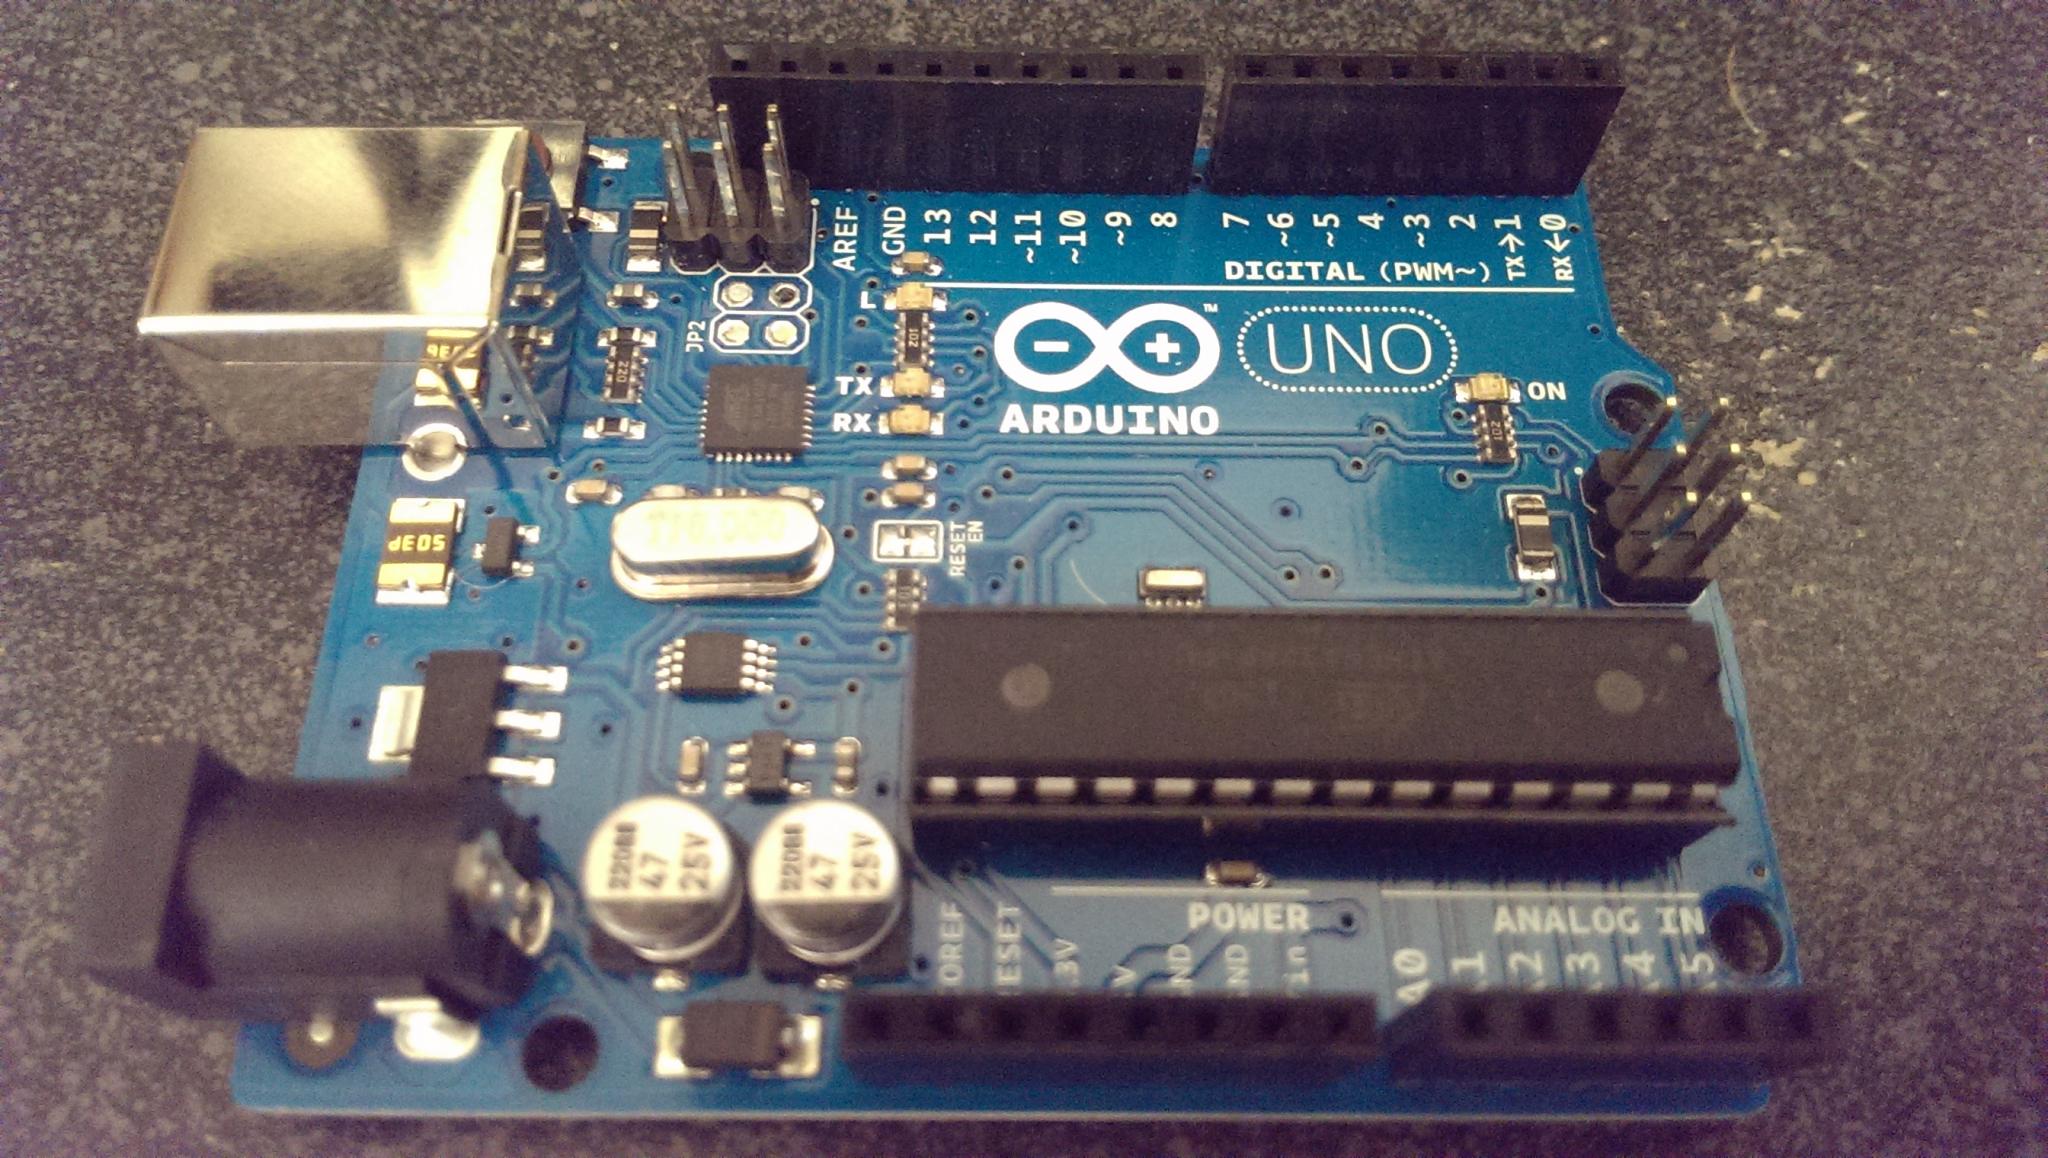
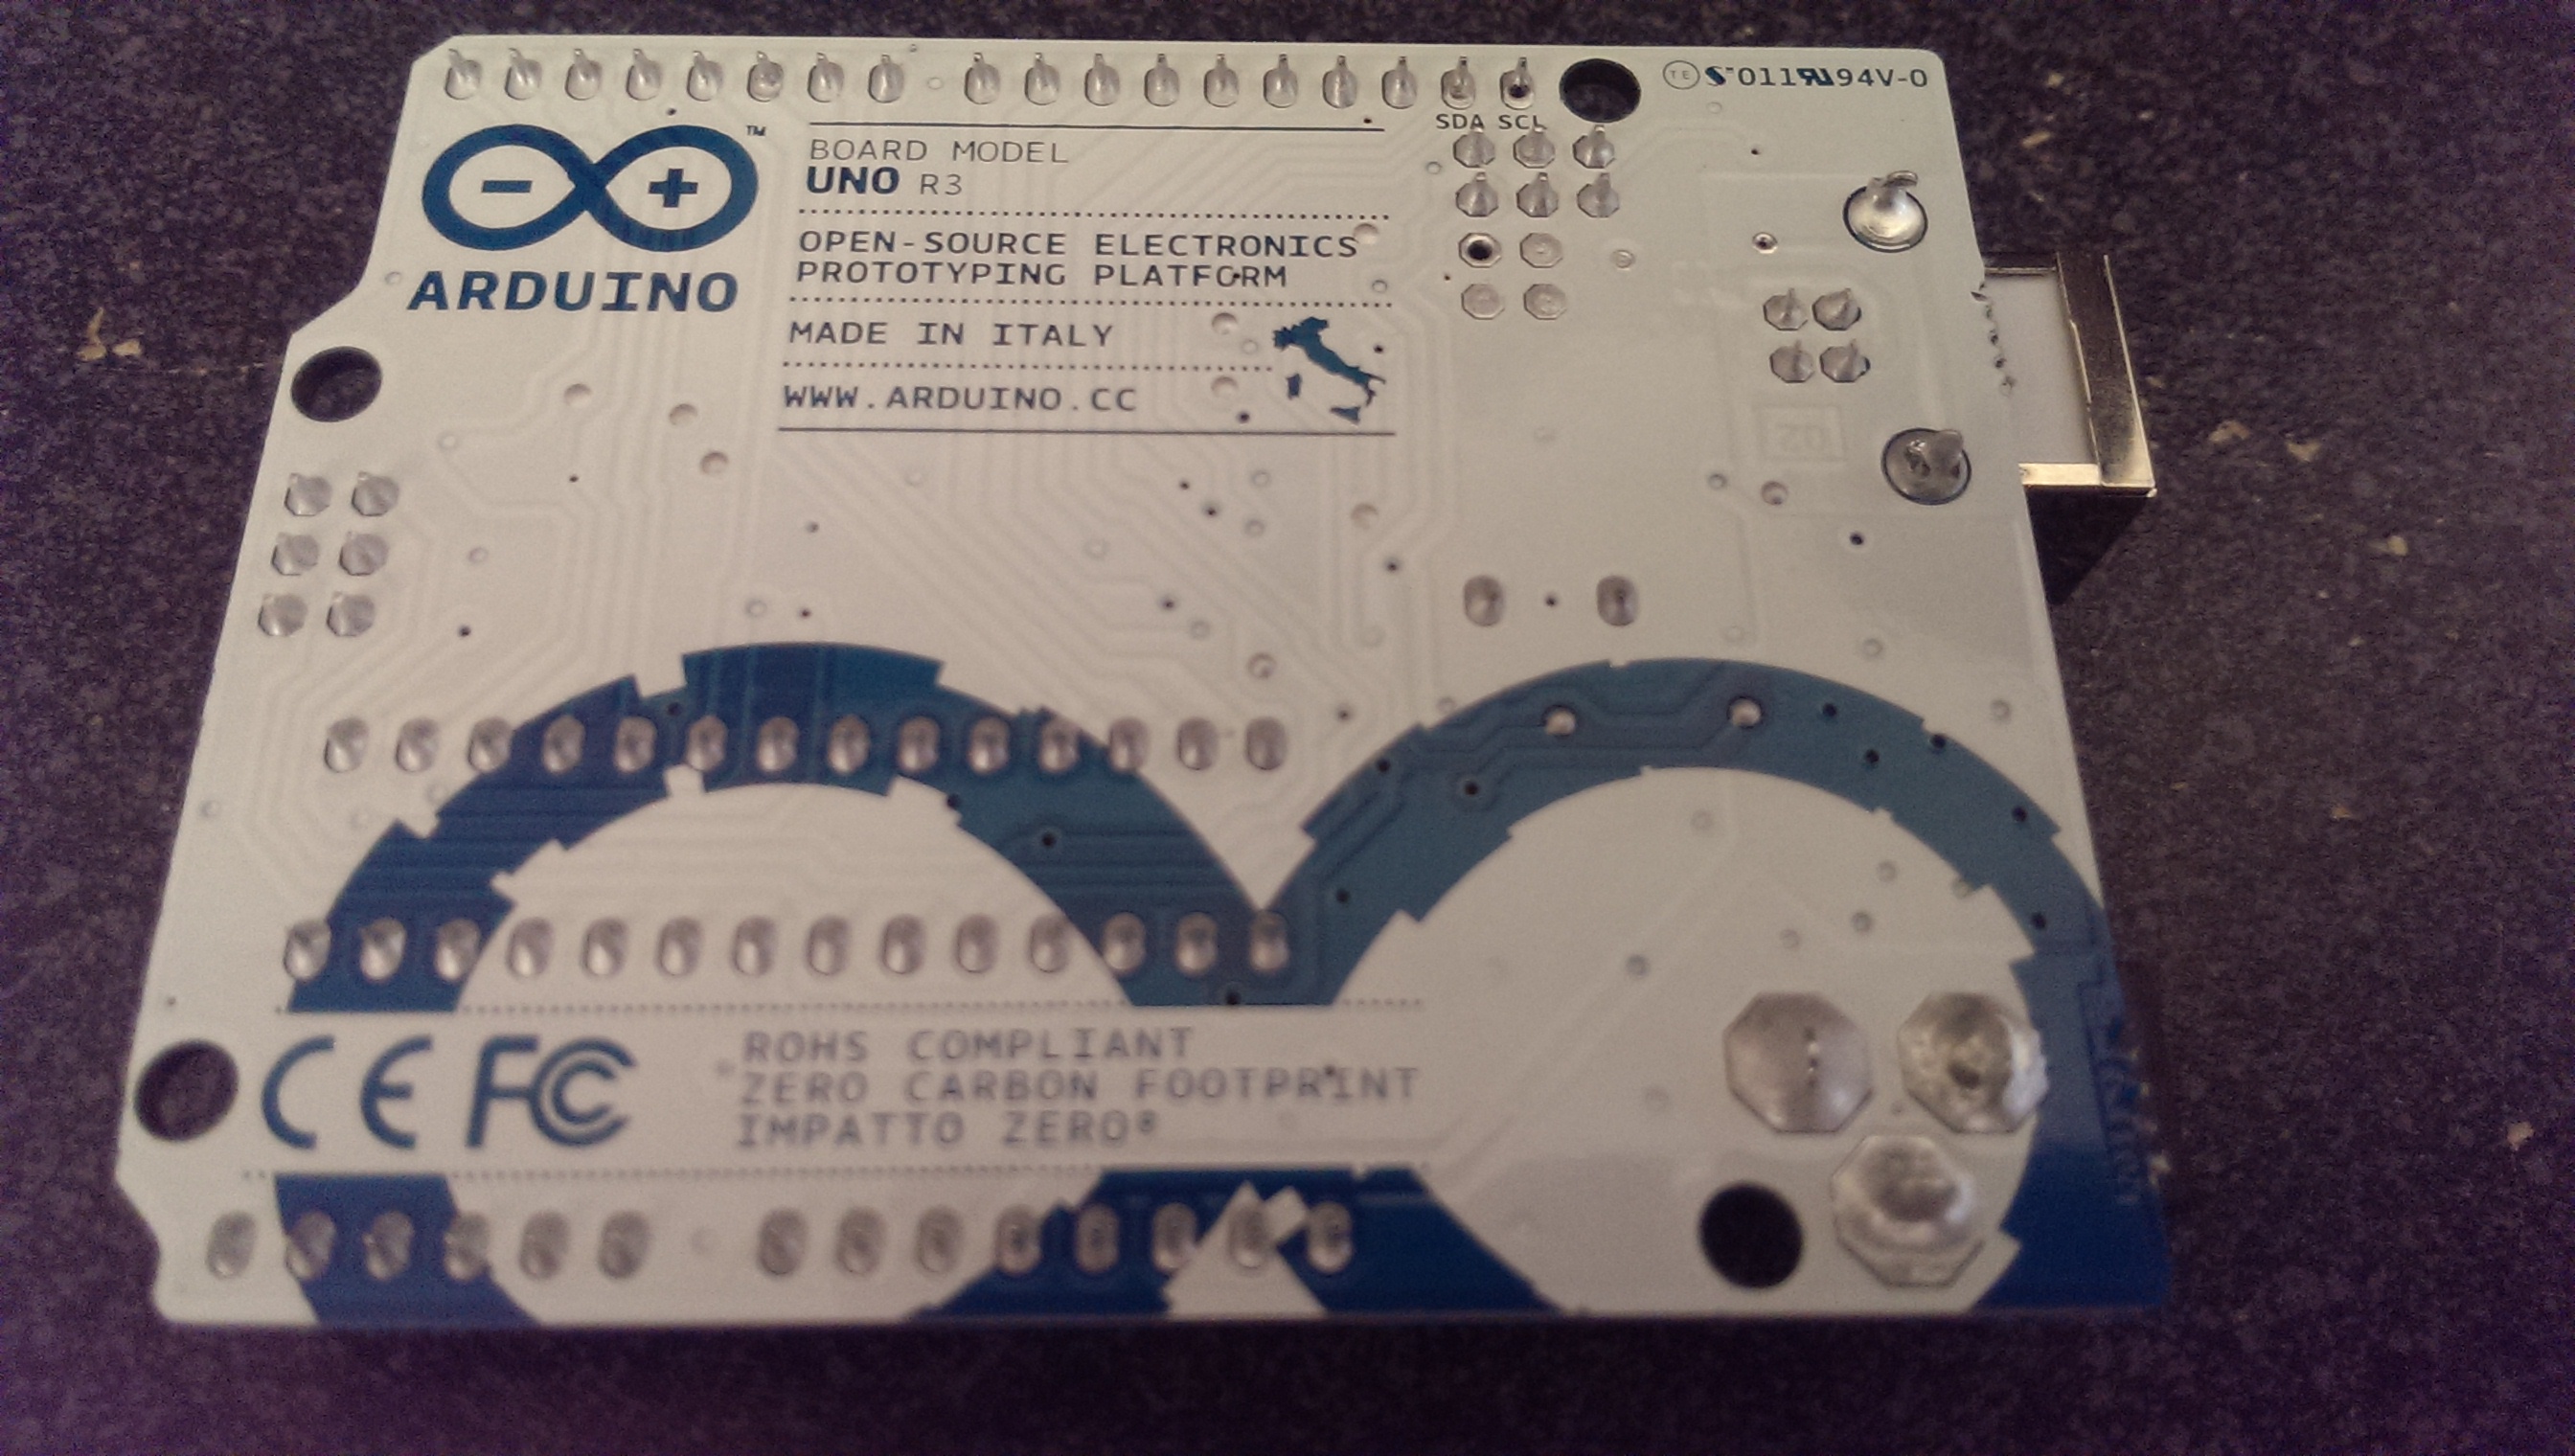
A box contains the board, a couple stickers, and miscellaneous information. Here's the top and bottom of the board.
First thing to do is install the Arduino IDE. This is all of the software you're going to need.
sudo apt-get update && sudo apt-get install arduino arduino-core
Plug in the Arduino UNO using a printer USB cable.
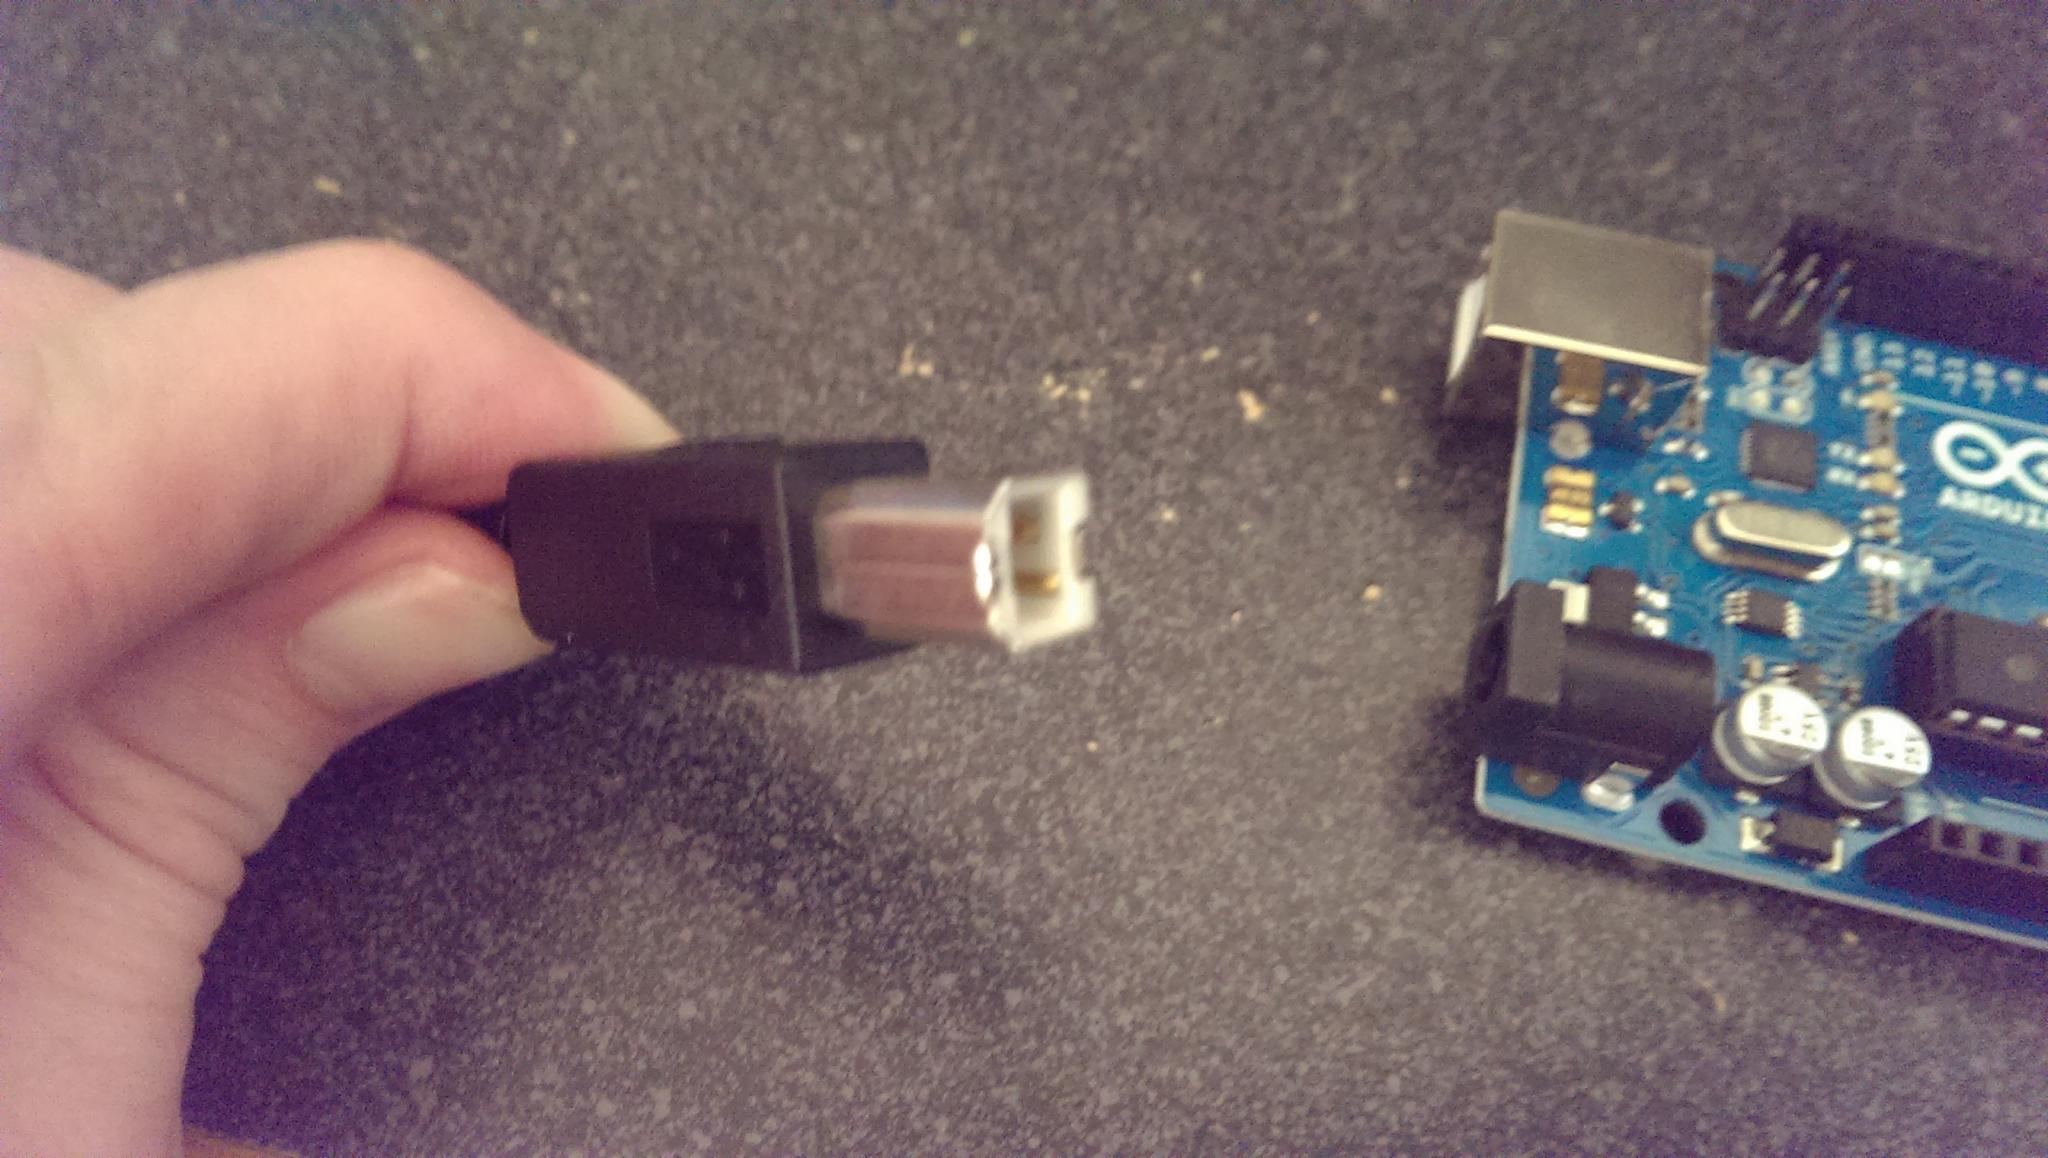
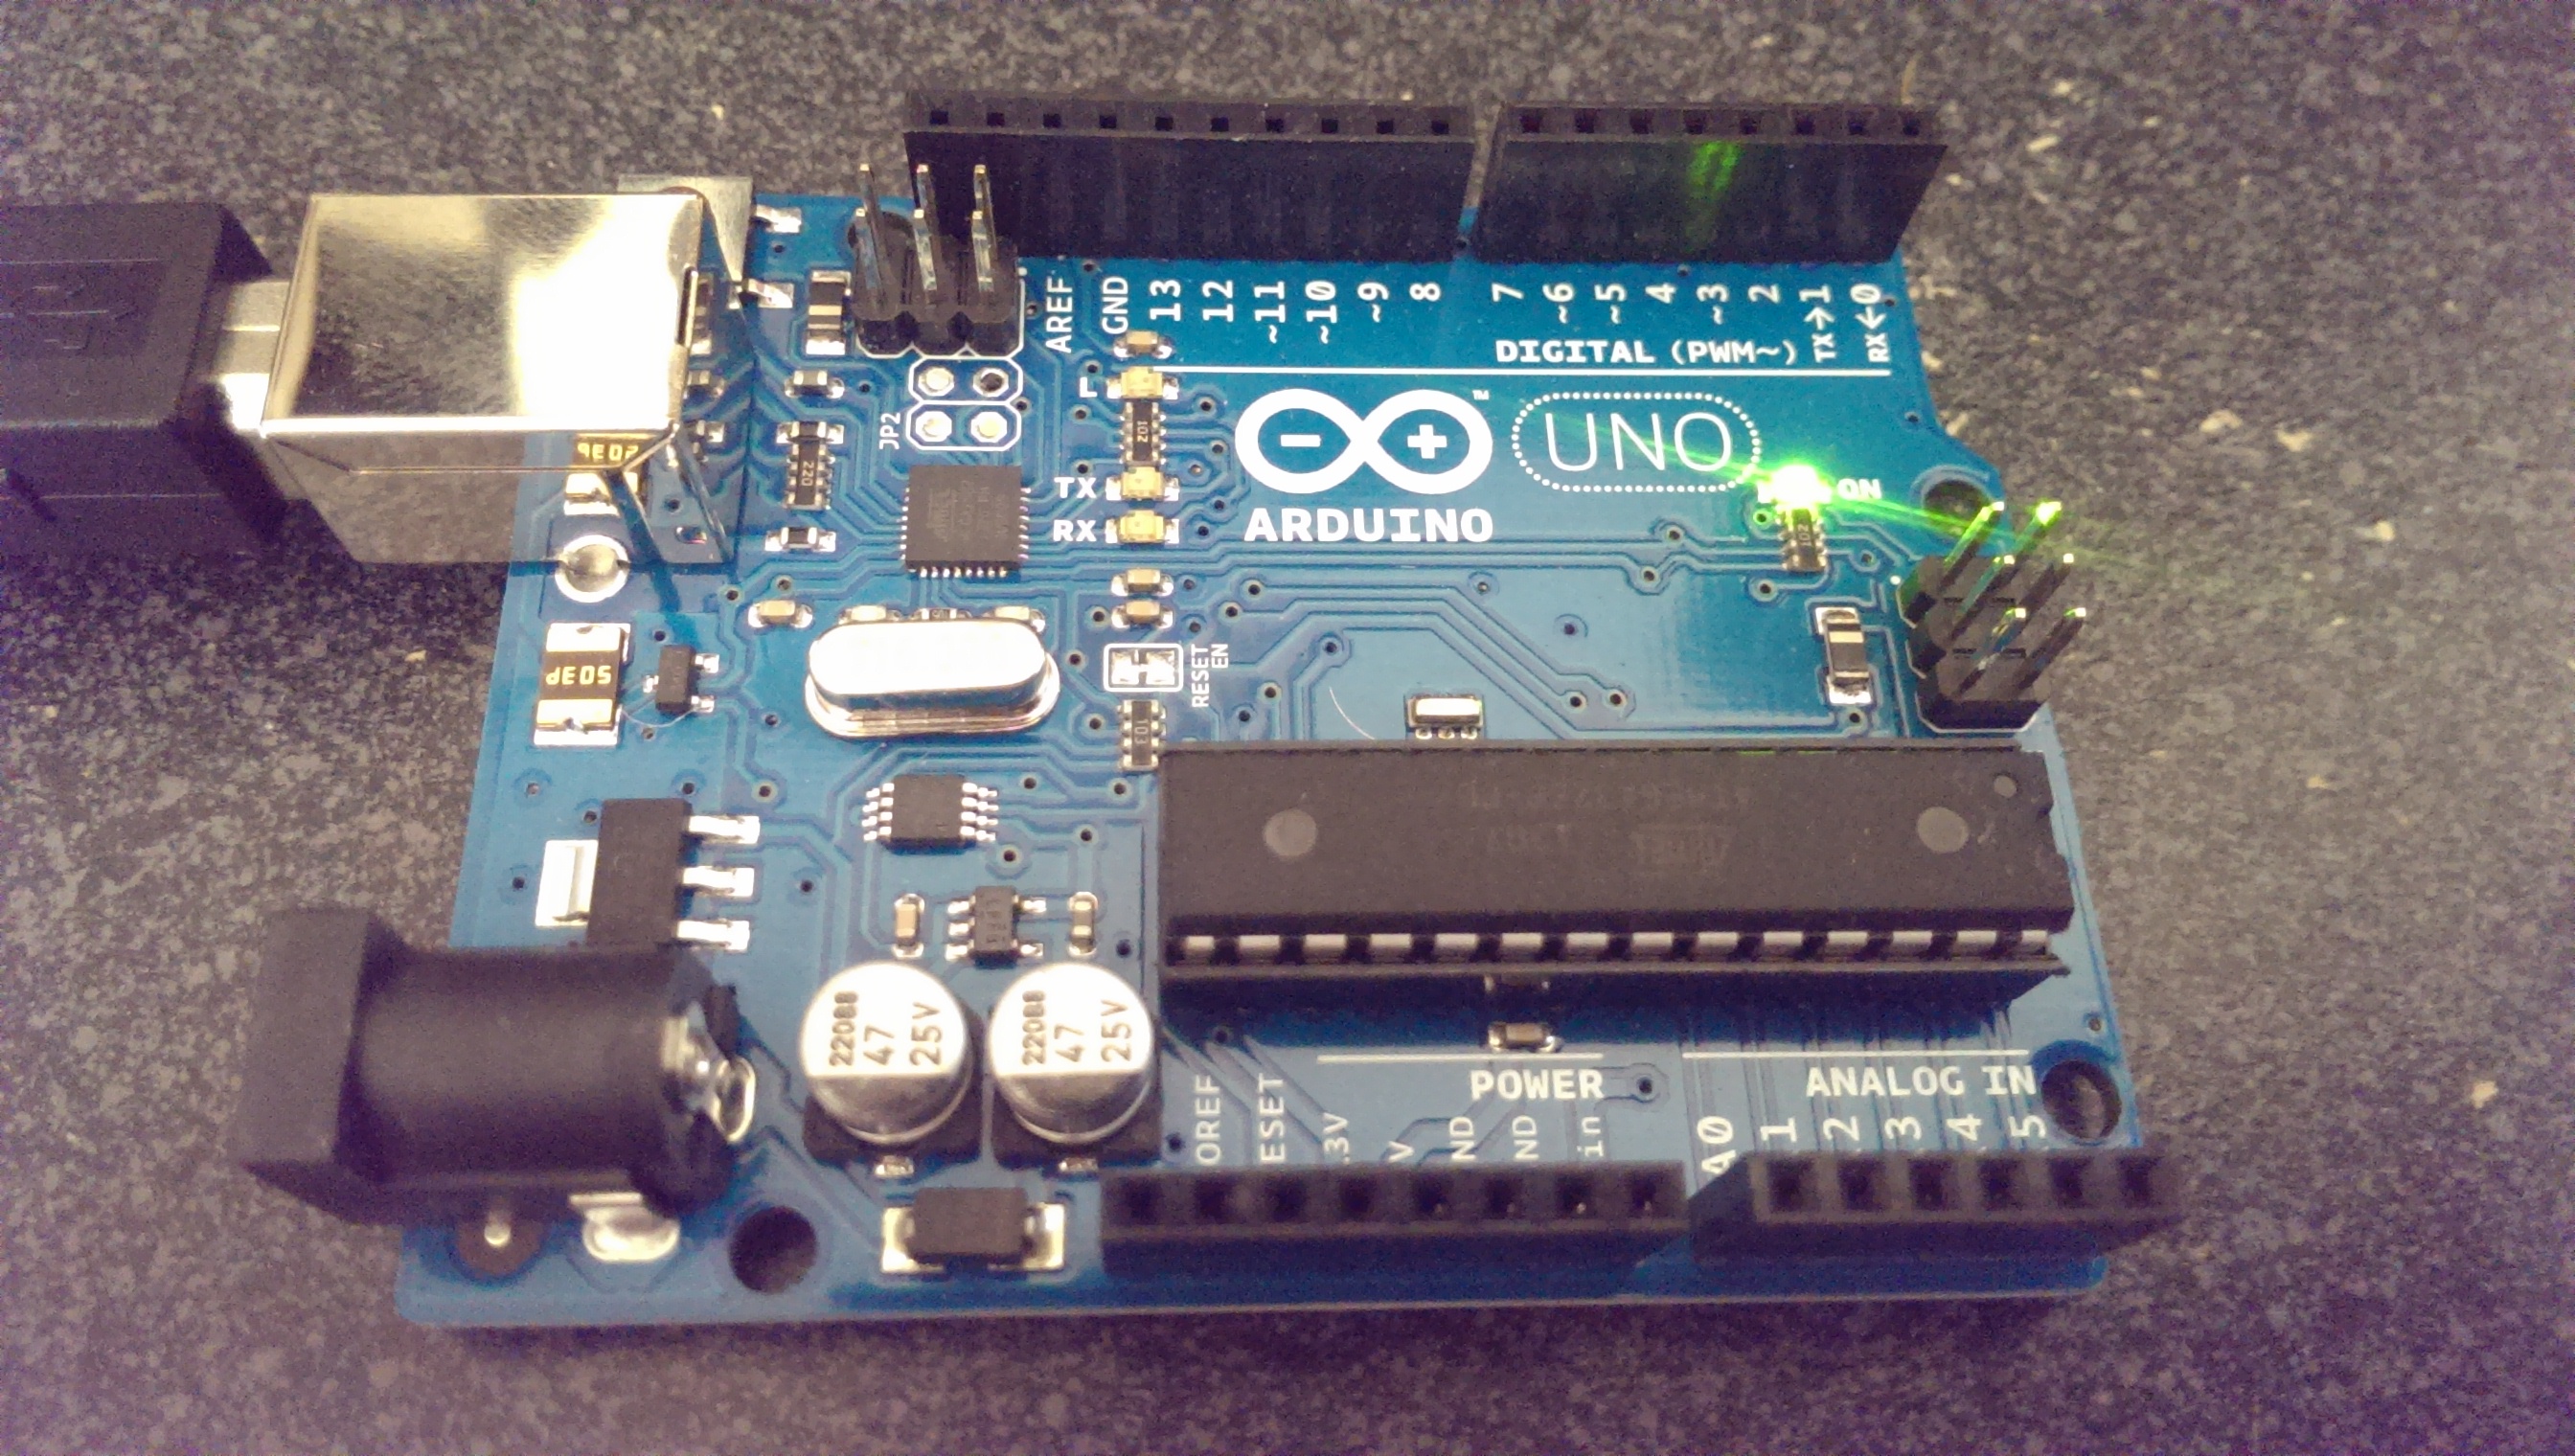
You should see it automatically populated with dmesg as a serial port.
$ dmesg |tail -n 2
[110181.288138] usb 5-4: new full-speed USB device number 4 using ohci_hcd
[110181.469180] cdc_acm 5-4:1.0: ttyACM0: USB ACM device
Then, run the IDE:
$ arduino
Select the proper board in the IDE under Tools -> Board -> Arduino UNO.
You should notice in the bottom right corner of the IDE that it automatically detected the port. If it's not the right port, change it under Tools -> Serial Port.
Now, write the following code in the editor and click the upload button. This demonstrates the two needed setup() and loop() functions.
int led = 13;

void setup()
{
  pinMode(led, OUTPUT);
}

void loop()
{
  digitalWrite(led,HIGH);
  delay(500);
  digitalWrite(led,LOW);
  delay(500);
}
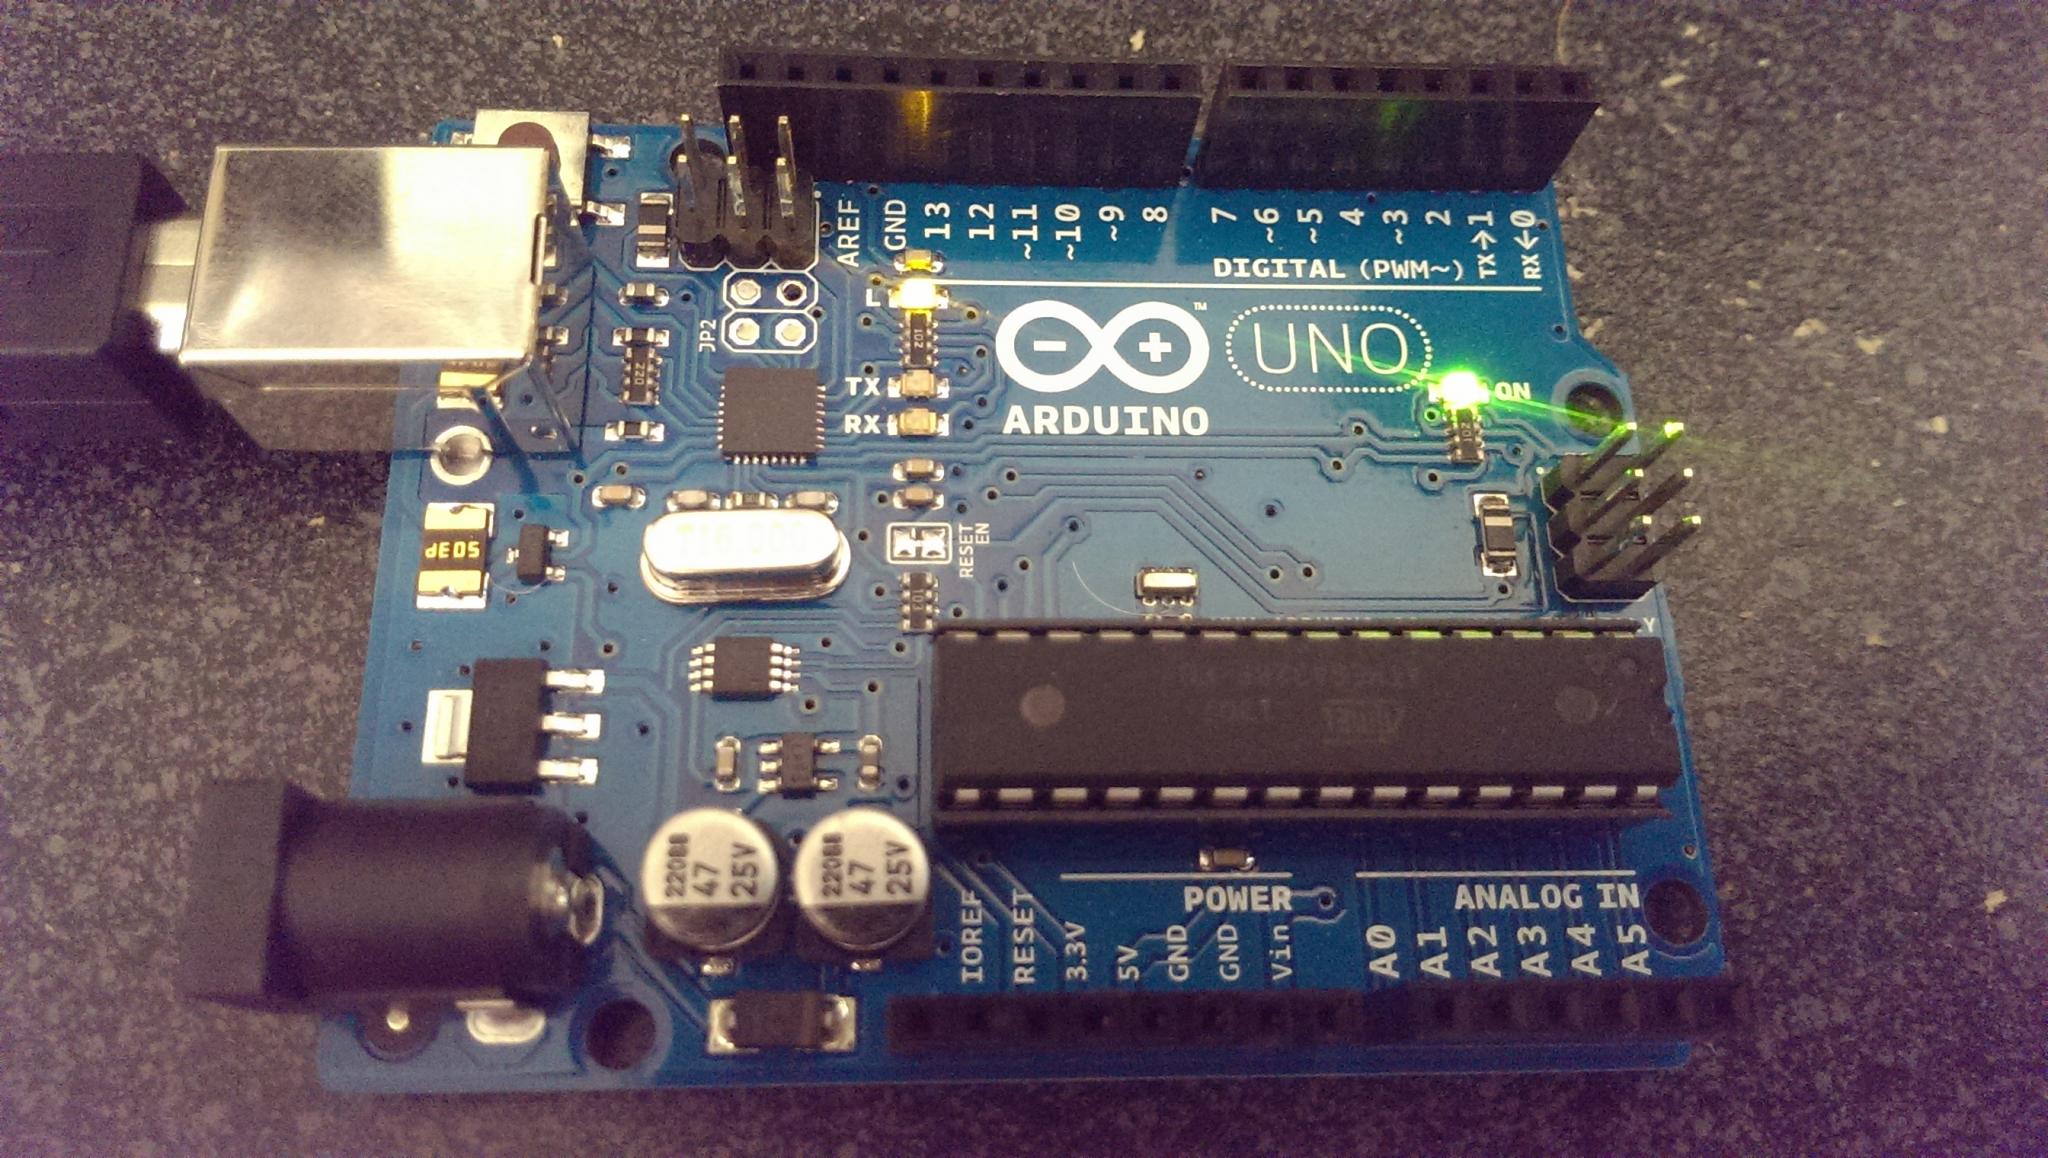
If everything goes right, you should see the orange LED labeled "L" on the board turn on and off every 500 milliseconds.
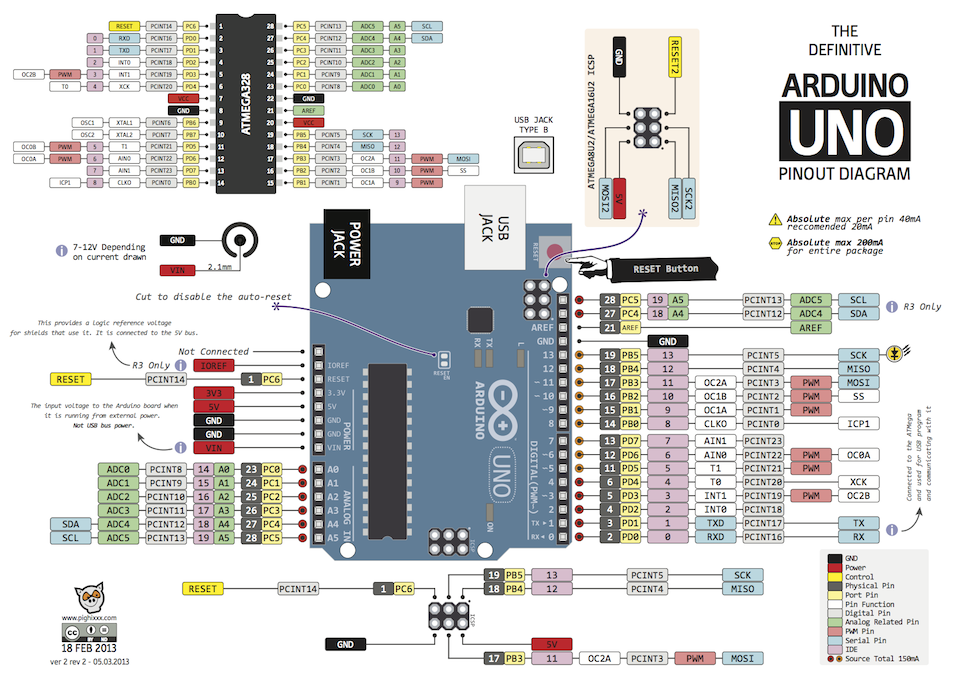
A contributor over at the Arduino forums posted an excellent pinout cheatsheet that's invaluable when you get ready to start throwing together some circuits.
